There are certain smells that instantly take you back.
Warm butter. Fresh bread. And that unmistakable salty pretzel smell drifting through the mall food court. If you ever stood in line at Auntie Anne’s with a warm pretzel wrapped in paper, you know exactly what I’m talking about.
Soft, chewy, salty, buttery, and loaded with gluten!
If you’re gluten-free, it’s one of those “well… I guess not” foods. Until now.
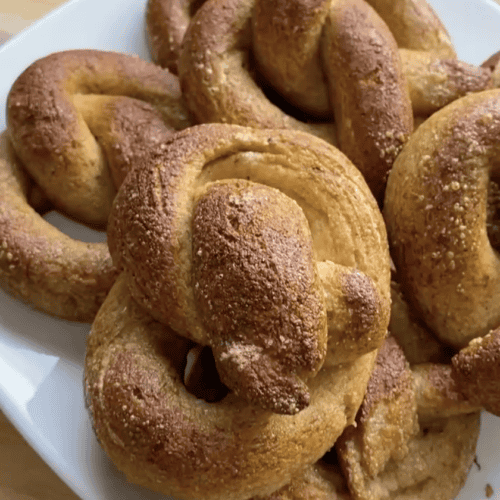
These gluten-free soft pretzels are:
- golden outside
- fluffy and chewy inside
- buttery and salty on top
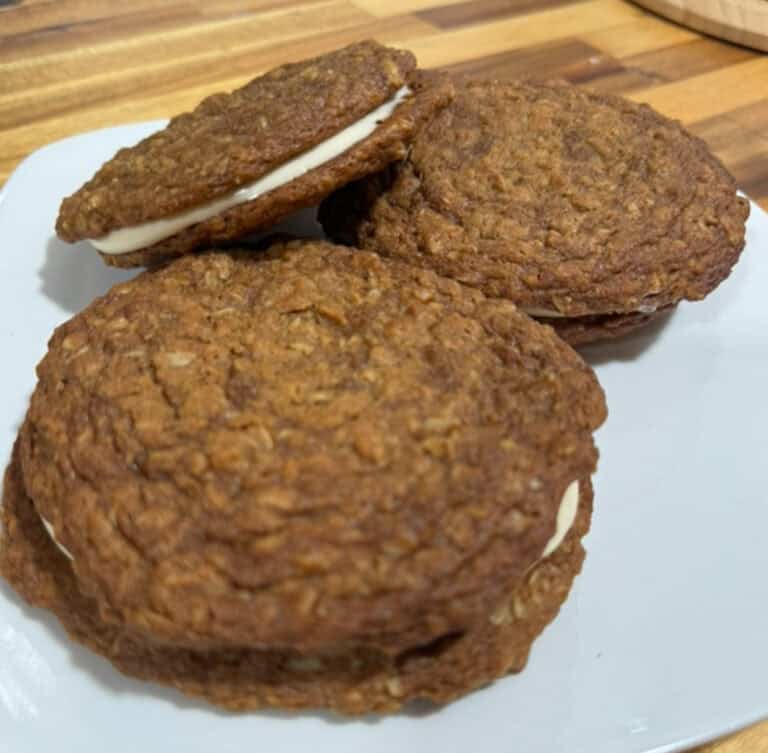
And honestly? They taste just like the ones you remember — only fresher and made with real ingredients. These pretzels can be made into the traditional shaping or made into little pretzel bites which offer versatility with dipping sauces and fun presentations at parties!
This post may contain affiliate links, please read our disclosure policy for details.
Fresh Milling Flour
Before we dive in here, I want to note, you don’t have to use fresh milled flours to successfully make this recipe. There are already milled versions of the flours I’m sharing that I will link in the ingredient’s list section!
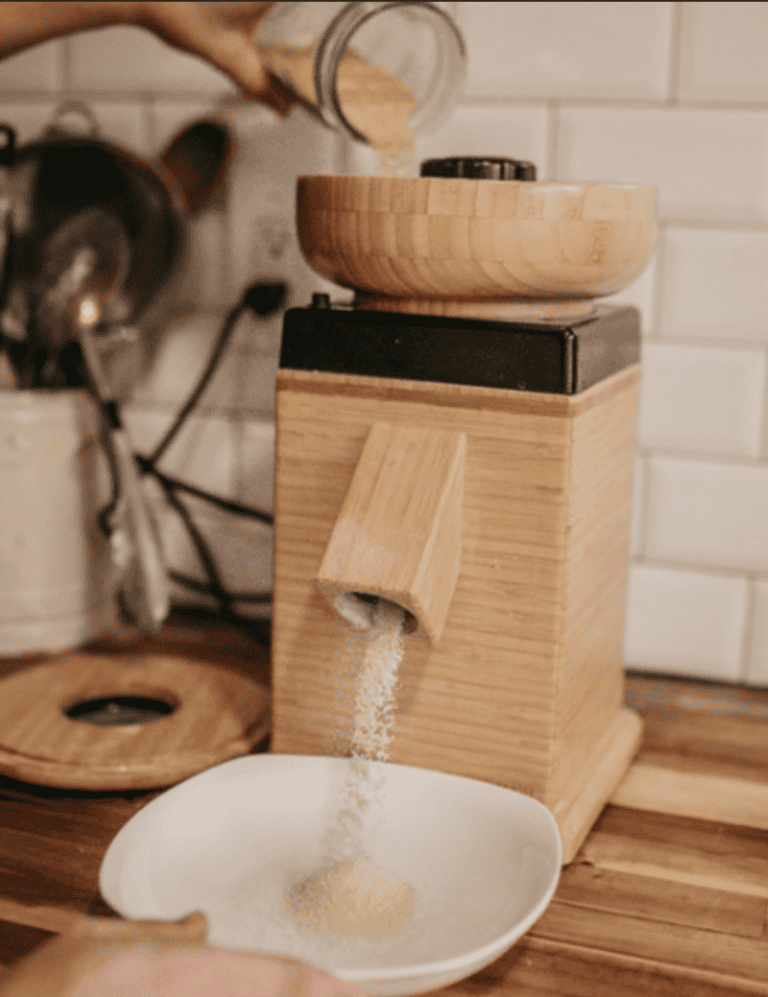
Using fresh milled flours instantly levels up the nutrient density of your recipe. In our house, if you’re going to indulge, mama is going to stack the recipe with healthier ingredients! If you’ve never milled fresh gluten-free grains, this step may seem intimidating, but let me ease you’re mind, it’s easily the most simple hack you could ever do to level up your recipes.
To unlock this health hack, all you need are gluten free grains from a trusted source and a grain mill. My favorite is the Nutrimill Harvest Grain Mill. You’ll flip the switch on, pour the grains into the hopper, and fresh milled flour will flow out into a bowl. It’s really that simple.
Here’s a video walk through of fresh milling grains:

“Ok. just made your pretzel recipe.
Soooo good! Been forever since I had something gf that tasted like it was not. Thank you! Next up, cinnamon rolls!”
Ingredients
Please see recipe card at the bottom of this post for the full recipe details.
1. Psyllium Husk Mix
This is a mix of psyllium husk (whole husk) and warm water. When combining the two together, a gel mixture is formed that helps create the structure of the dough. It is importance to use a trusted brand of psyllium husk (I recommend this one). It’s also extremely important to get whole husk. Powdered husk is finer and requires more water to compensate for the excess surface area on the powder compared to the whole husk.
Watch how to make psyllium husk gel for yeast breads with whole husk here:
2. Bloomed Yeast
By combining the yeast, warm milk (or water if dairy-free) and honey together and allowing it time to proof in a warm, draft free area, a frothy “bloomed” yeast emerges which reassures you that your yeast is active and will help your dough rise beautifully. I recommend using a countertop proofing oven to ensure a warm and compatible environment for proofing not only the yeast but the dough as well. My favorite is this multipurpose oven.
Here’s a tutorial on how to bloom the yeast:
3. Flours/Powders
There are many flours that can be used if the following flours are not accessible where you’re at or if your diet requires modifications. There are many times when I run out of a flour and sub it out for another that I have on hand. Understanding the different flours and their fellow flours that perform similarly within a recipe will help you adjust and become empowered with swapping out ingredients.
- Millet Flour
If using fresh milled gains, I get these from Azure Standard (US based option), Amazon, or Bread Becker. If using already milled grains (similar to just picking up flour at the store) I useBob’s Red Mill or Anthonys. Millet is one of the oldest cultivated grains and is naturally alkaline, making it easy to digest. It’s excellent for tender cakes, flatbreads, and sandwich breads. Its mild flavor complements sweet and savory dishes. - Gluten-Free One-to-One Flour
A high-quality gluten-free one to-one flour blend provides structure while keeping the cookies crisp, not crumbly. I prefer Bob’s Red Mill Gluten-Free 1-to-1 Baking Flour for this recipe because it produces consistent results and bakes evenly. Be sure to use a one-to-one blend that already contains xanthan gum. If you’d like to substitute this ingredient out completely, increase the Xanthan Gum within the recipe by 1/2 tsp. - Arrowroot Powder
Arrowroot powder is a light, grain-free starch that works as a natural thickener for sauces, gravies, puddings, and baked goods. It creates a silky, glossy finish without the heaviness of cornstarch and is easier on sensitive stomachs, making it a great clean-ingredient swap for gluten-free and allergen-friendly cooking. If you’d like to sub it out, this can easily be replaced at a 1:1 ratio with Tapioca Flour or Cornstarch. - Sorghum Flour
Sorghum flour is one of my favorite fresh milled gluten-free whole-grain flours for baking soft, chewy gluten-free pretzels because it adds structure without heaviness. It has a mild, slightly sweet flavor that mimics traditional wheat flour more closely than many gluten-free options, helping create that classic pretzel texture and golden crust. Paired with proper hydration and binders, sorghum flour gives these pretzels their tender bite and keeps them from tasting gritty or crumbly. If you’re needing to sub it out for another flour use millet, brown rice flour, oat flour (make sure its GF oats).
4. Xanthan Gum
Xanthan Gum is another structure forming ingredient that is necessary within gluten-free baking. Like psyllium husk, not all xanthan gum is created equally. Many are inflammatory and derived from corn, but I’ve found a corn free brand that works great and is a healthier solution to the xanthin gum needs within gluten free baking. This one is my favorite.
5. Maple Syrup
Maple syrup provides natural sweetness while adding moisture and depth to the cookie dough. It also helps create a smooth, cohesive texture without refined syrups.
6. Sea Salt
Sea Salt is optional with this pretzel recipe, but one of my favorites to use is this brand.
7. Baking Soda + Water Bath
Baking soda gives the pretzel dough its iconic flavor. Be mindful of which baking soda you use as many contain unnecessary ingredients. I prefer to use this brand.
8. Butter
Butter adds richness and helps create a crisp yet tender texture in the cookie wafers. Using a high-fat butter like Kerrygold works especially well here. If you need a dairy-free option, you can substitute a dairy-free butter alternative without issue.
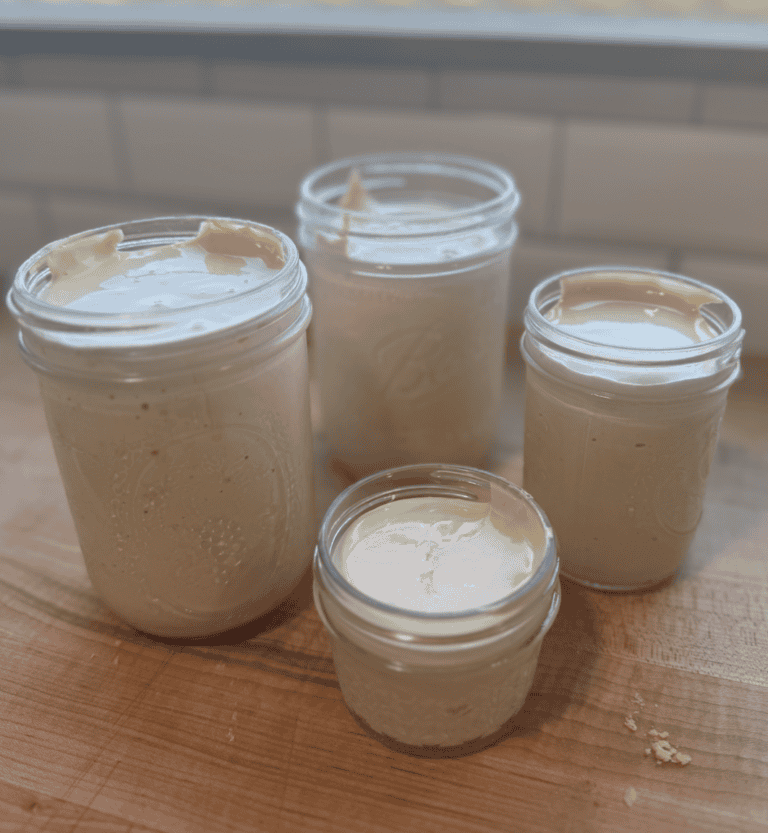
See my dairy-free homemade butter recipe here.
Additional Allergens/Suggested Modifications
- Egg: Use coconut oil as “egg wash”
- Yeast: Use my sourdough pretzel recipe instead
This recipe is naturally free of: dairy, nuts, fish, crustacean shellfish, tree nuts, peanuts, wheat, soybeans, seed oils, and sesame.
Shop The Tools

Heart Shaped Cookie Cutter 
Double Broiler
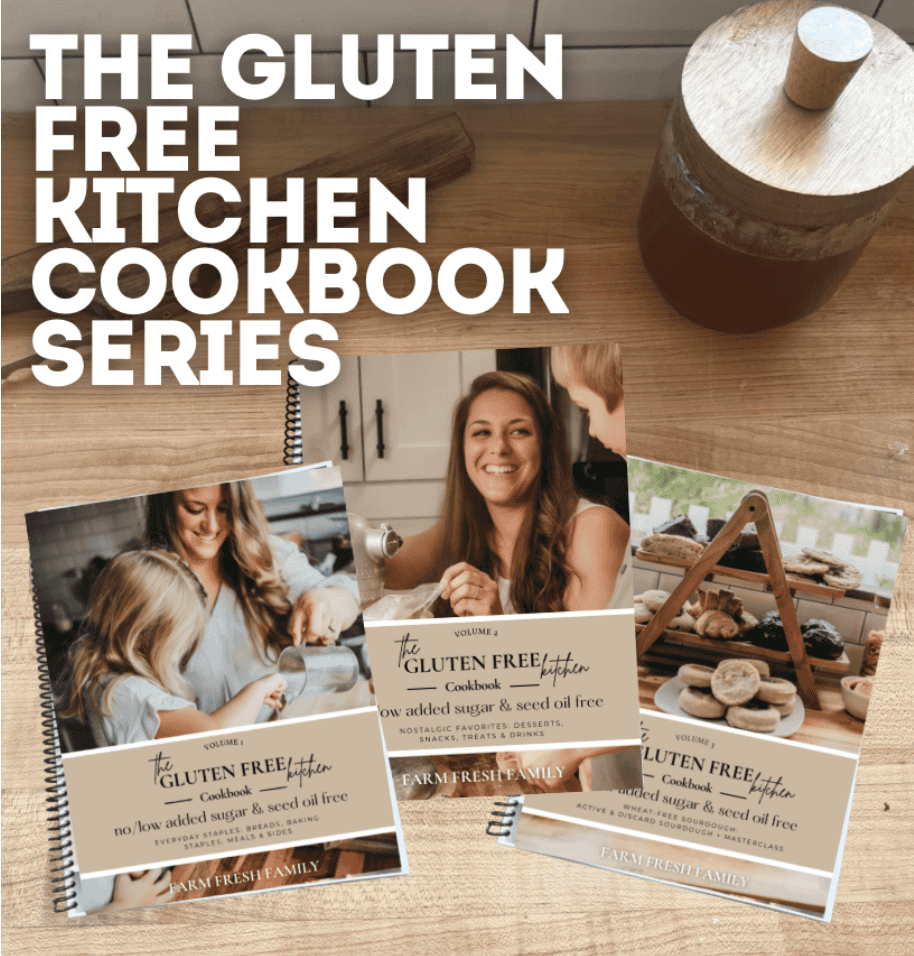
The Gluten Free Kitchen Cookbook Series
Healthy GLUTEN-FREE Recipes for Every Day LIFE
Your go-to cookbooks for all of the delicious & nutritious meals, sides, breads (yeast & sourdough), baking staples, snacks, desserts, drinks and more. With easy-to-follow instructions and beautiful step-by-step photography, every page invites you to explore nostalgic, healthy meals that make being gluten free a “get to” instead of a “have to”.
Whether you’re cooking for yourself or sharing with loved ones, The Gluten Free Kitchen Cookbook Series brings healthy living to your table every day.
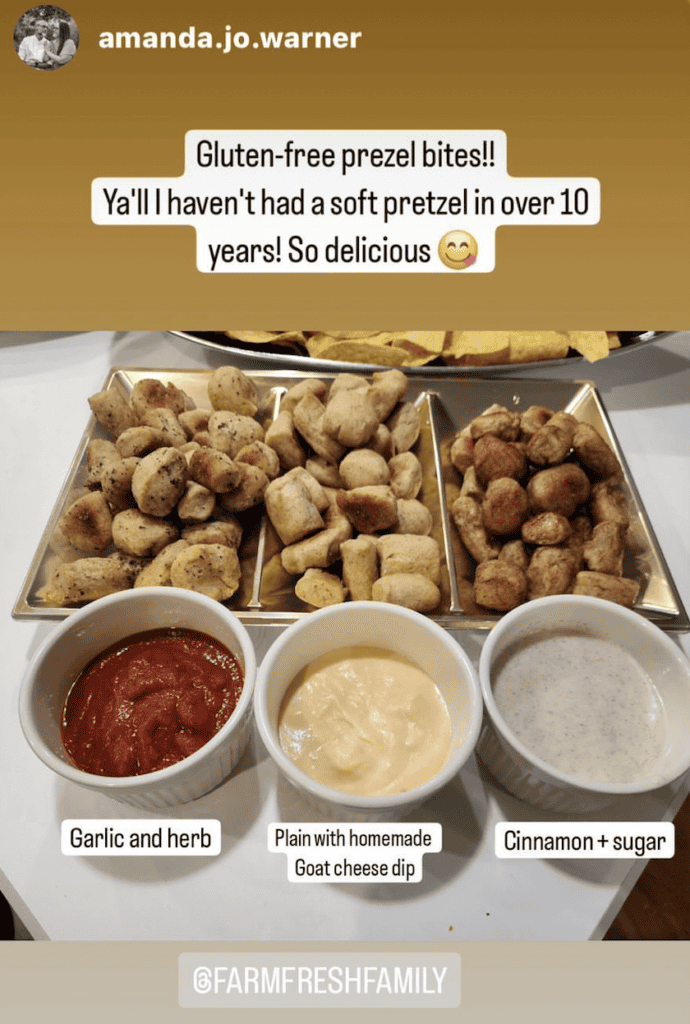
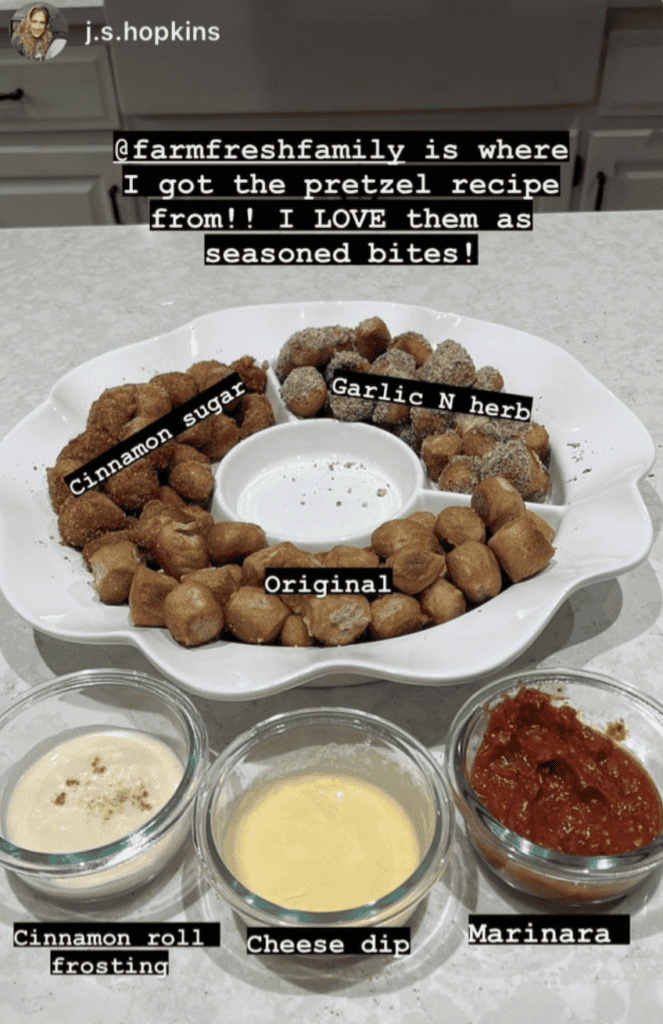
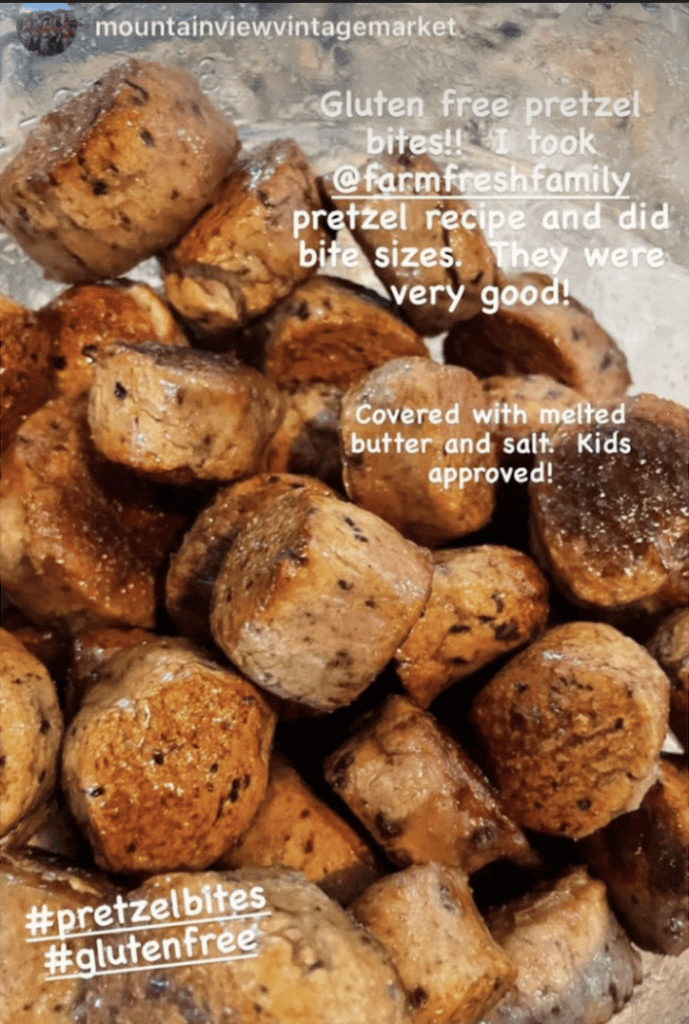
What Are Other’s Saying?
Shaping Pretzels the Traditional Way
This dough is flexible and can be shaped however you choose whether that’s as a pretzel twist, bite, traditional pretzel shaping, or whatever else you come up with!
To shape the traditional way, follow the steps below. Be mindful not to over-flour your dough. Sticky gluten-free dough is a good thing!
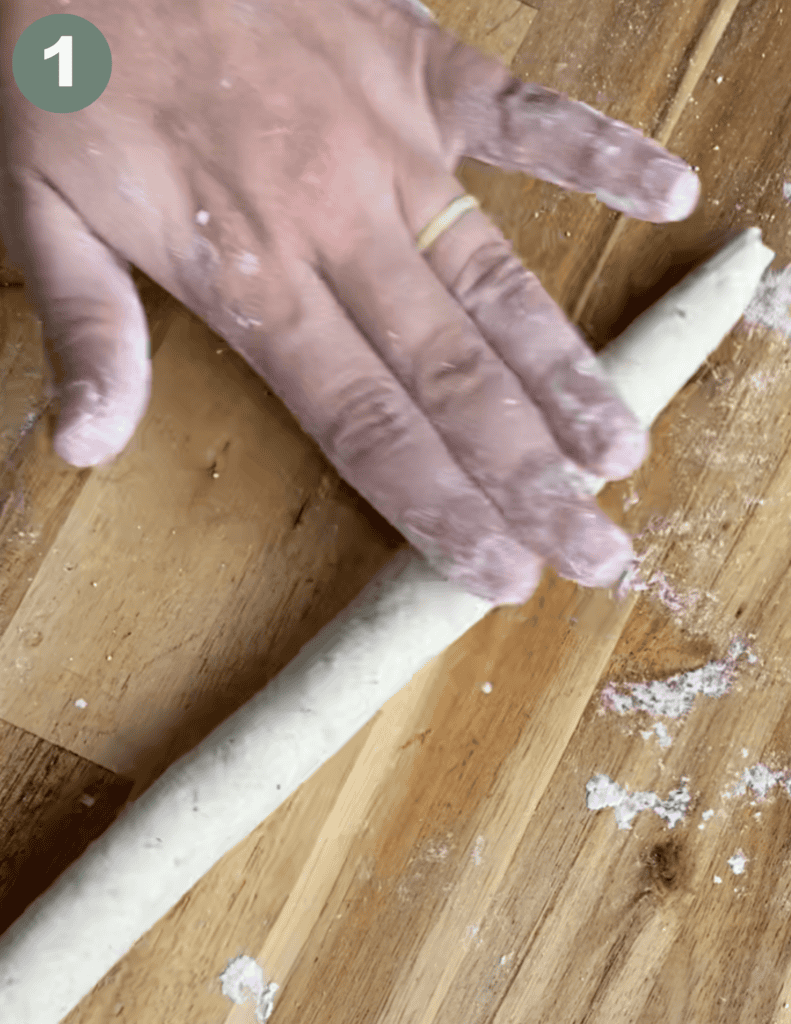
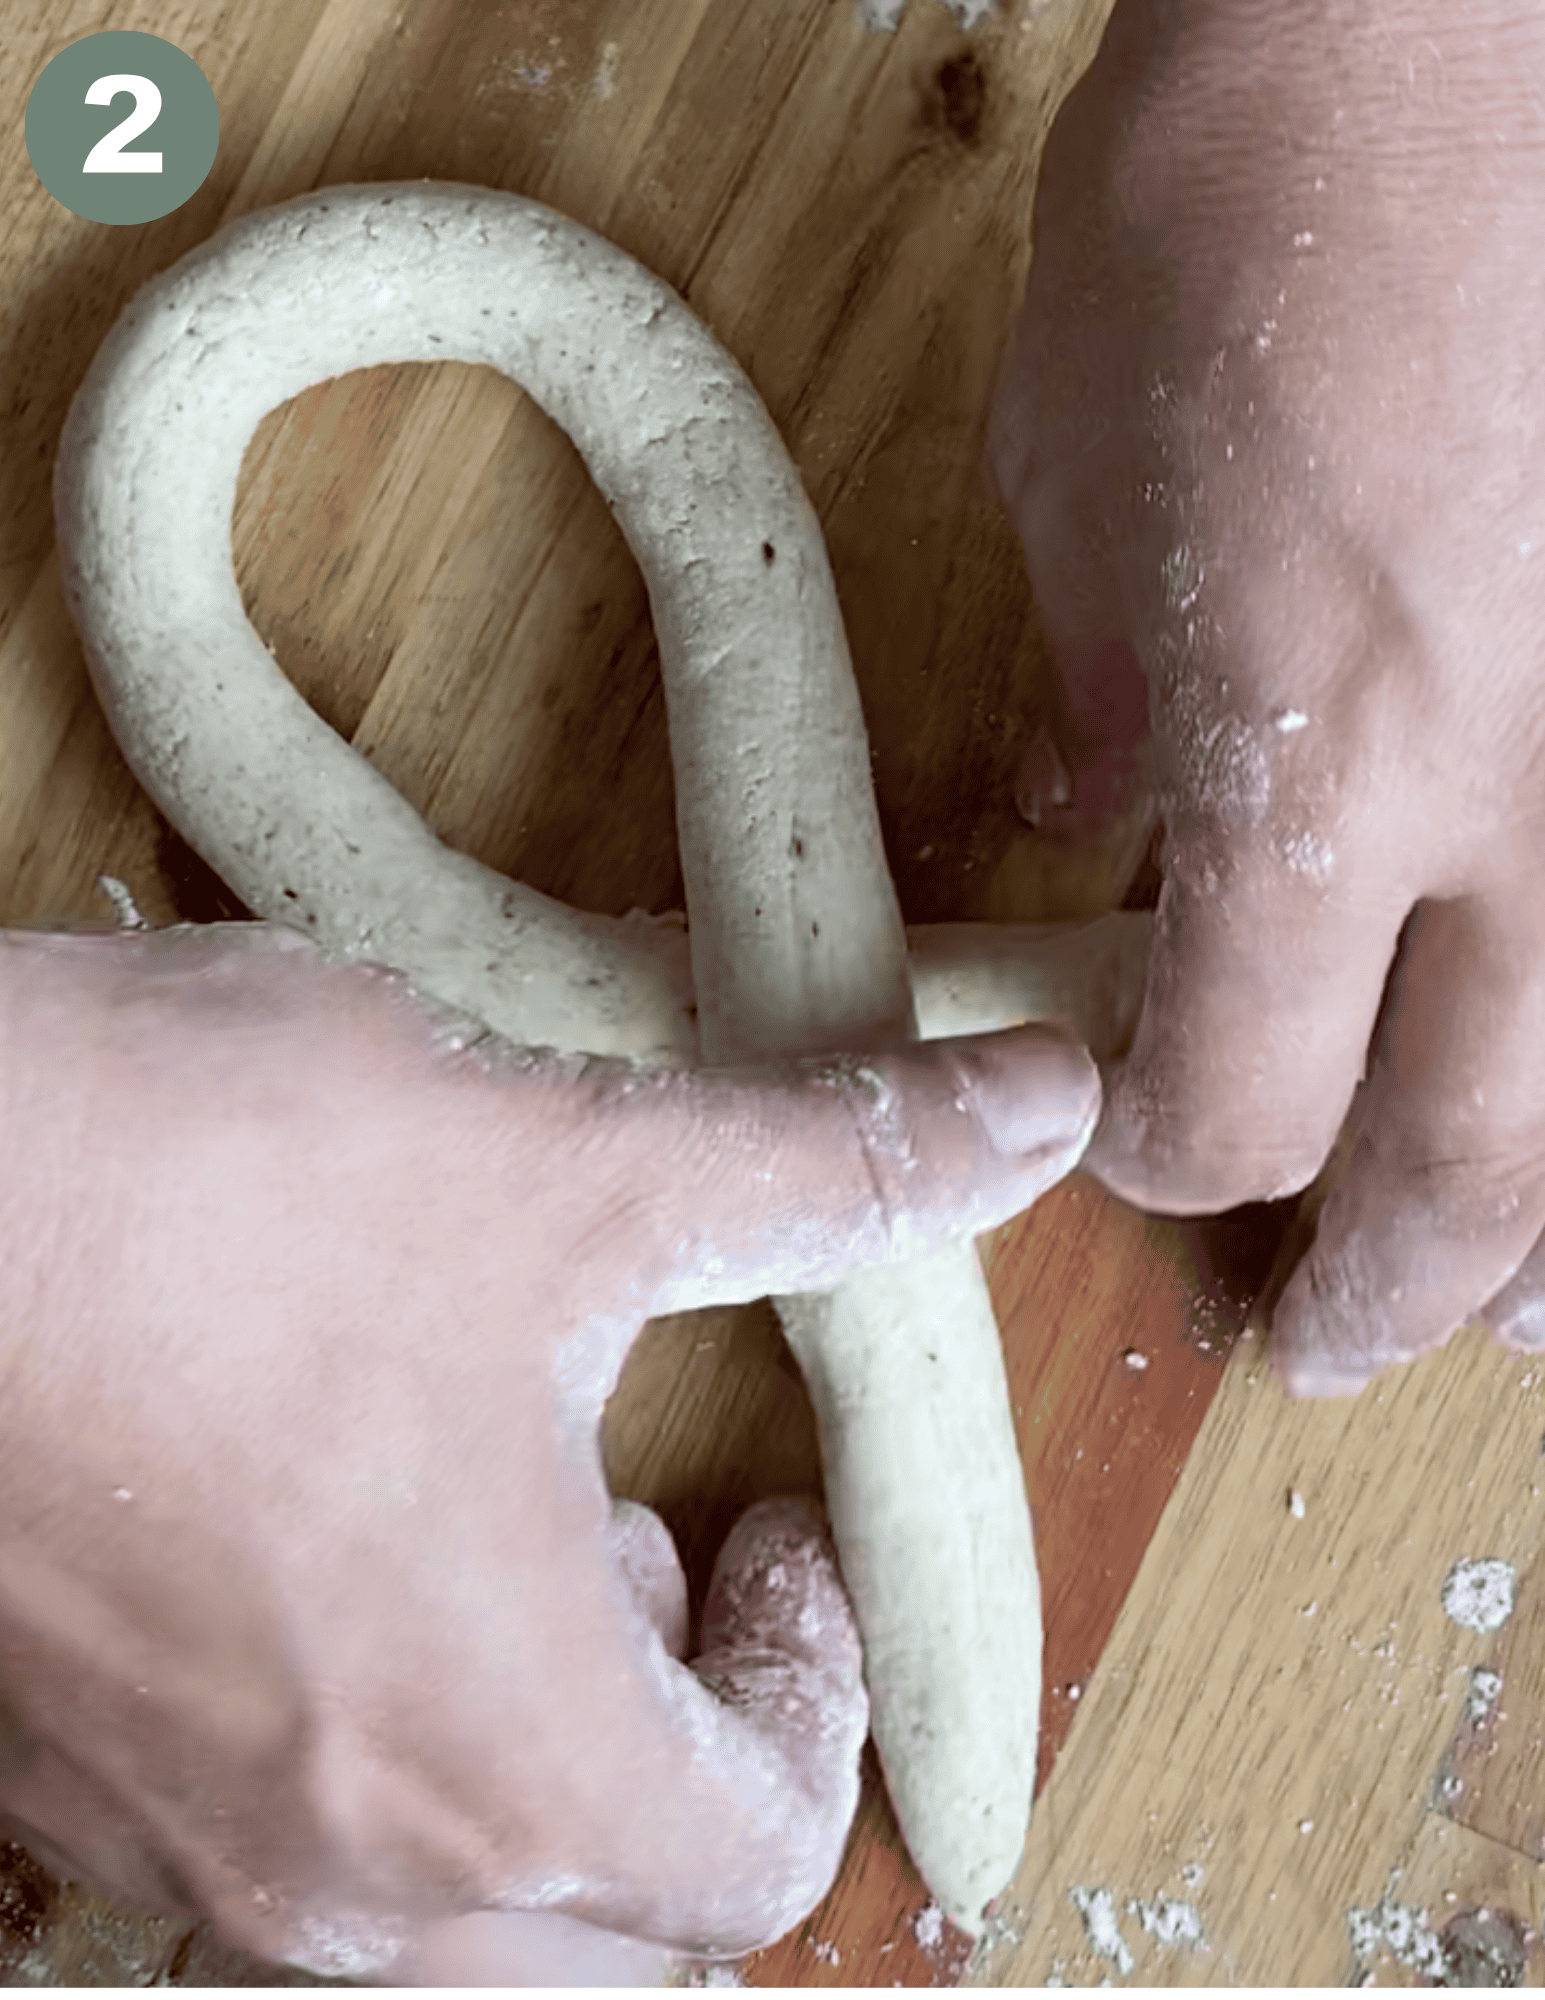
- Roll a piece of dough to desired thickness and fold into a “U” shape. Cross both ends of the “U” as seen.
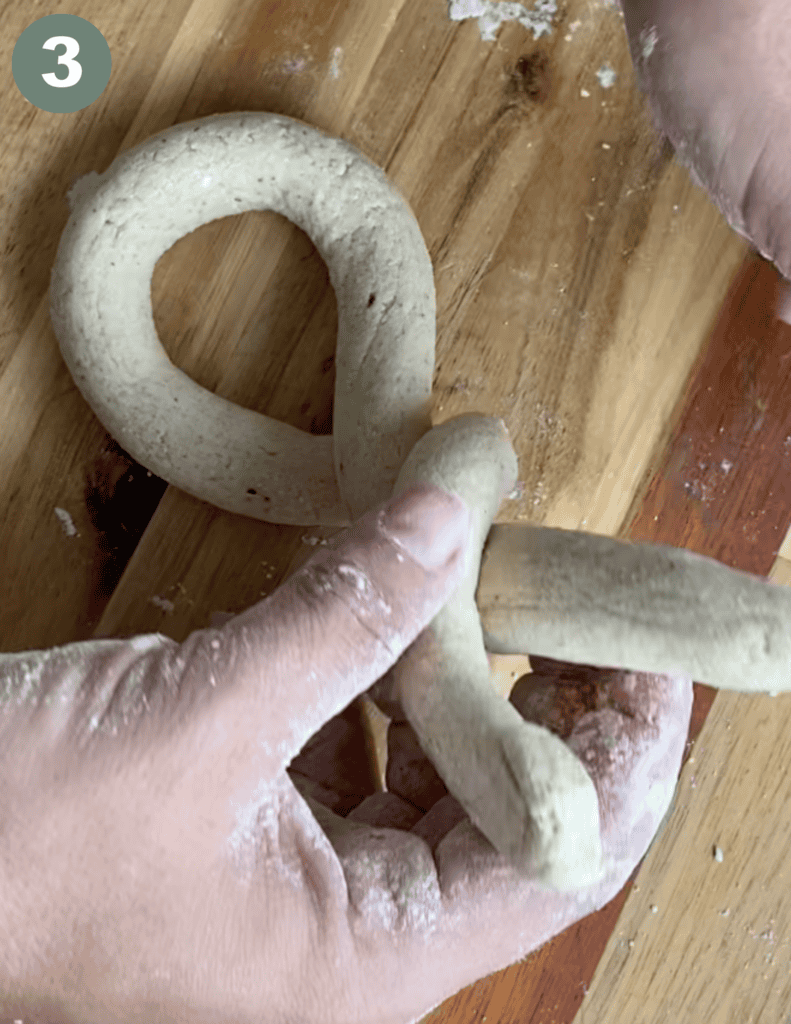
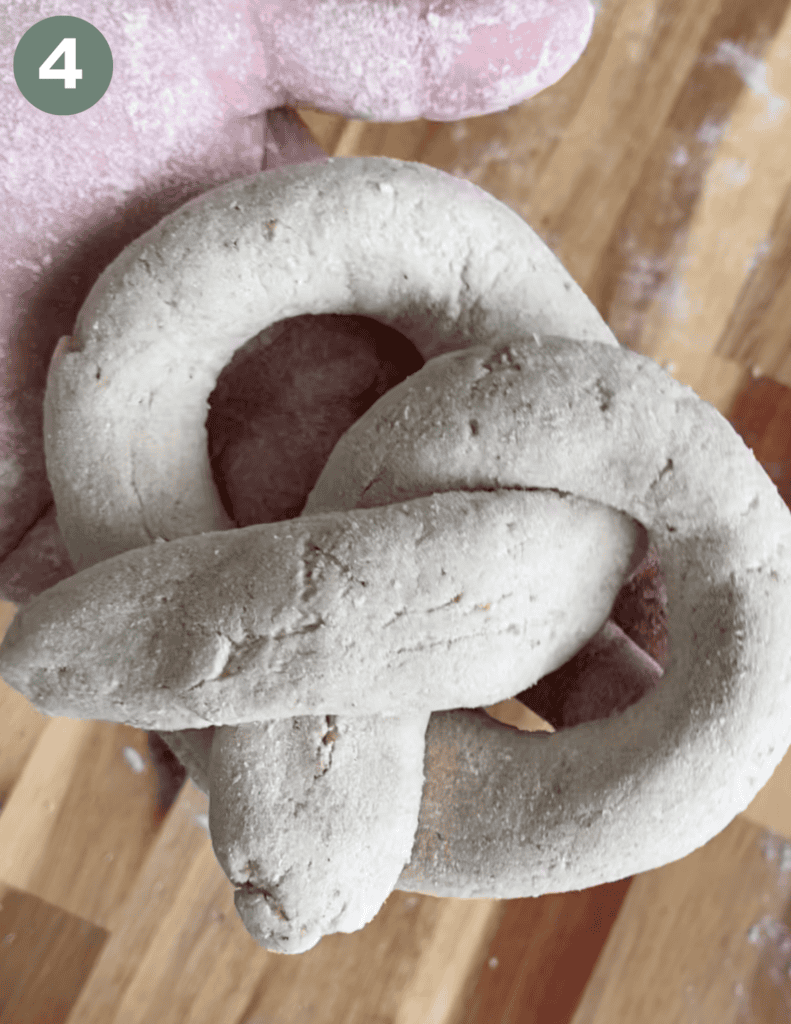
2. Cross one end over again and then fold the two ends down towards the base of the “U”. Gently press and you have a pretzel!
Gluten-Free Soft Pretzels
Ingredients
Wet Ingredient Prep:
- ⅓ cup Psyllium Husk whole husk
- 1 ⅓ cup Warm Water
- 1 tsp Yeast
- 1 ⅓ cup Warm Water
- 2 TBSP Honey
Remaining Dough Ingredients:
- 1/4 cup Gluten Free One to One Flour
- 2 ⅓ cups Arrowroot Powder
- 2 cups Millet Flour
- ½ cup Sorghum Flour
- 1 tsp Xanthan Gum
- 2 TBSP Maple Syrup
- 1 tsp Salt
Baking Soda Bath
- 5 TBSP Baking Soda
- 5 cups Water
Egg Wash
- 1 Egg beaten
- 1 TBSP Water
- pinch Sea Salt
Instructions
Prep the Dough
- Mix remaining dough ingredients together thoroughly and set aside.
- From the wet ingredient prep section, combine the yeast, warm water, and honey and set aside in a warm, draft free area so that the yeast can proof. Then, mix together the psyllium husk and warm water and set aside.
- Once the yeast has proofed, add both the husk gel and the yeast to the remaining dough ingredients.
- Mix dough for 5-7 minutes in your mixer using dough hook. Start at a low speed and gradually work up to a higher speed. This helps to make the dough soft and fluffy.
- Roll & Shape
- Roll and shape dough as seen above in the “Shaping Pretzels” section. Be sure to not over flour the surface as overflowing will dry the dough out. Less is more with gluten free dough with both flouring and using your hands. Don’t over work the dough or you can end up with an overly dense pretzel.
- Continue until a pretzel shape has formed, or, stop at rolling the dough out and then cut into small bite sized pieces for pretzel bites.
- Baking Soda Bath + Egg Wash
- Bring baking soda bath (5 tbsp baking soda + 5 cups water) to a low bubble and submerge pretzel for 30 seconds. Dry, brush on egg wash, and sprinkle with sea salt. Place on silicone lined baking sheet.
- Bake
- Bake at 450°F for 13-15 minutes (until golden brown).
Butter Wash (optional – but delicious)
- As soon as the pretzels come out of the oven, brush with butter to add even more flavor and softness to the dough (optional). Allow to cool for 5 minutes, pair with your favorite dipping sauce, and enjoy!**If dairy free, use a dairy free butter.
Recipe Tips
These pretzels can be shaped however you’d like! Many choose to shape them into pretzel bites and they turn out delicious.
If you prefer a crunchier edge piece and chewy dough in the middle, then roll the dough thinner on the ends vs. the middle when shaping.
Do not skip the baking soda bath, it’s how you get the iconic flavor and chew to your pretzel.
Line your cookie sheet with non-bleached parchment paper or a silicone mat to prevent sticking.
Prep/Baking Options:
- Baking options:
- Bake immediately after the pretzels rise & have their bath – and enjoy.
- Pre-make the pretzels (shape, proof, and bake) and then freeze. You can bake from thawed or frozen.
- Thaw: Preheat oven to 350°F, let thaw, bake for 20ish minutes (or until fully heated).J
- Frozen: Preheat oven to 350°F and bake for 30-40 minutes (or until fully heated).
- Prep the pretzel dough ahead: Mix & shape the dough. Then, allow the dough to fully proof. Once proofed, place the uncooked pretzels into the refrigerator (covered with Saran Wrap or in a topped pyrex dish to lock in freshness).
- The next morning, bring the pretzels to room temp on the countertop and bake them fresh per the instructions for baking in the methods section. This same method works for the freezer, but make sure to thaw dough before doing the water bath.
Recipe FAQs
Get on the List
Subscribe to Receive the Gluten Free Pantry Must Haves Ebook
Did you make this recipe?
We’d love to see! Tag @farmfreshfamily on Instagram!