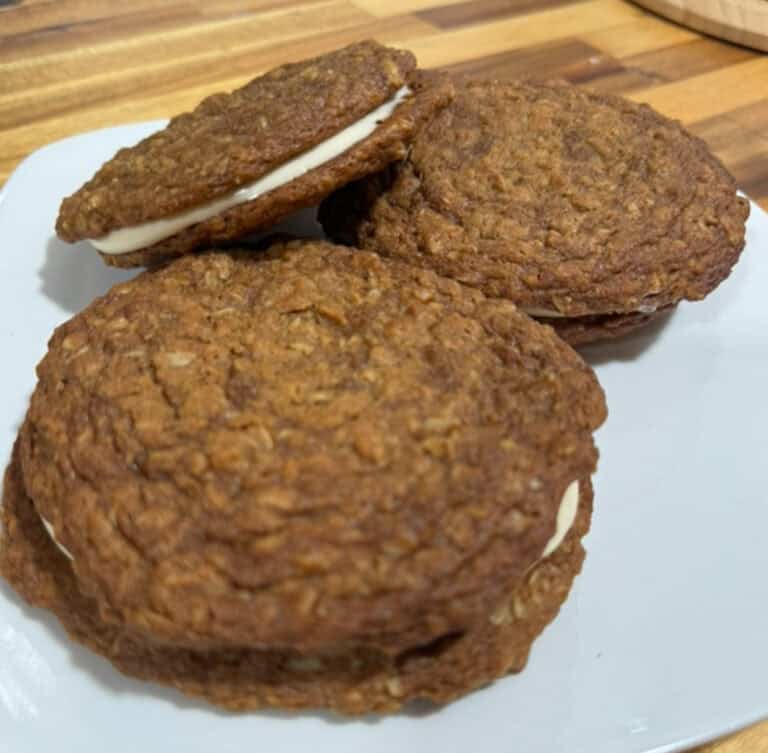
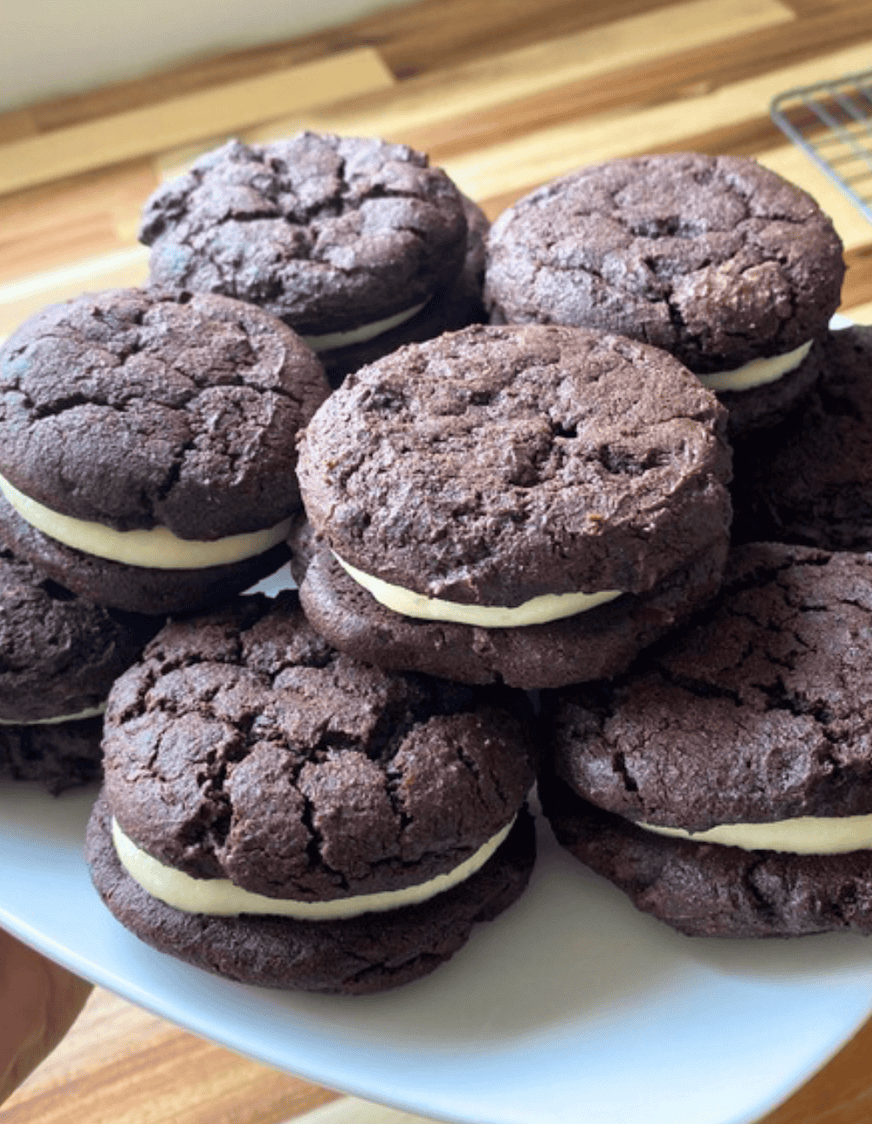
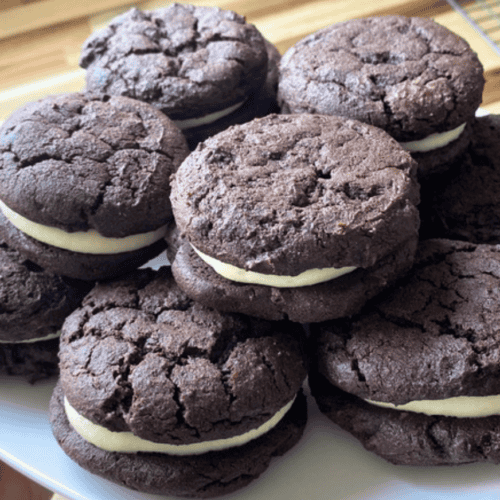
If you’ve been looking for soft, cake-like gluten-free version of whoopie pies with that classic fluffy filling, this recipe is exactly what you need.
Whoopie pies are somewhere between a cookie and a cake — tender chocolate rounds sandwiched together with sweet vanilla cream. They’re nostalgic, simple, and surprisingly easy to make from scratch.
This gluten-free version keeps everything you love about traditional whoopie pies, but uses real ingredients and bakes up soft and moist every time.
They’re perfect for bake sales, holidays, lunchboxes, or whenever you’re craving a classic cream-filled treat.
This post may contain affiliate links, please read our disclosure policy for details.
Where are Whoopie Pies From?
The exact origin of the whoopie pie is genuinely debated, and food historians haven’t landed on one single birthplace — which is honestly fitting for a dessert that feels like it belongs to everybody’s childhood. What we can say with confidence is that the whoopie pie rose to popularity in the early 1900s (especially the 1920s), with multiple regions claiming it as their own.
Two of the most-cited claims come from New England and Pennsylvania. In Maine, the state even designated the whoopie pie as its official state treat in 2011, and Maine’s own state symbols site notes it’s “reported to have been baked in Maine since 1925.” Meanwhile, Pennsylvania is strongly associated with a similar treat often tied to Pennsylvania Dutch/Amish baking traditions, and the “who invented it first?” tug-of-war has been part of whoopie pie lore for years.
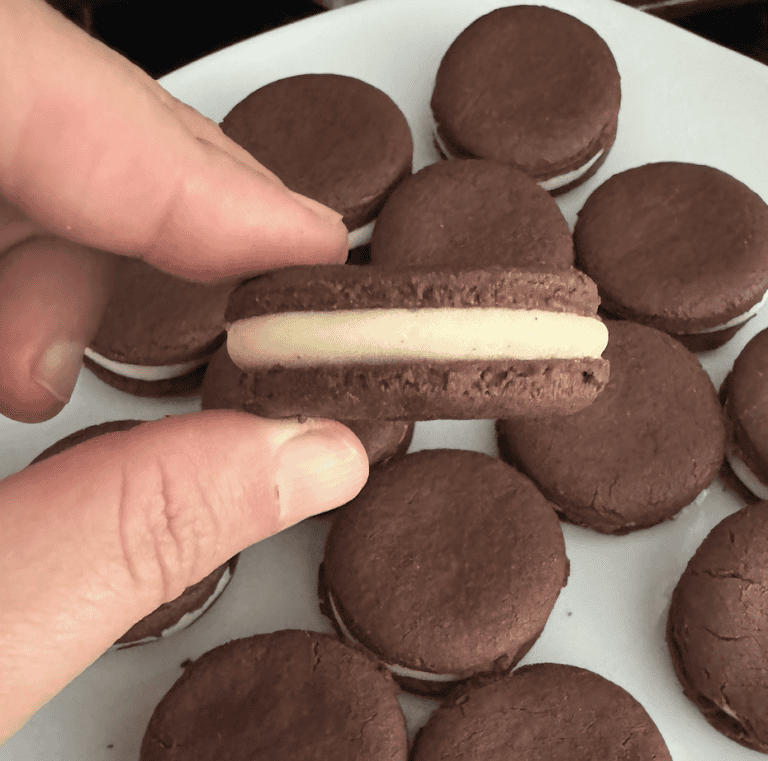
But what can’t be debated is the origin of the Gluten-Free Whoopie Pie in my very own kitchen years ago. I had began my baking day with a fierce craving for Gluten-Free Oreos (which I have since figured out…), and I was determined to figure out how to make them. As I began tossing ingredients into a bowl, I was sure Oreos would be the result. I rolled the cookies and baked them.
To my surprise, they puffed up beautifully and had the softest cake-like texture to them. I knew immediately that I wasn’t destined to create Copycat Oreos that day, I was destined to change gluten-free lives all over the world with whoopie pies. The classic treat I never even considered we needed.
As soon as my family tasted my creation, they were hooked. They began requesting these for holidays, potlucks and birthdays. And the rest is history…
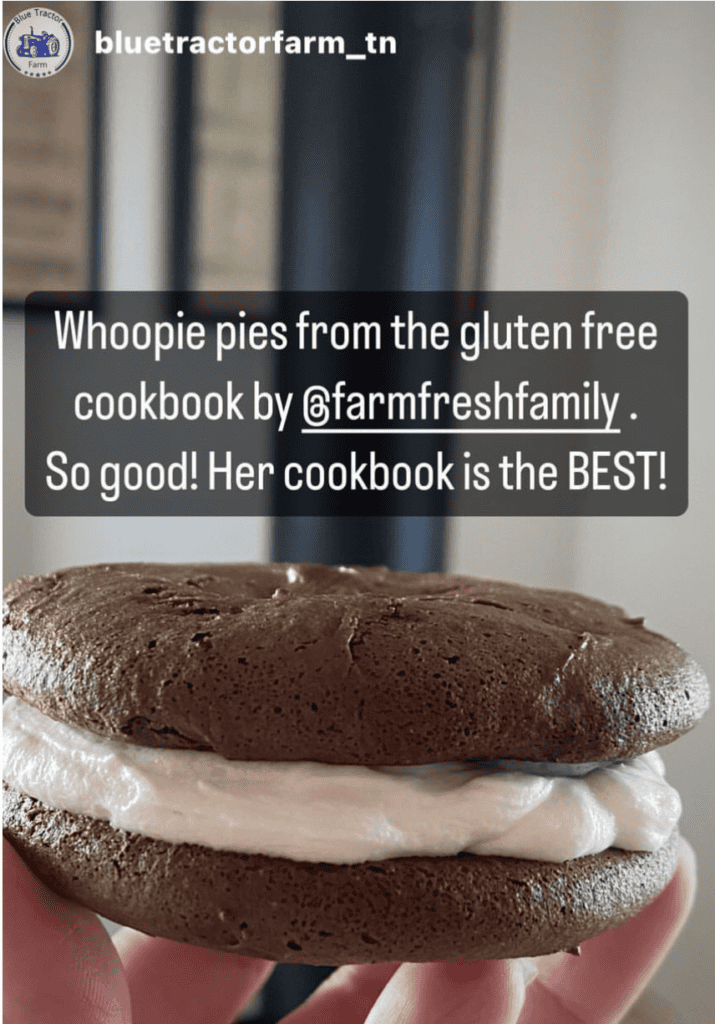
“Everything we make of yours is amazing! I’m sure these won’t be any different! My family (and all of our neighbors lol) love your Whoopie pies!”
Ingredients
Please see recipe card at the bottom of this post for the full recipe details.
1. Gluten-Free One-to-One Flour
A high-quality gluten-free one to-one flour blend provides structure. I preferBob’s Red Mill Gluten-Free 1-to-1 Baking Flour for this recipe because it produces consistent results and bakes evenly. Be sure to use a one-to-one blend that already contains xanthan gum. If you’d like to substitute this ingredient out completely, increase the Xanthan Gum within the recipe by 1/2 tsp.
2. Unsweetened Cocoa Powder
Unsweetened cocoa powder gives these cookie wafers their rich chocolate flavor without adding excess sweetness. For best results, sift the cocoa powder before mixing to remove any clumps. This ensures a smooth dough and even chocolate distribution. A high-quality cocoa powder makes a big difference in both color and depth of flavor.
3. Baking Soda
Baking soda acts as a leavening agent that creates a soft, slightly fluffy and chewy texture. Be mindful of which baking soda you use as many contain unnecessary ingredients. I prefer to use this brand.
4. Baking Powder
Baking powder gives the cookies just enough lift. I recommend using a corn-free and aluminum-free baking powder, which is easier on digestion and keeps the flavor clean. This is my go-to option for all gluten-free baking.
5. Maple Syrup
Maple syrup provides natural sweetness while adding moisture and depth to the cookie dough. It also helps create a smooth, cohesive texture without refined syrups.
6. Butter
Butter adds richness and helps create a crisp yet tender texture in the cookie wafers. Using a high-fat butter like Kerrygold works especially well here. If you need a dairy-free option, you can substitute a dairy-free butter alternative without issue.
See my dairy-free homemade butter recipe here.
7. Salt
A small amount of salt balances the sweetness and enhances the chocolate flavor. Don’t skip it—it makes a noticeable difference.
8. Vanilla Extract
Vanilla extract rounds out the chocolate flavor and adds warmth. Use a pure vanilla extract for the best results.
9. Powdered Sugar
Powdered sugar (also called confectioners sugar) creates smooth, fluffy frostings, glazes, and fillings with that classic melt-in-your-mouth texture. For the cleanest option, look for organic or tapioca-based versions without cornstarch, or blend your own at home for a simple, from-scratch swap that keeps ingredients wholesome and allergy-friendly.
10. Cream Cheese
Cream cheese is a naturally gluten free, creamy dairy staple that adds rich texture and tangy flavor to frostings.
11. Raw Milk
Raw Milk is milk without pasteurization. The milk goes from the cleaned cow into a bucket and then strained before consumption. In recipes, it works exactly the same as pasteurized milk, the main difference being the bioavailable nutritional components that are present with raw milk. If you do not choose to or have access to drinking/using raw milk, it can easily be substituted any milk of choice (dairy or diary free alternatives).
Additional Allergens/Suggested Modifications
- Dairy: Sub a dairy free cream cheese, butter & milk
This recipe is naturally free of: eggs, nuts, fish, crustacean shellfish, tree nuts, peanuts, wheat, soybeans, seed oils and sesame.
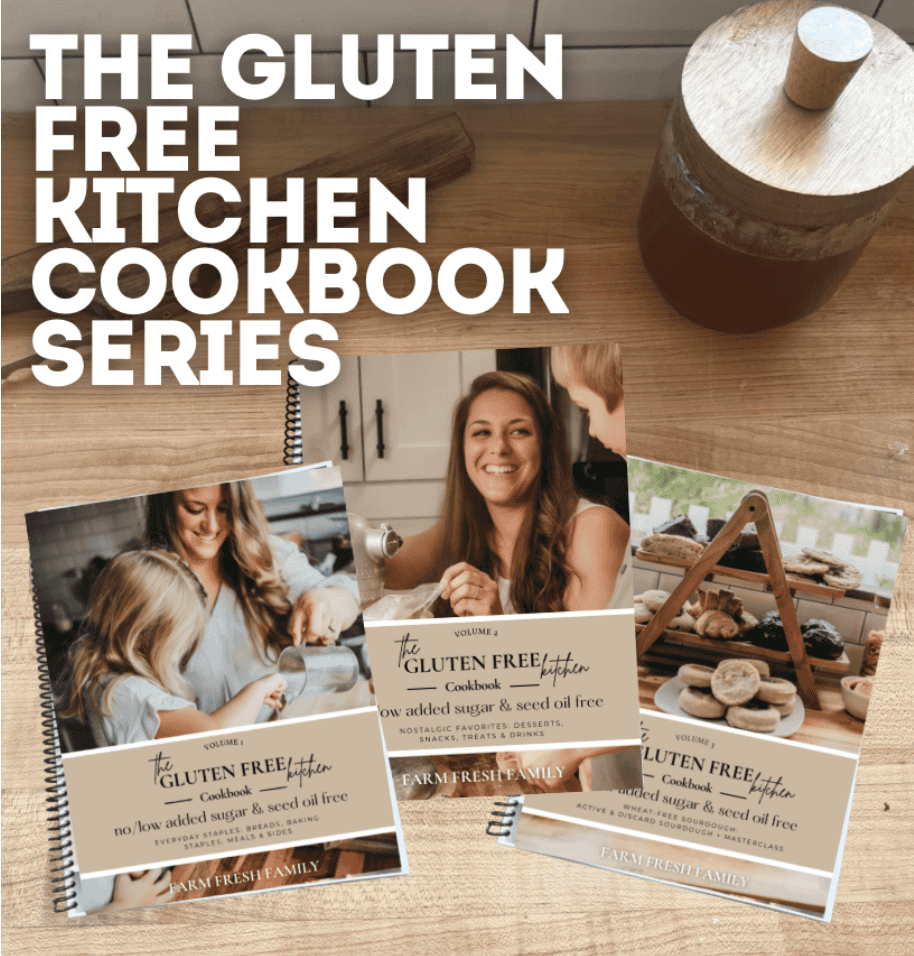
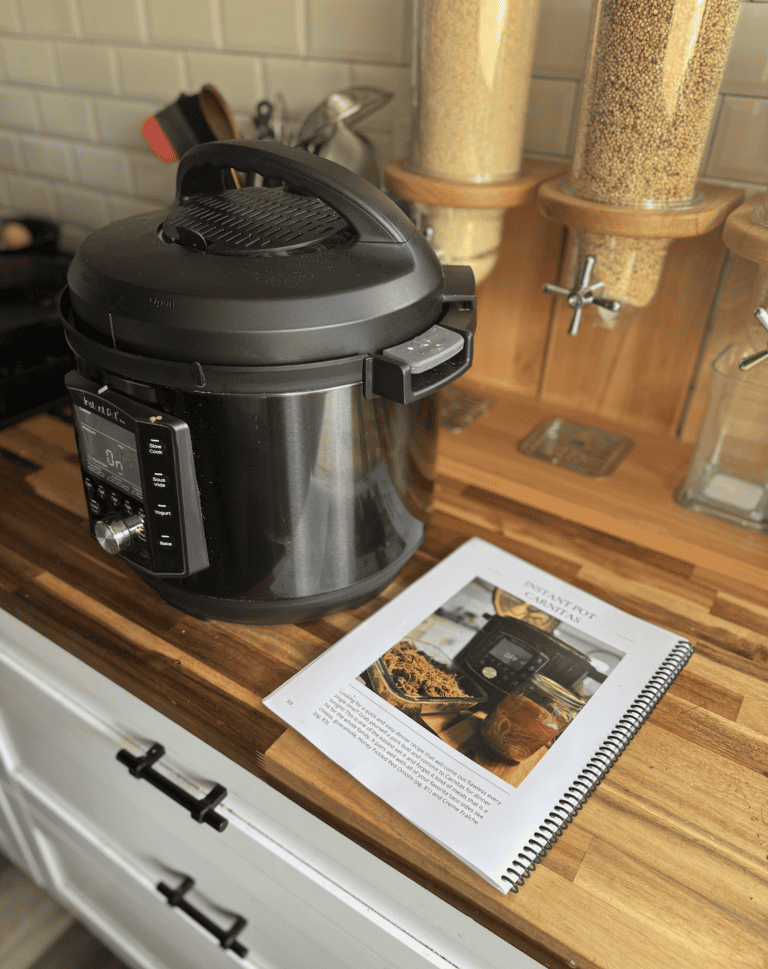
The Gluten Free Kitchen Cookbook Series
Healthy GLUTEN-FREE Recipes for Every Day LIFE
Your go-to cookbooks for all of the delicious & nutritious meals, sides, breads (yeast & sourdough), baking staples, snacks, desserts, drinks and more. With easy-to-follow instructions and beautiful step-by-step photography, every page invites you to explore nostalgic, healthy meals that make being gluten free a “get to” instead of a “have to”.
Whether you’re cooking for yourself or sharing with loved ones, The Gluten Free Kitchen Cookbook Series brings healthy living to your table every day.
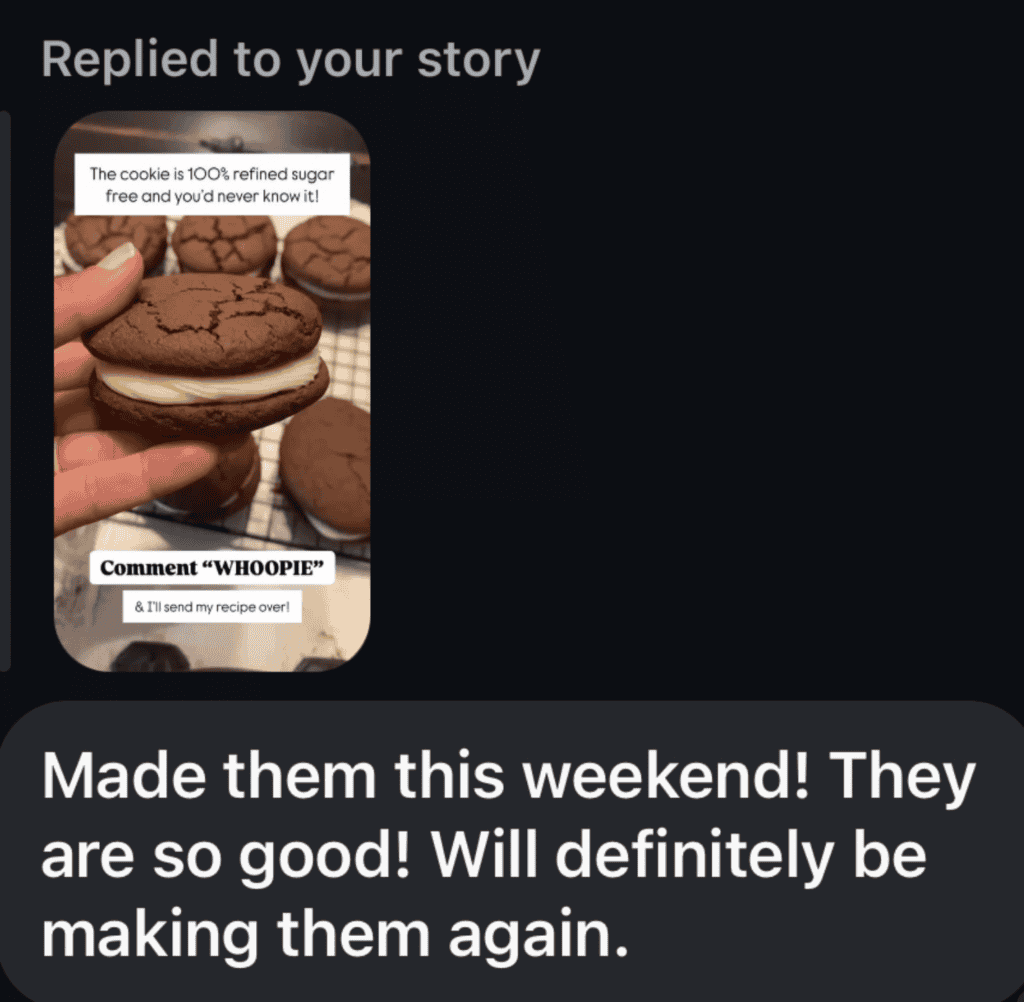
What Are Other’s Saying?
How to Make Whoopie Pies
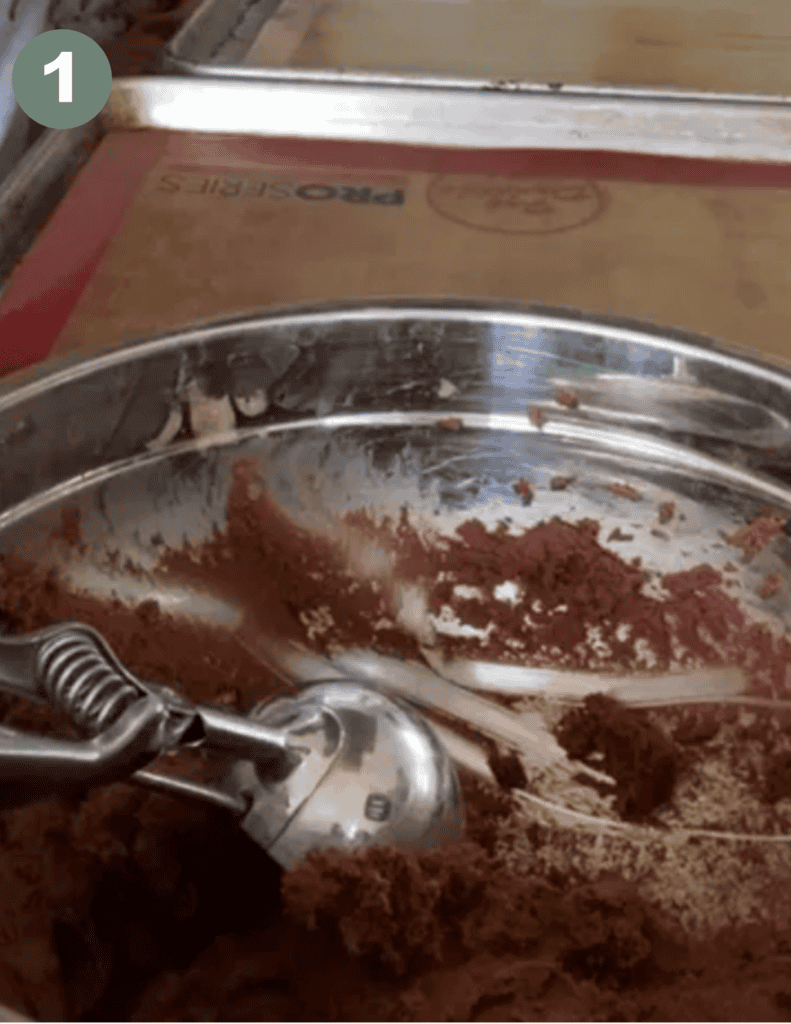
1. Mix the Batter
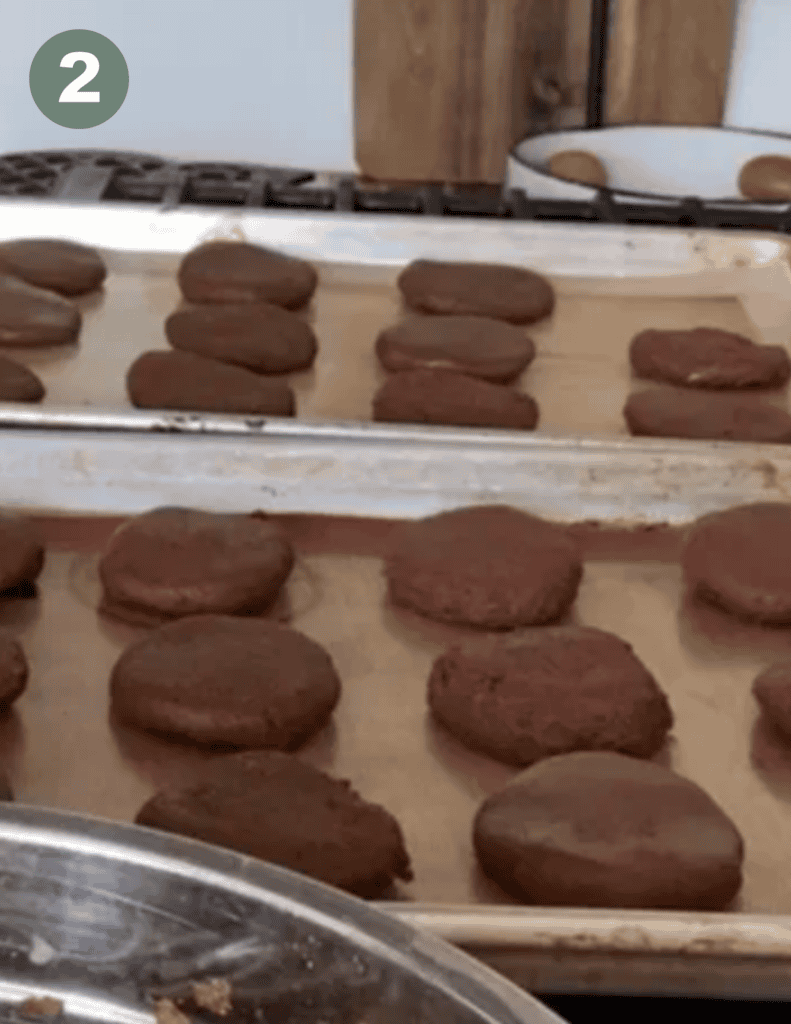
2. Roll & Shape
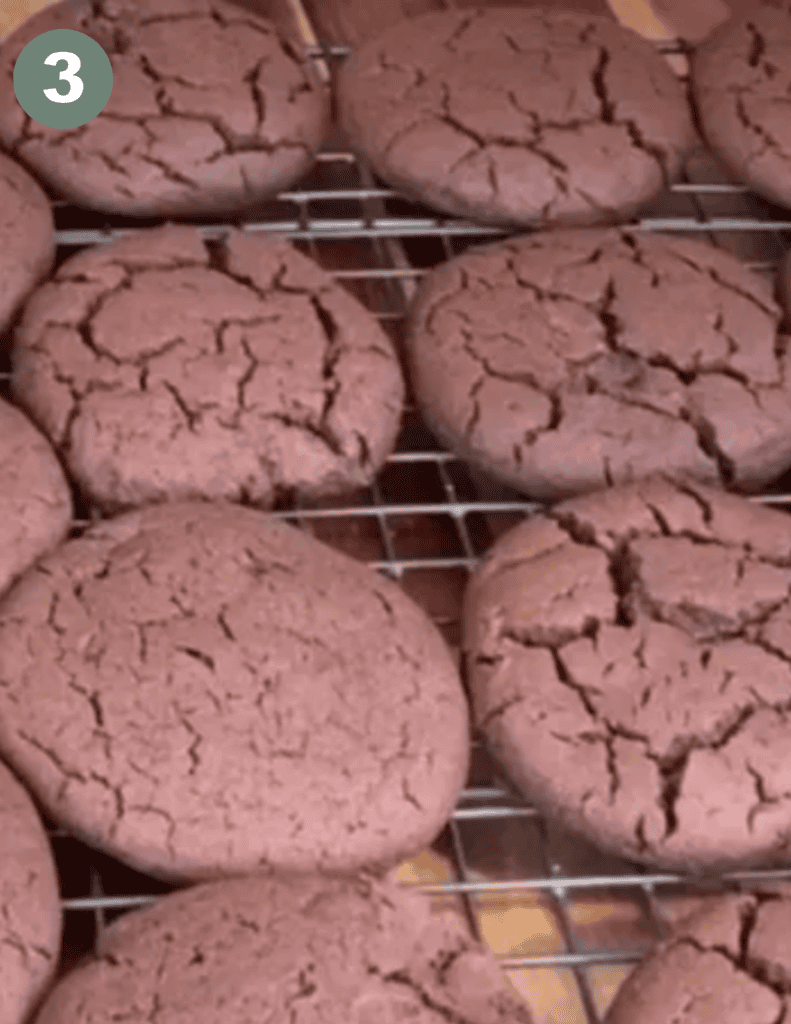
3. Bake
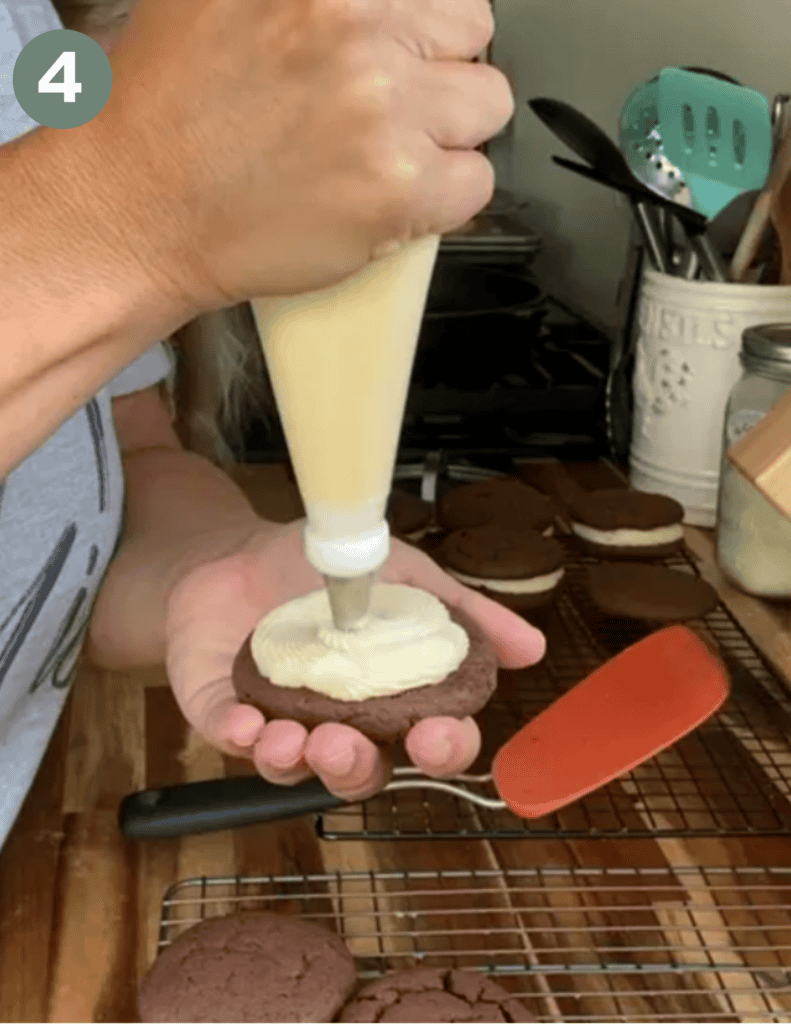
4. Fill & Enjoy
Gluten Free Whoopie Pies (No Seed Oils, No Corn Syrup)
Ingredients
Cookie Base
- 2 cup Gluten Free One to one Flour
- 1 cup Unsweetened Cocoa Powder
- 1/2 cup Butter Softened
- 1 tsp Baking Soda
- 4 tsp Baking Powder
- 1/2 tsp Salt
- 1 3/4 cup Maple Syrup
- 1 tsp Vanilla Extract
Filling
- 1 cup Butter Softened
- 8 oz Cream Cheese
- 2 tsp Vanilla Extract
- 3 cup Powdered Sugar
- 3 tbsp Raw Milk or milk of choice
Instructions
- Preheat oven to 375°F.
- Mix all ingredients together until well combined and place in the refrigerator for 30 minutes. Dough will be sticky, cold helps it be less sticky.
- Scoop dough (I use an ice cream scoop) and roll dough into a ball, then press gently to flatten it. Place the chocolate disc on a silicone lined sheet pan and repeat.
- Chocolate discs should have an inch spacing between them Bake for 8-10 minutes or until the cookie is no longer mushy.
- Prepare the icing by mixing together all of the ingredients starting with creaming the butter and cream cheese together first and then adding in the rest until well whipped.
- Place on a cooling tray and once cooled, fill the cookies with icing and then move them to the refrigerator (or freezer if you’d like to save some for later). Serve once icing is set.
Recipe Tips
Use cocoa powder instead of flour when rolling out the dough to keep the cookies from turning white.
The cookie batter is very sticky, but it needs to be. Make sure to use cocoa powder on your hands when shaping the cookies so that it doesn’t stick.
When rolling the cookie balls, flatten them a little before placing them on the cookie sheet. This will encourage even spreading and fluffing.
Pre-Prep/Storage Options:
- Pre-Prep: The cookie batter can be prepped ahead of time and kept in the refigerator in an airtight container for up to one week.
- The baked cookie can be stored in the refrigerator in an airtight container.
- The icing can be prepped ahead of time as well and stored in the refrigerator in an air tight container.
- Storage: Store in the refrigerator in an airtight container for the best results. Let the cookies soften before eating them.
- Freezing Options: Baked cookies and baked + filled cookies can be store in the freezer for up to 6 months in an air tight container.
Recipe FAQs
Get on the List
Subscribe to Receive the Gluten Free Pantry Must Haves Ebook
Did you make this recipe?
We’d love to see! Tag @farmfreshfamily on Instagram!