If you’ve struggled with gluten-free crepes that tear, turn rubbery, or taste gritty, this recipe fixes that.
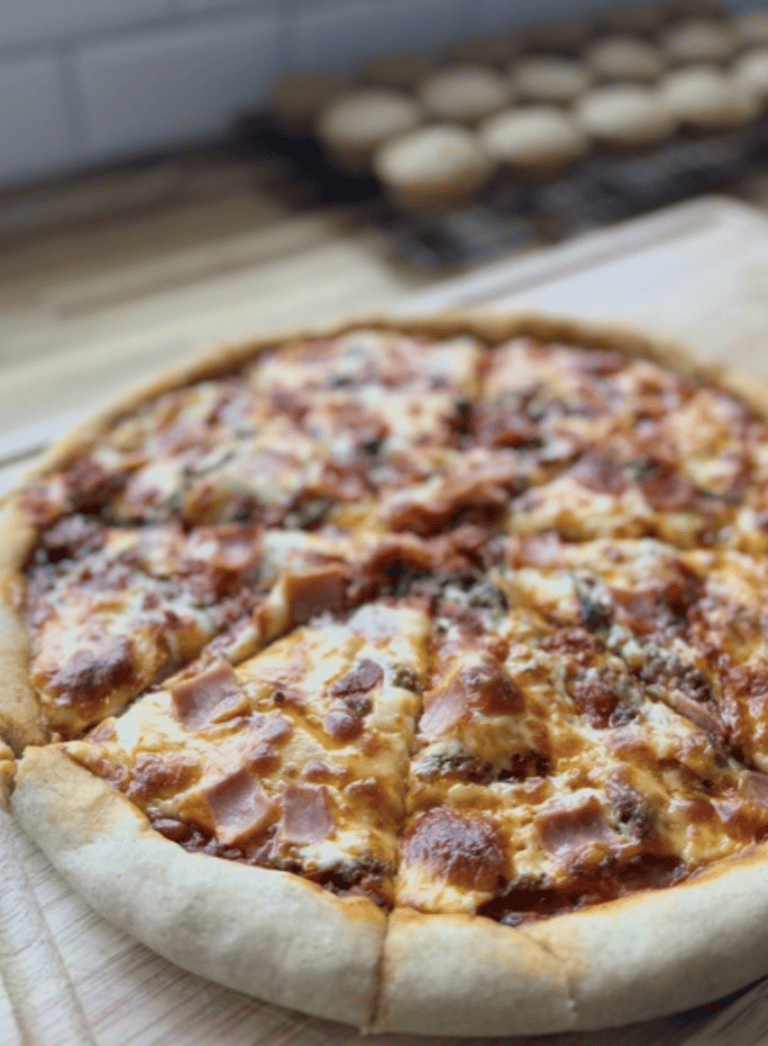
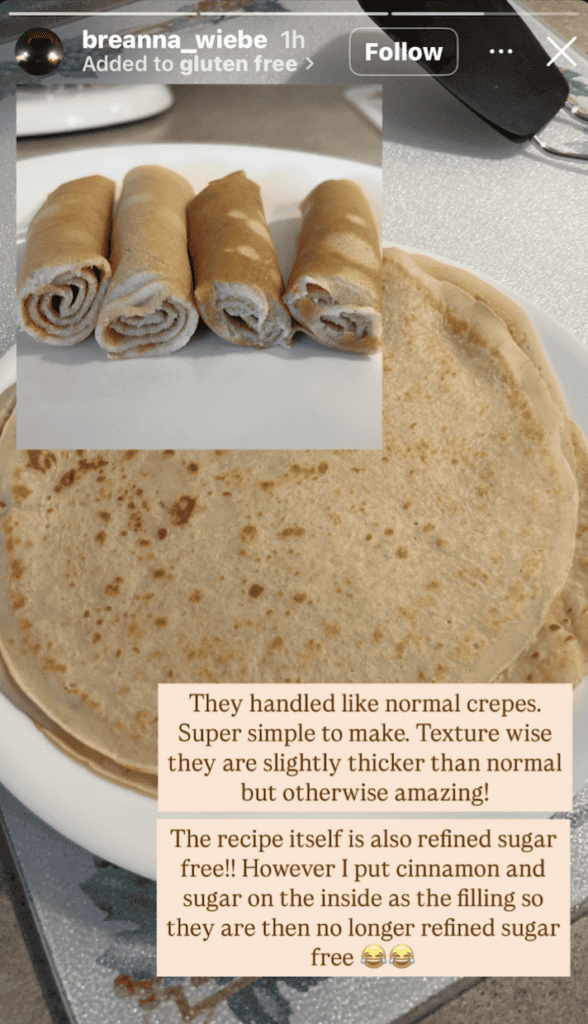
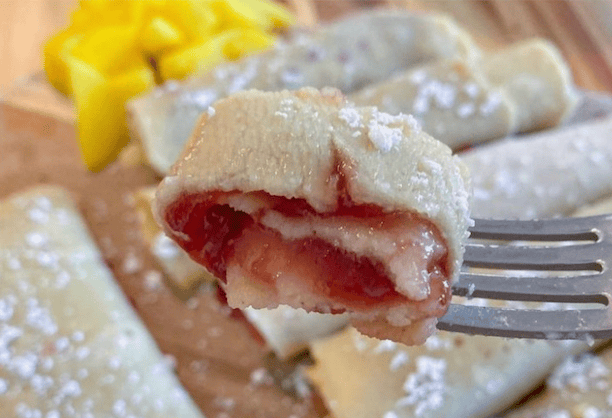
These gluten-free crepes are thin, flexible, and soft with lightly crisp edges — exactly how traditional crepes should be. They fold beautifully for sweet fillings like berries and cream or savory options like ham and cheese.
Made with simple pantry ingredients, they blend together in minutes and cook quickly in a skillet. Once you learn the technique, they become one of the easiest gluten-free breakfasts (or desserts) to master.
This post may contain affiliate links, please read our disclosure policy for details.
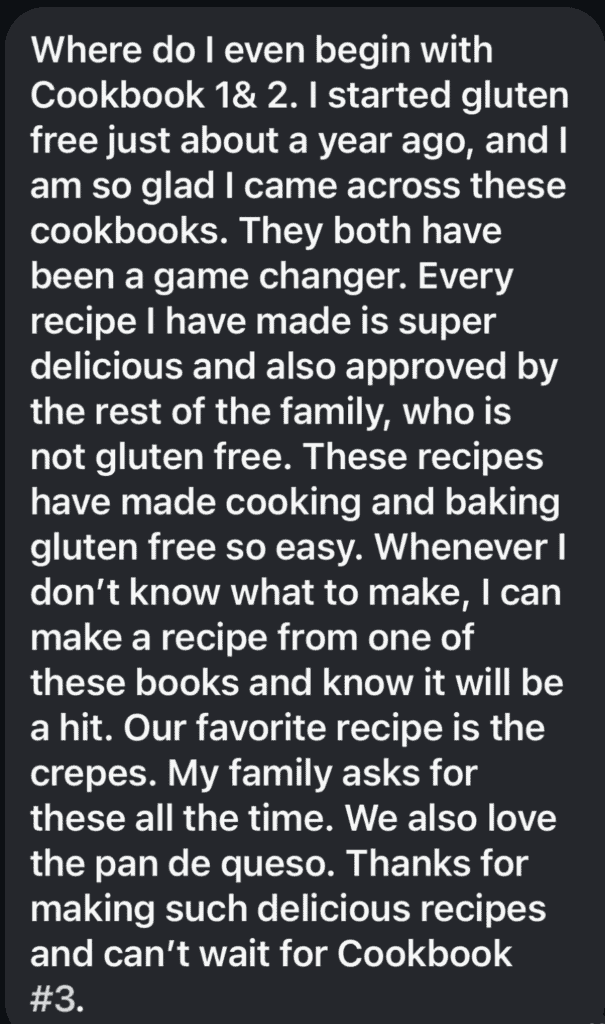
“Our favorite recipe is the crepes. My family asks for these all the time.”
Ingredients
Please see recipe card at the bottom of this post for the full recipe details.
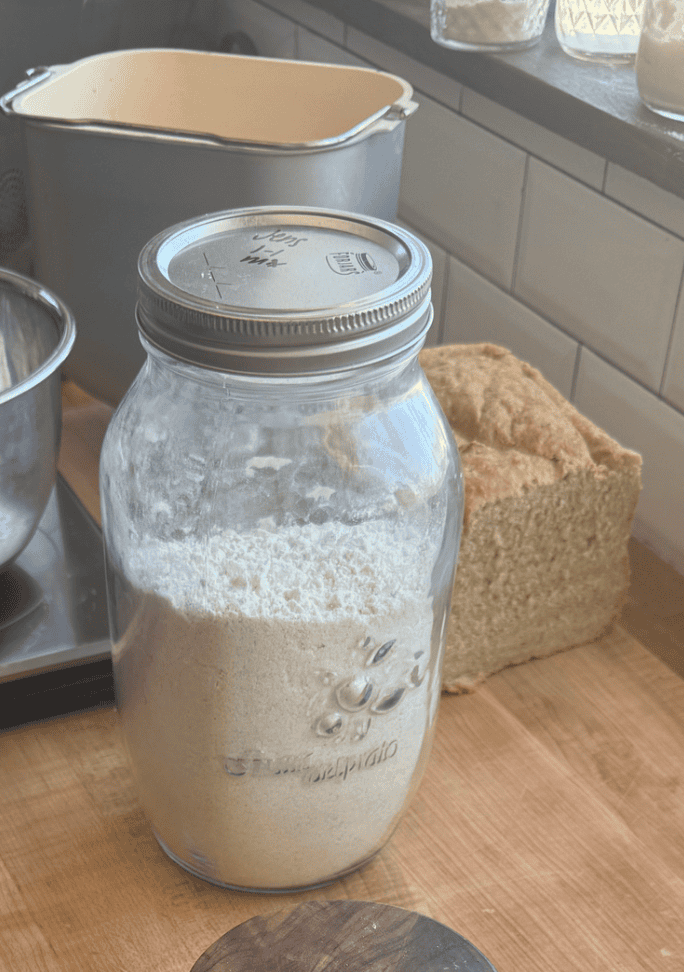
1. Gluten-Free One-to-One Flour
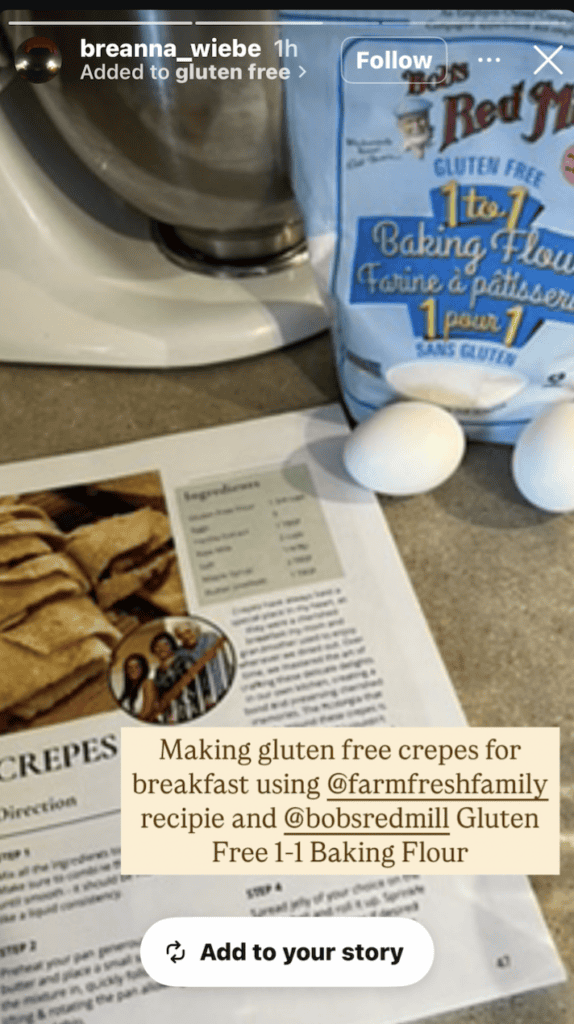
A high-quality gluten-free one to-one flour blend provides structure while keeping the crepes together, not crumbly. I prefer Bob’s Red Mill Gluten-Free 1-to-1 Baking Flour for this recipe because it produces consistent results and bakes evenly. Be sure to use a one-to-one blend that already contains xanthan gum. If you’d like to substitute this ingredient out completely, increase the Xanthan Gum within the recipe by 1/2 tsp.
2. Salt
A small amount of salt balances the sweetness and enhances the chocolate flavor. Don’t skip it—it makes a noticeable difference.
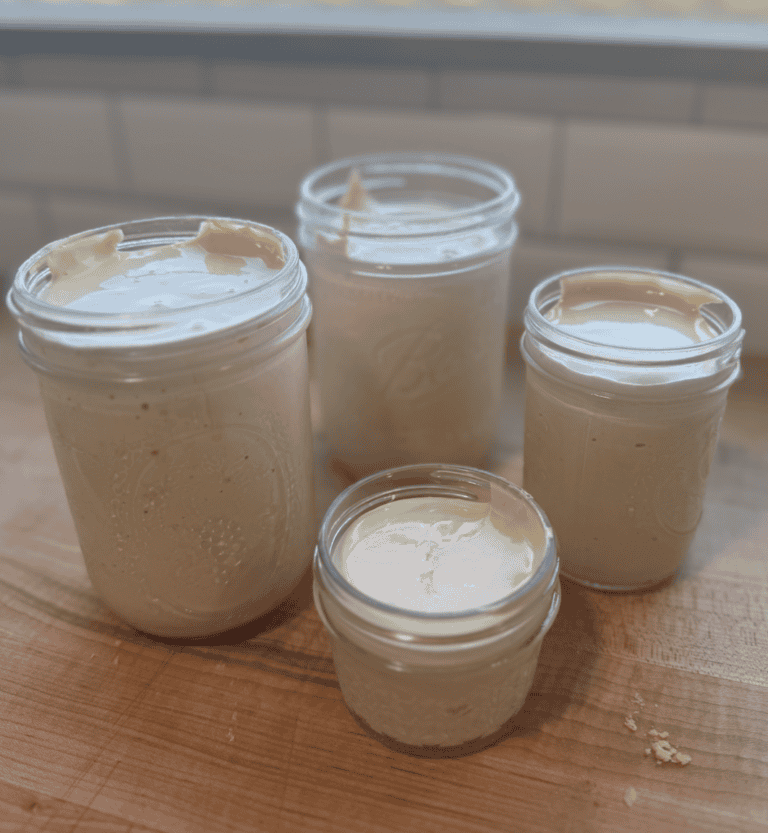
3. Butter
Butter adds richness and helps create a smooth and delicious texture in the crepe. Using a high-fat butter like Kerrygold works especially well here. If you need a dairy-free option, you can substitute a dairy-free butter alternative without issue.
See my dairy-free homemade butter recipe here.
4. Maple Syrup
Maple syrup provides natural sweetness while adding moisture and depth to the crepe. It also helps create a smooth, cohesive texture without refined syrups.
5. Vanilla Extract
Vanilla extract rounds out the crepe shell and adds warmth. Use a pure vanilla extract for the best results.
6. Raw Milk
Raw milk adds a creaminess to the base that creates the moist, delicious crepe batter. If you don’t have your own dairy cattle, I suggest sourcing raw milk from a trusted farmer. This website may help you find one local to you. And if raw milk isn’t a good fit for your family, it can easily be subbed for equal parts with any milk or milk alternative.
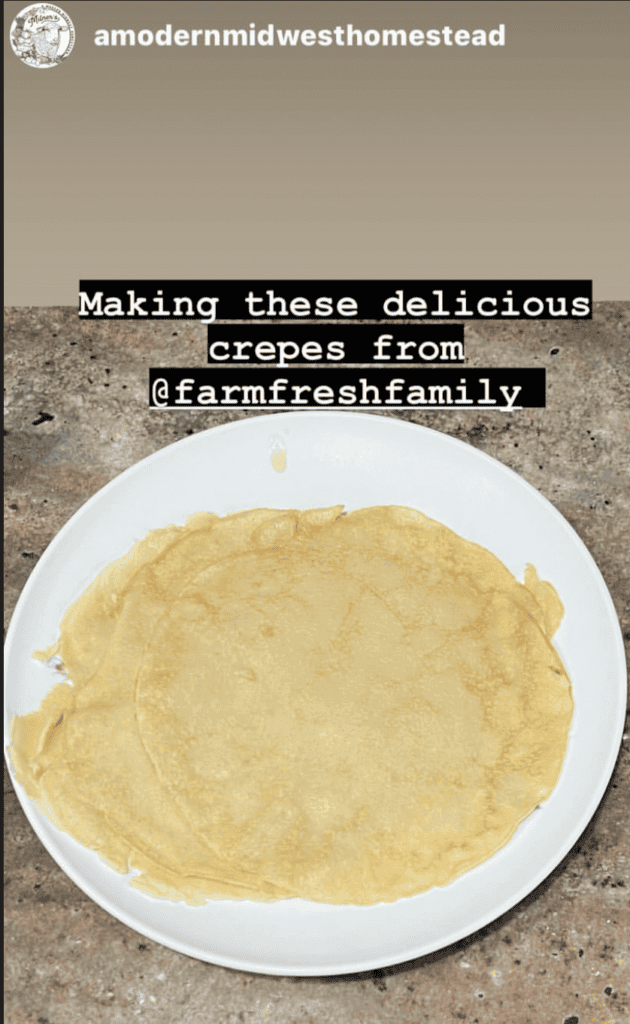
What Are Other’s Saying?
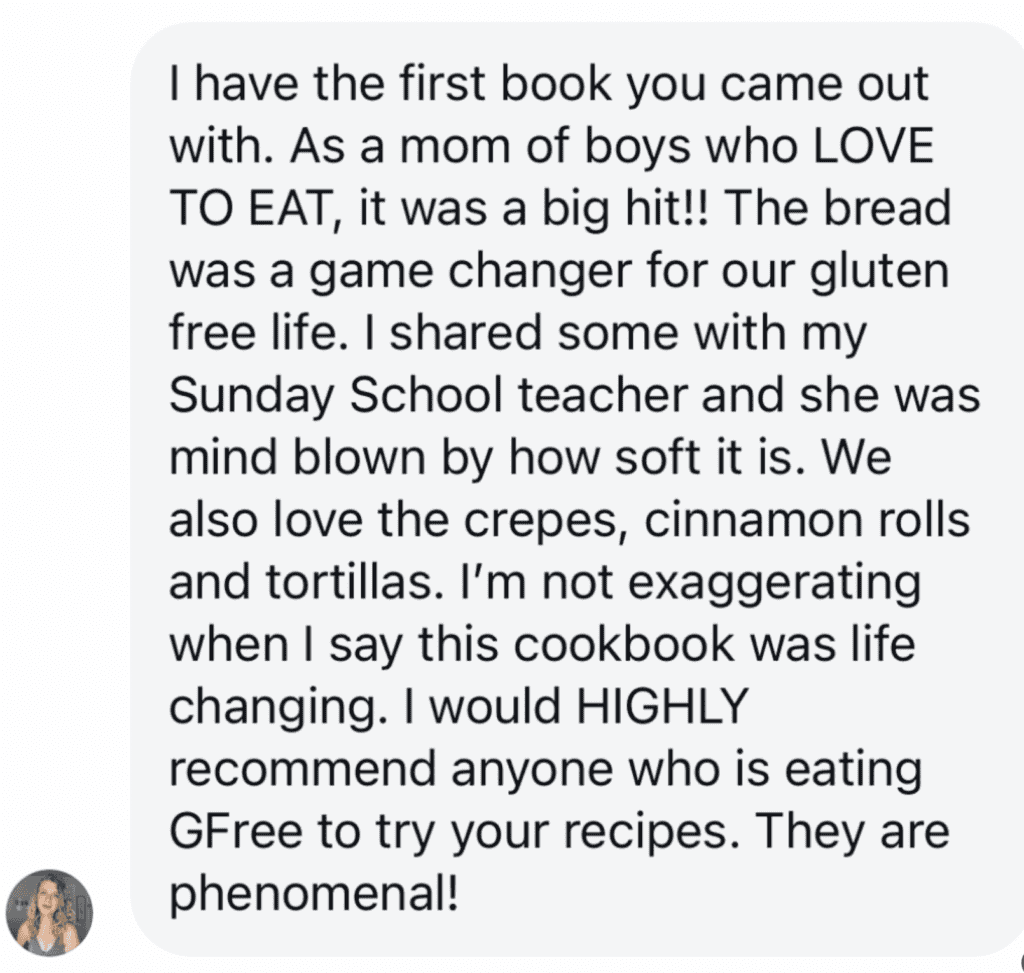


The Gluten Free Kitchen Cookbook Series
Healthy GLUTEN-FREE Recipes for Every Day LIFE
Your go-to cookbooks for all of the delicious & nutritious meals, sides, breads (yeast & sourdough), baking staples, snacks, desserts, drinks and more. With easy-to-follow instructions and beautiful step-by-step photography, every page invites you to explore nostalgic, healthy meals that make being gluten free a “get to” instead of a “have to”.
Whether you’re cooking for yourself or sharing with loved ones, The Gluten Free Kitchen Cookbook Series brings healthy living to your table every day.
Making the Crepes
Prepare the batter (it will be thin). Make sure to use a well seasoned skillet and add butter to the pan. Pour the batter out onto your already heated skillet and quickly/gently spread the batter as thin as possible.

1. Mix
2. Pour
3. Flatten
4. Flip
If using a lighter skillet, you can pick up the skillet and rotate your wrist to spread the batter in a thin circle. Once thin, allow the batter to cook for about a minute (you will notice the texture of the crepe changing as it cooks). Flip the crepe and allow it to cook for another 30-45 seconds and then transfer it to a plate.
1. Place on Plate
2. Spread Filling
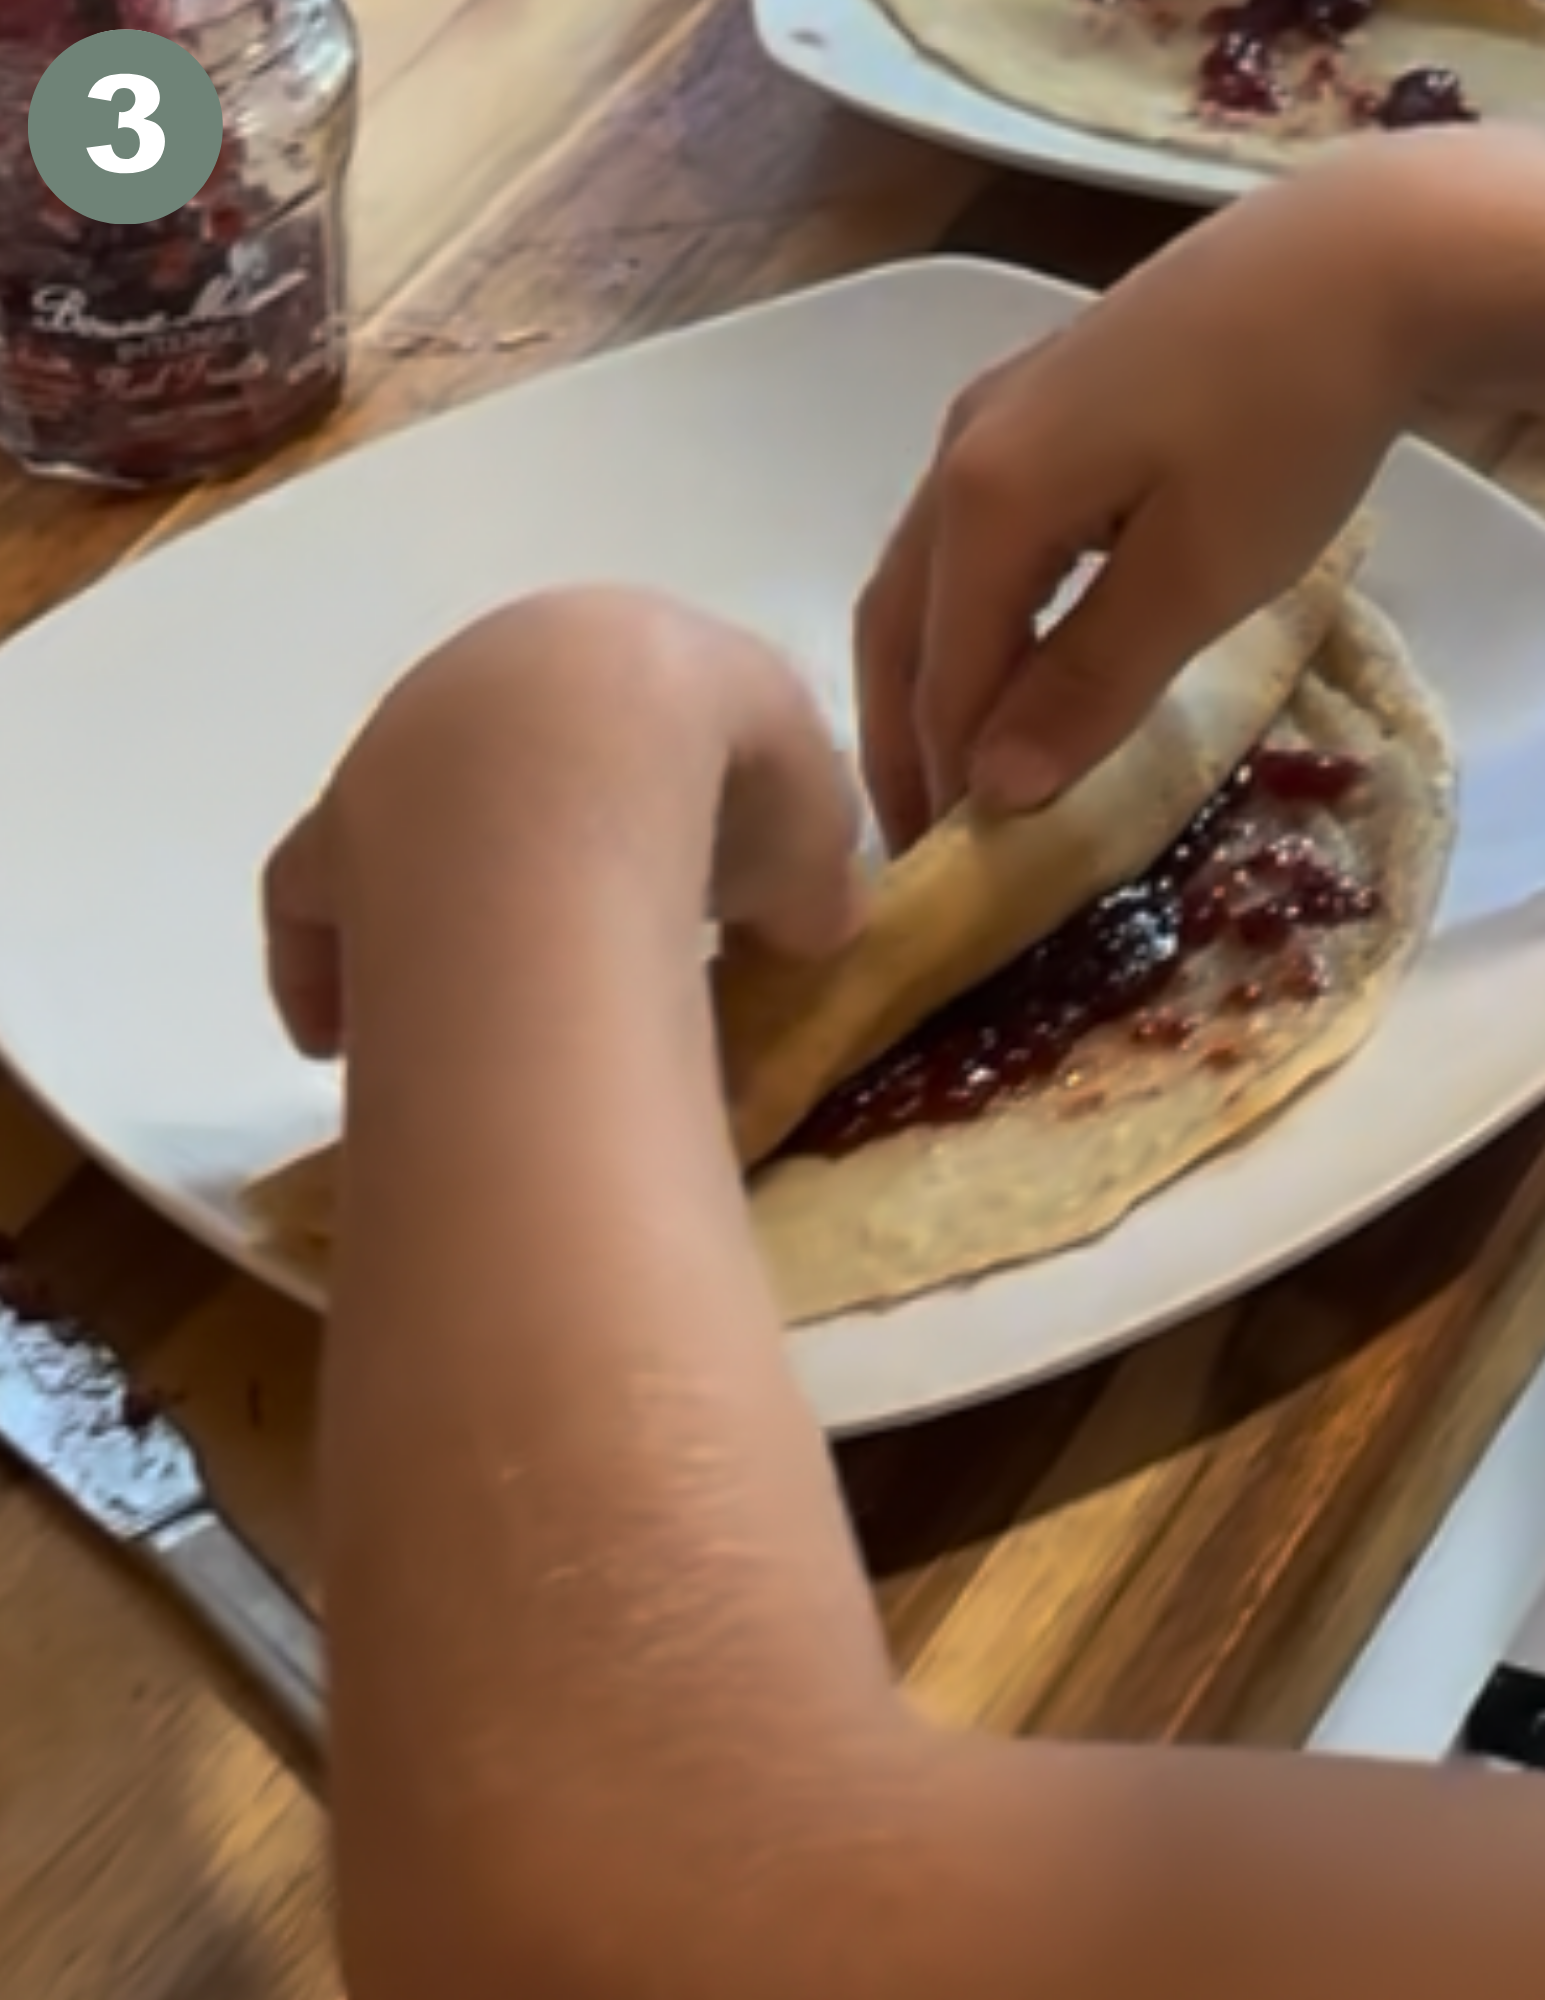
3. Roll
4. Enjoy
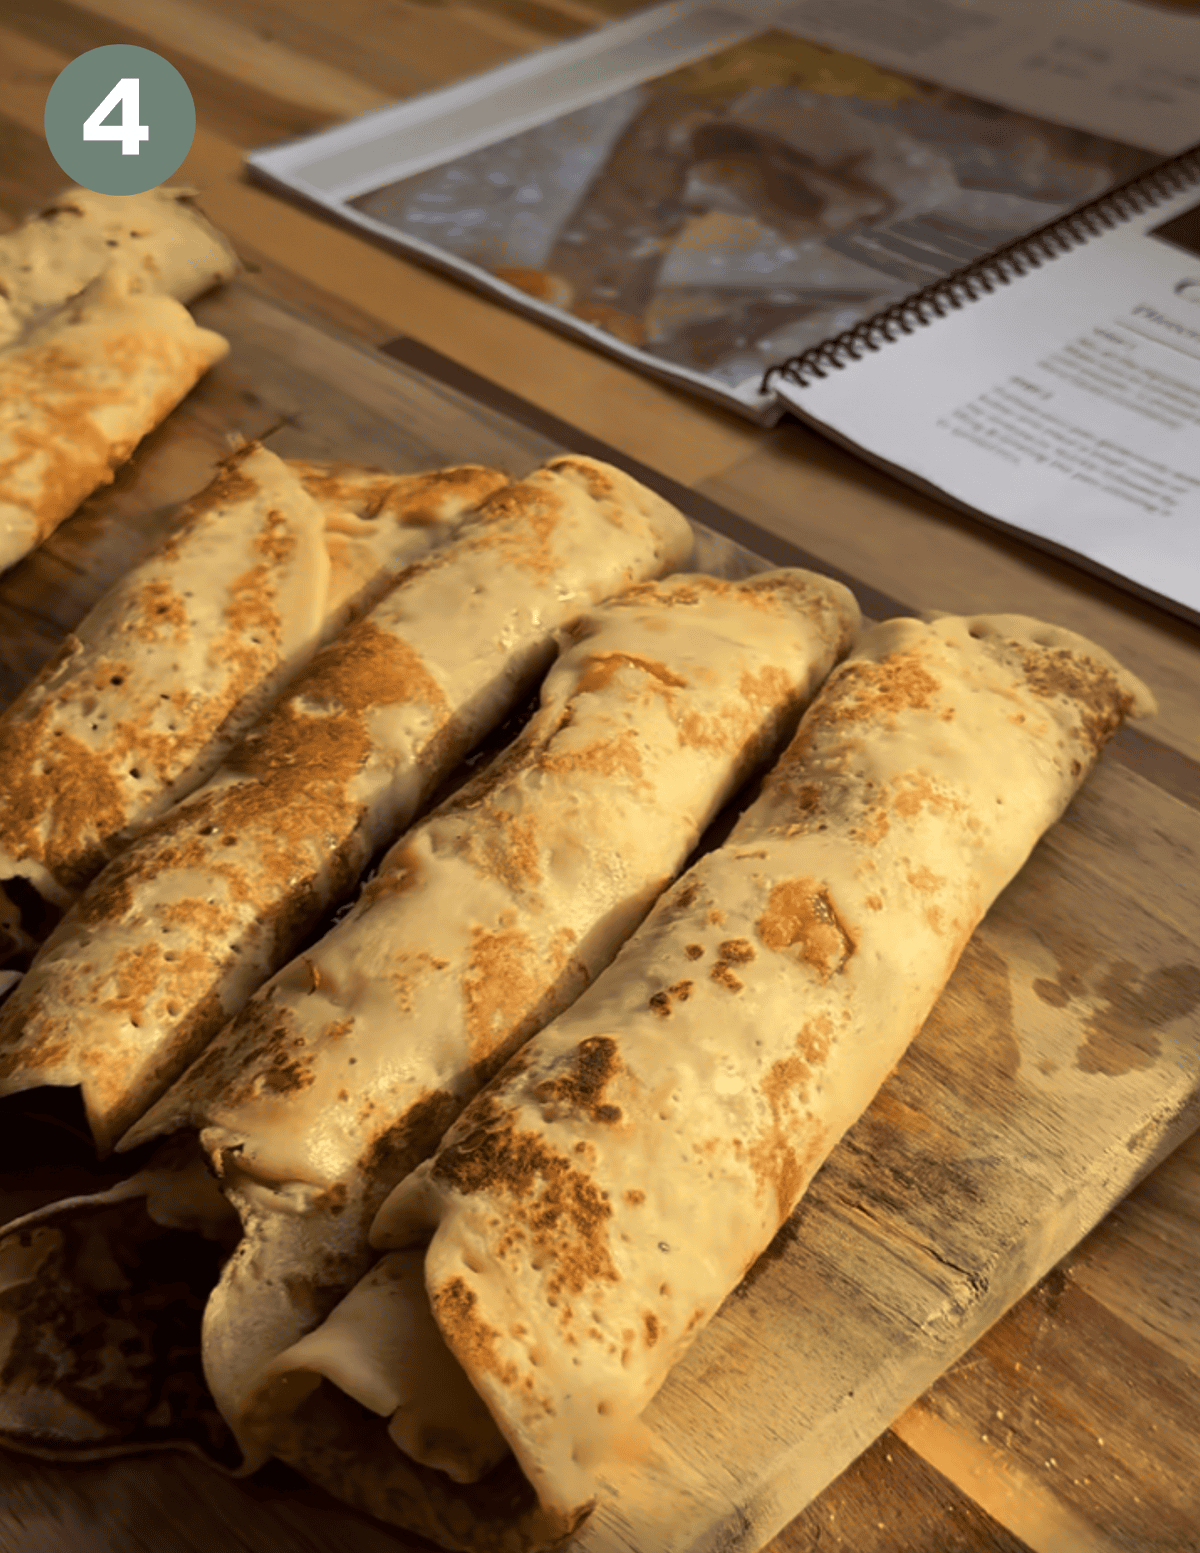
Spread your favorite filling on the crepe (you can mix it up and get really creative here). Then roll the crepes and plate them.
Recipe Tips
Add more butter before every crepe bakes in the skillet to get the marbled browning.
Make sure to spread the batter as thin as possible to get the authentic crepe experience.
It helps to have two plates out when baking the crepes to keep a constant flow of crepes going. The plates are for when the crepe is baked and ready to fill. And, it helps to have multiple people at different stations (baking, flipping, filling, rolling, etc)
Additional Allergens/Suggested Modifications
- Dairy: Sub for dairy free milk & butter alternatives.
- Egg: Use 2 TBSP of tallow instead of eggs and adjust flour if runny.
This recipe is naturally free of: nuts, fish, crustacean shellfish, tree nuts, peanuts, wheat, soybeans, seed oils, and sesame.
Gluten-Free Crepes (Soft, Thin & Easy Every Time)
Ingredients
- 1 3/4 cup Gluten Free One-to-One Flour
- 3 Eggs
- 1 tbsp Vanilla Extract
- 2 cup Raw Milk or milk alternative
- 1/4 tsp Salt
- 2 tbsp Maple Syrup
- 1 tbsp Butter melted
Instructions
- Mix all the ingredients together. Make sure to combine the flour until smooth – it should be more like a liquid consistency.
- Preheat your pan and coat generously with butter.
- Place a small scoop of the batter into the buttered pan and quickly lift and rotate the pan allowing the batter to spread thin. If your pan is heavy, use the back of a ladle to thin out the batter. Getting it as thin as possible is key.
- Allow the batter to cook (this will be quick – roughly 1 minute) and flip to cook the final side for an additional 30-35 seconds. The batter should have a clean flip and browning patterns on it.
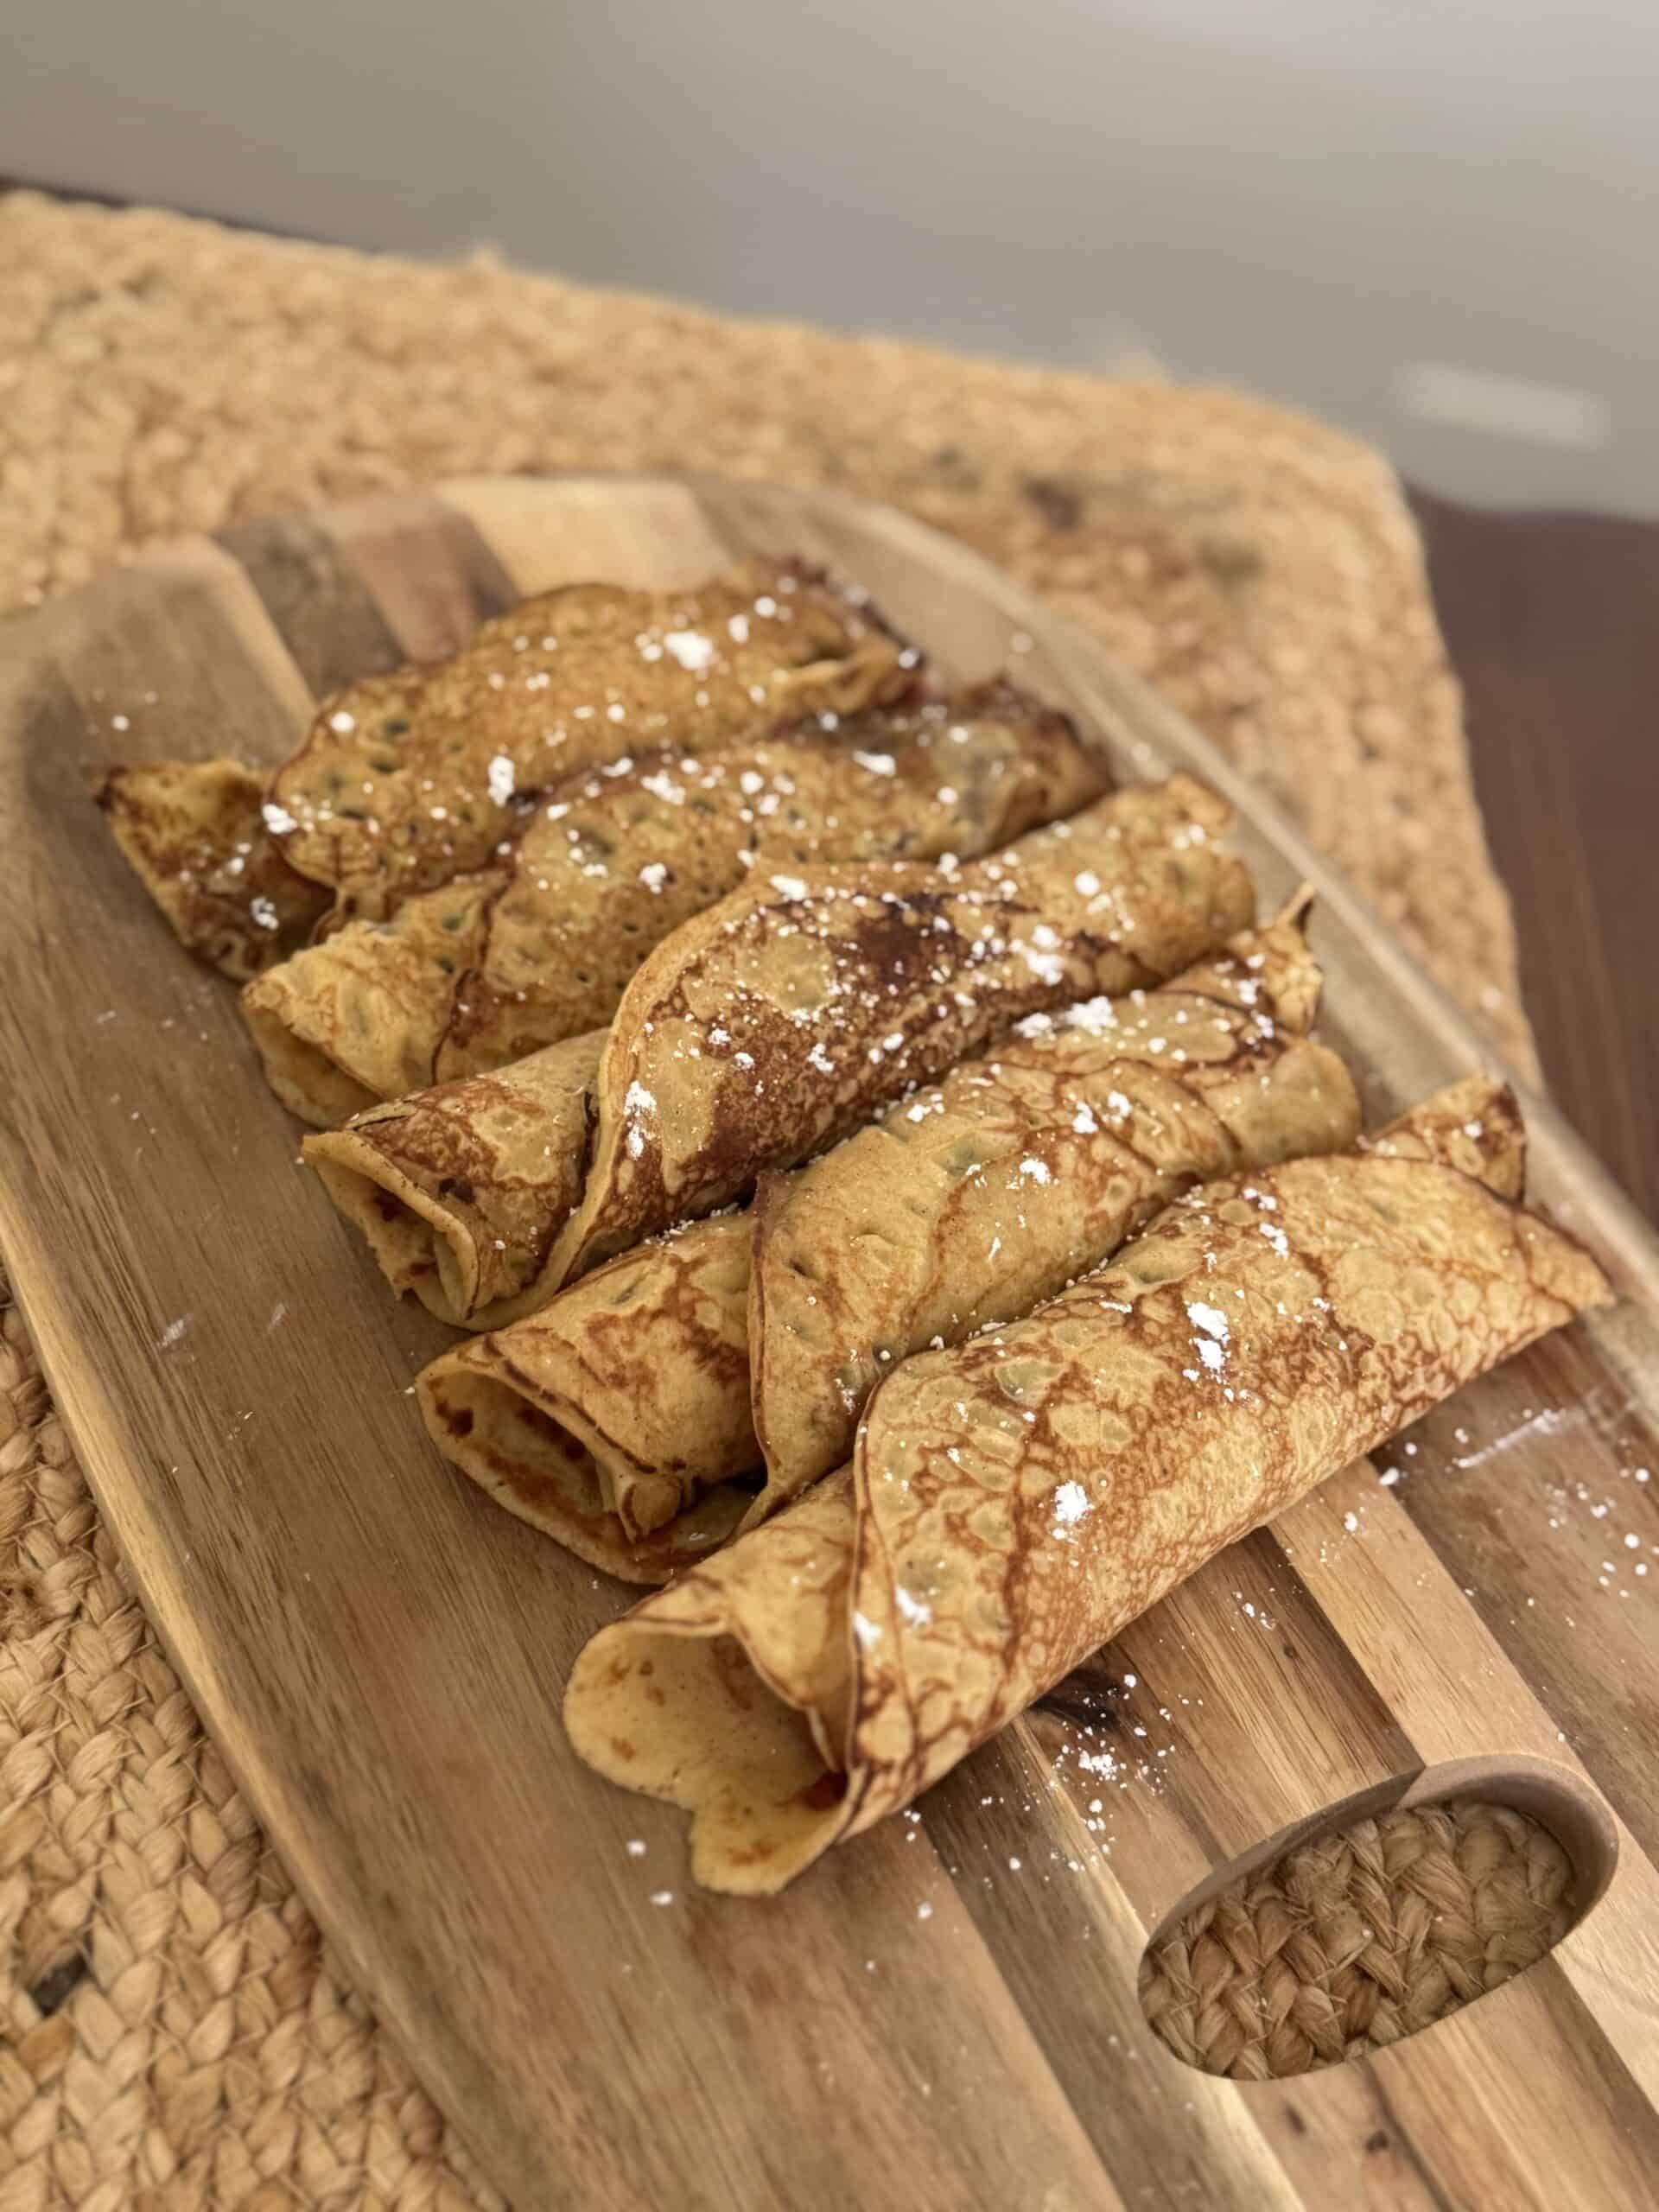
- Transfer the baked crepe to a flat plate and spread your filling of your choice on the crepe shell evenly.
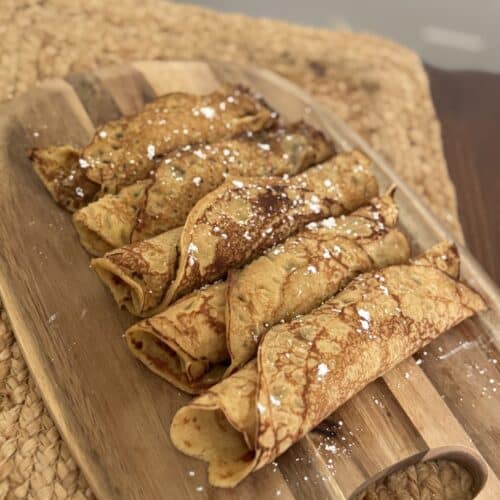
- Gently roll the crepes up and sprinkle with powdered sugar if desired. Serve and eat immediately for best results.
Notes
Prep/Storage Options:
- Prep: Crepe batter can be made ahead of time and stored in an airtight container in the refrigerator or stored in the freezer. If stored in the freezer, thaw before use.
- Storage: Crepes are best fresh, but they can be made and placed in an airtight container in the refrigerator as leftovers for up to one week.
Recipe FAQs
Get on the List
Subscribe to Receive the Gluten Free Pantry Must Haves Ebook
Did you make this recipe?
We’d love to see! Tag @farmfreshfamily on Instagram!