There’s one thing most gluten-free families are looking for more than anything else: a reliable sandwich bread to be a staple in their home.
Not a loaf that crumbles.
Not one that needs to be toasted to survive.
Not one that is the size of a toddlers palm.
And definitely not one that tastes like cardboard by day two.
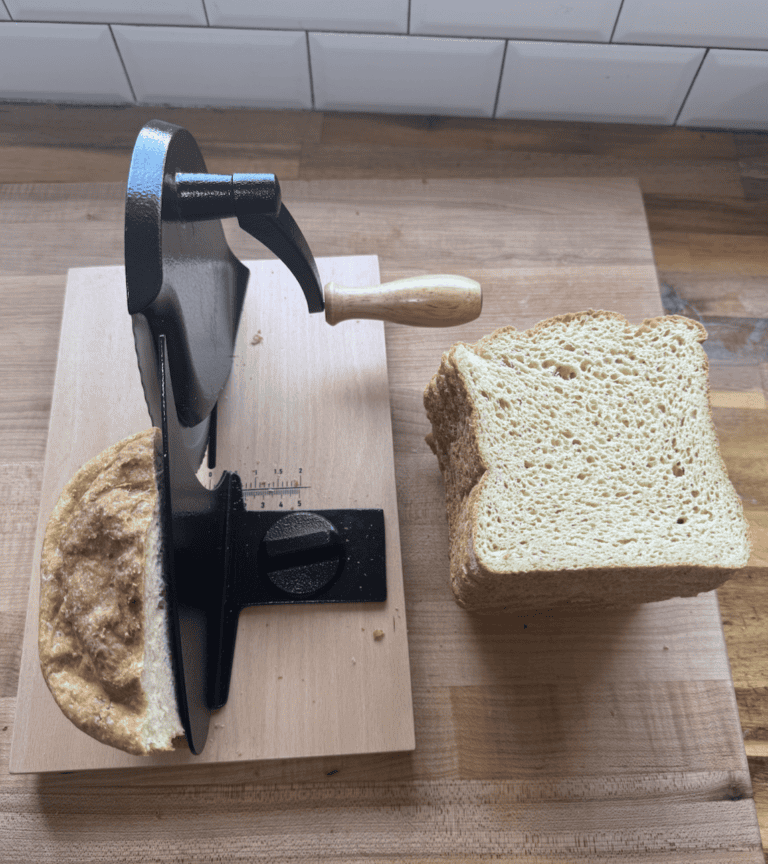
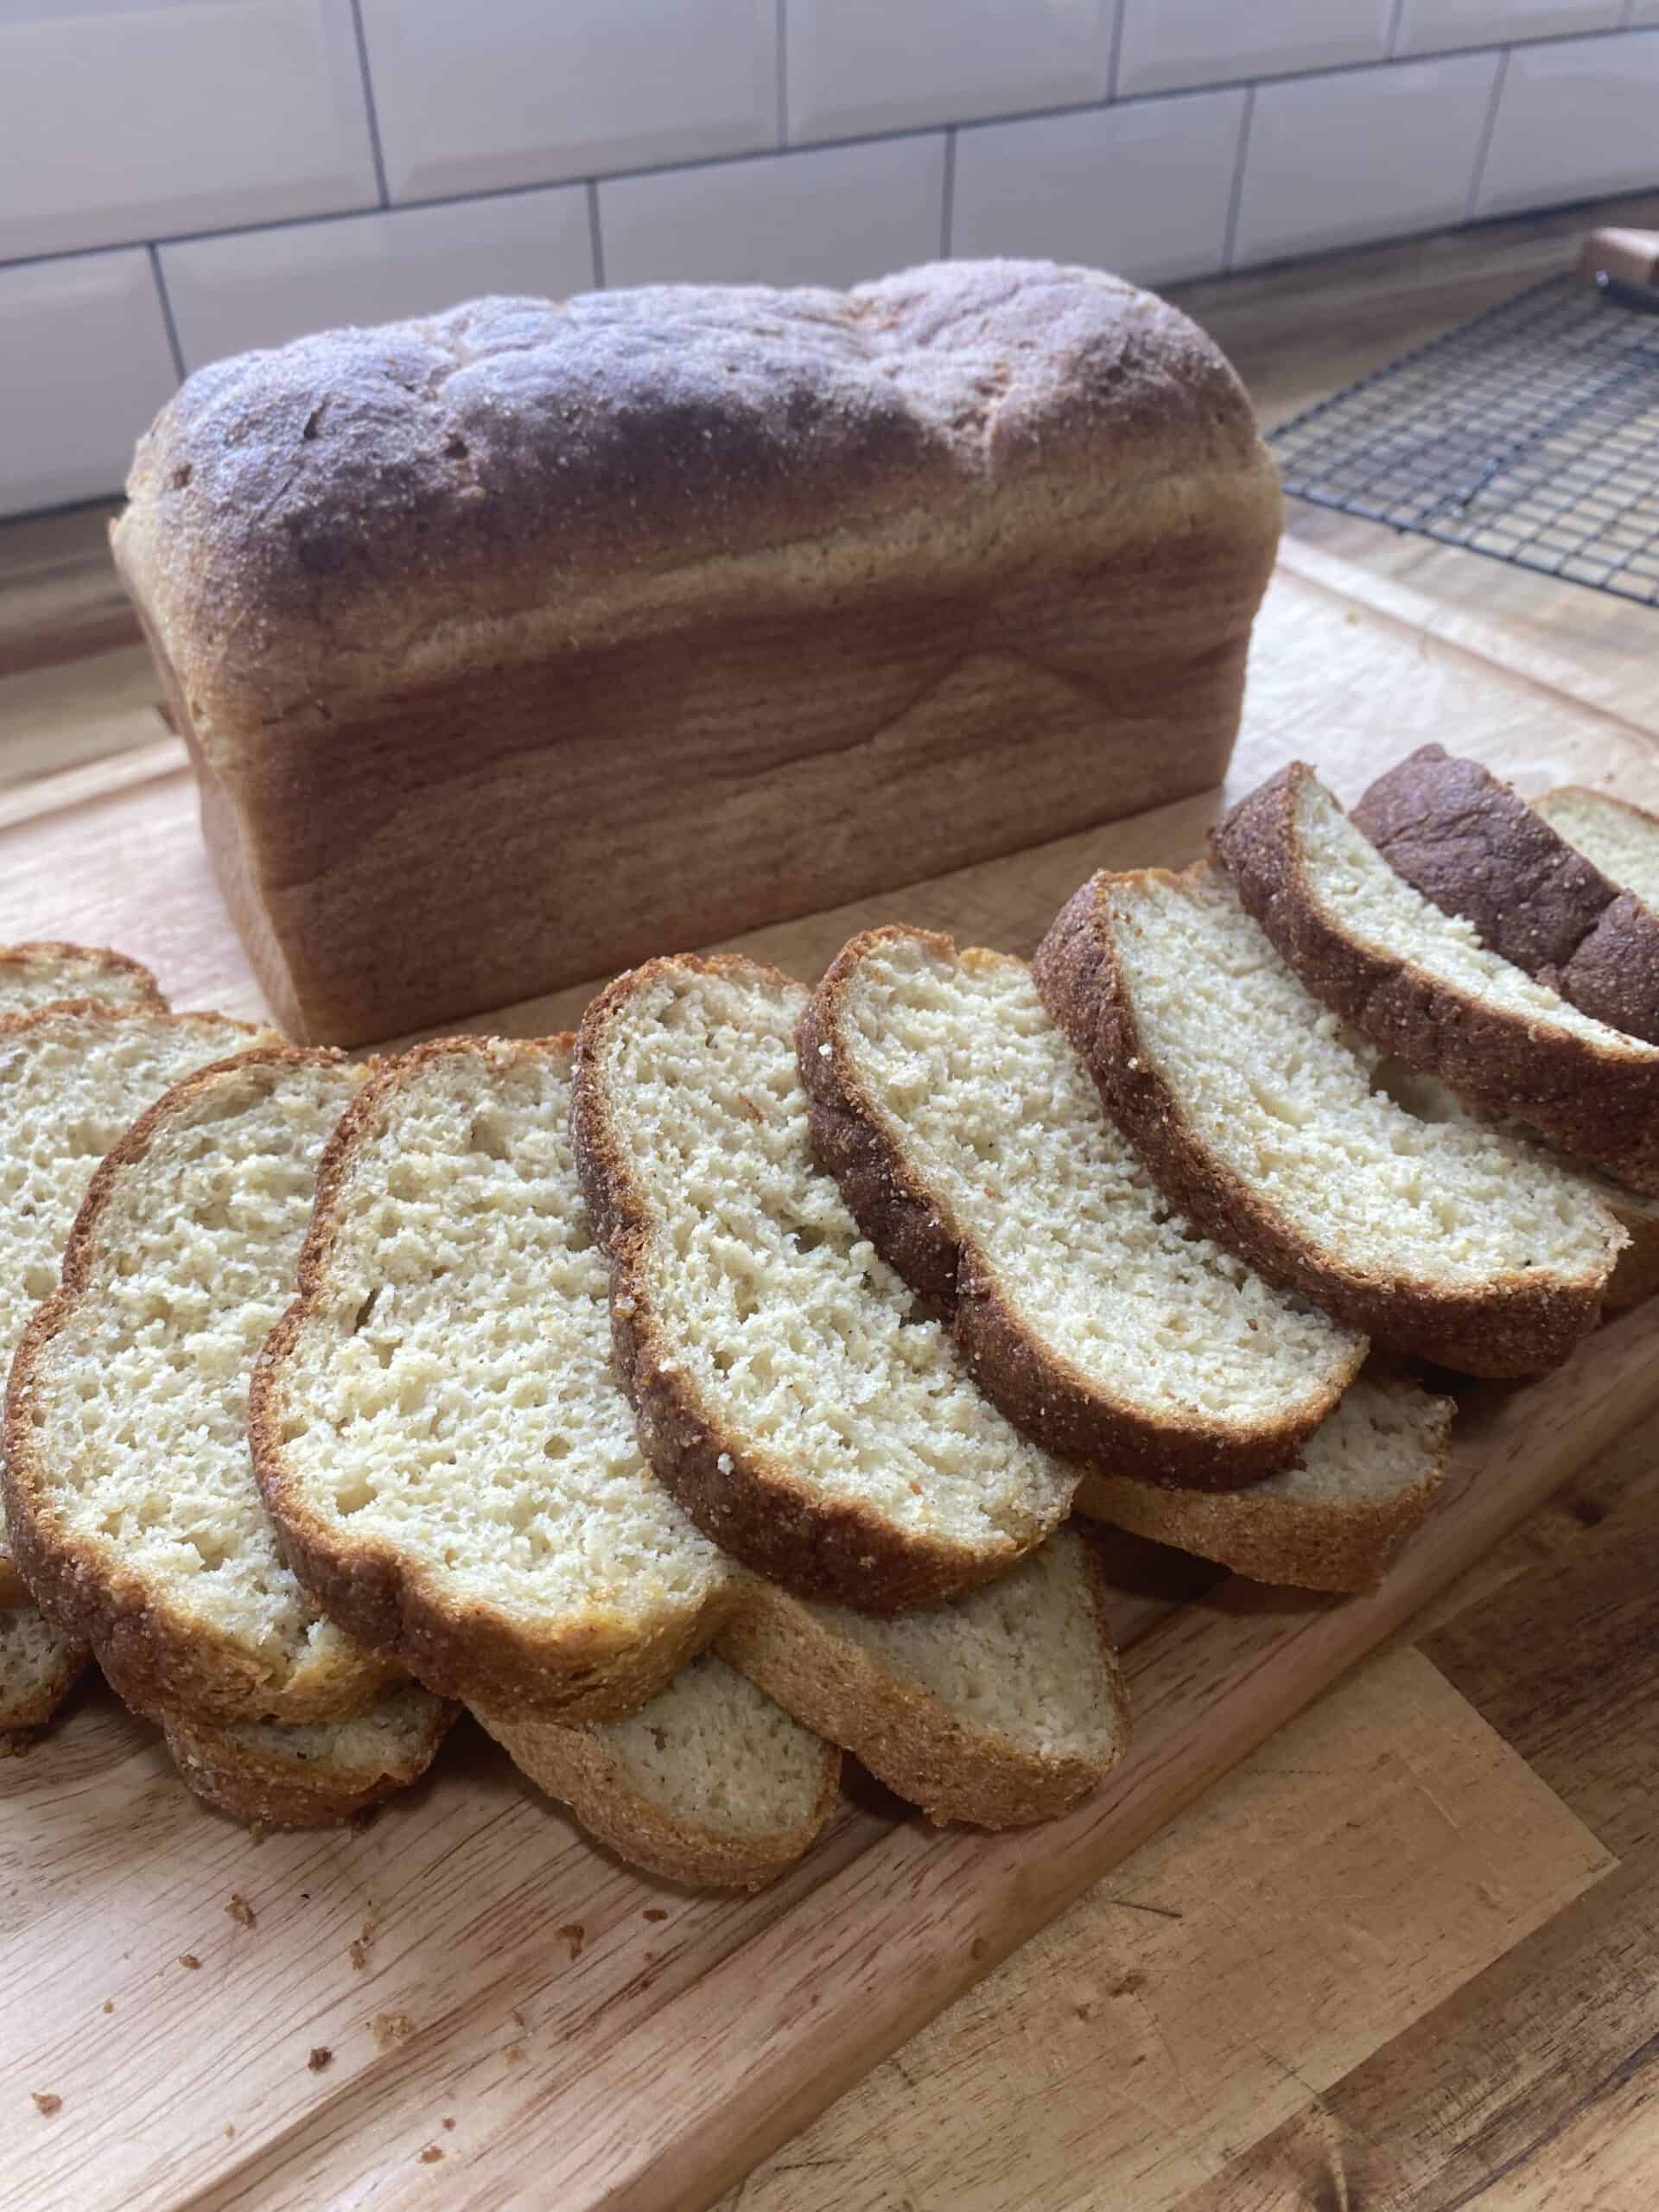
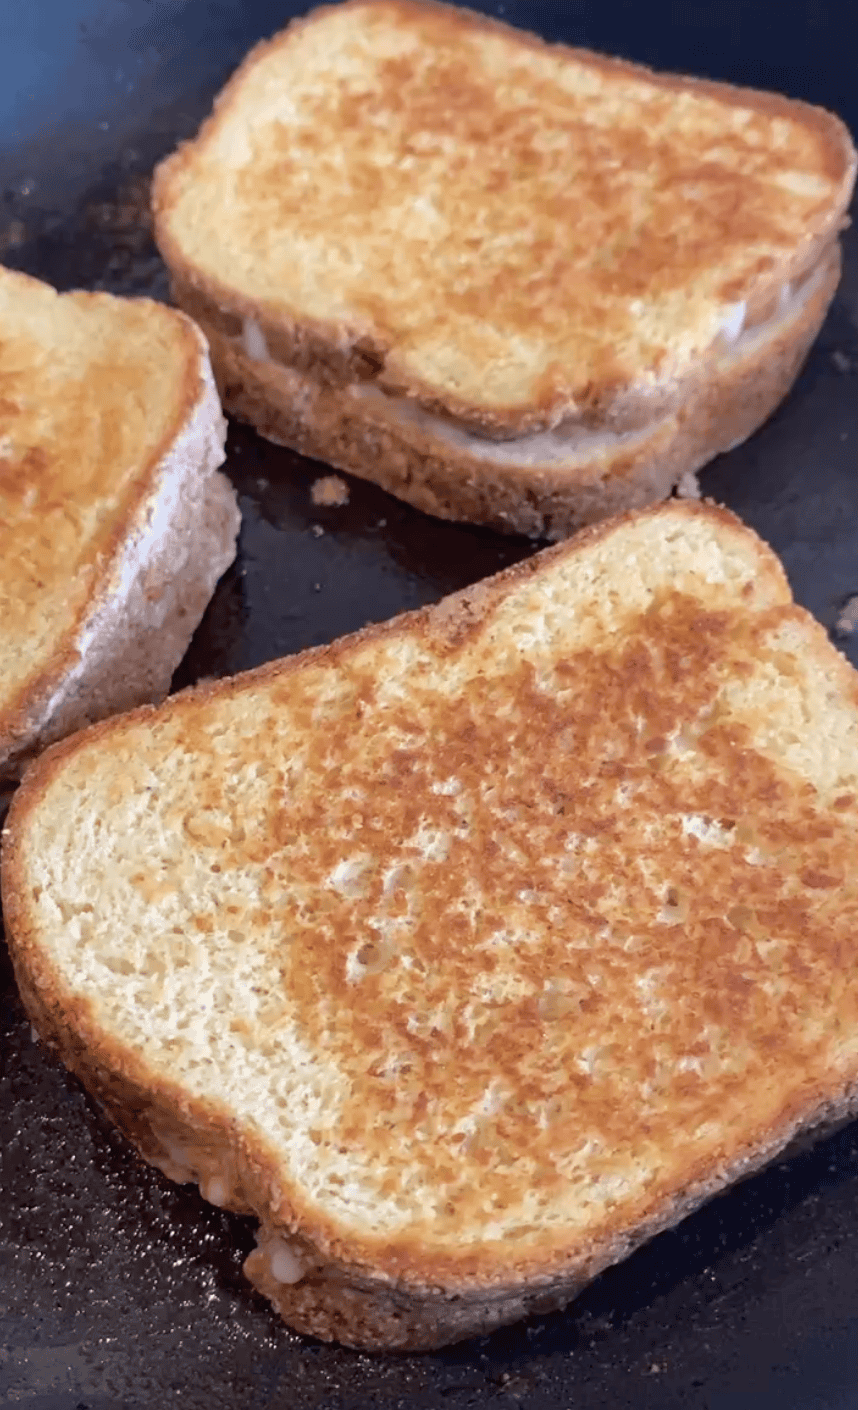
Your life is about to get SO much easier (and better)! This gluten-free sandwich bread is yeast-risen, oven-baked, and soft enough for everyday lunches — from peanut butter and jelly to grilled cheese and deli-style sandwiches.
This bread recipe is loved and praised by thousands all over the world, and now, you get to experience it too!
This post may contain affiliate links, please read our disclosure policy for details.
Why You’ll Love This Sandwich Bread
Ingredients
1. Psyllium Husk Mix
This is a mix of psyllium husk (whole husk) and warm water. When combining the two together, a gel mixture is formed that helps create the structure of the dough. It is importance to use a trusted brand of psyllium husk (I recommend this one). It’s also extremely important to get whole husk. Powdered husk is finer and requires more water to compensate for the excess surface area on the powder compared to the whole husk.
Watch how to make psyllium husk gel for yeast breads with whole husk here:
2. Bloomed Yeast
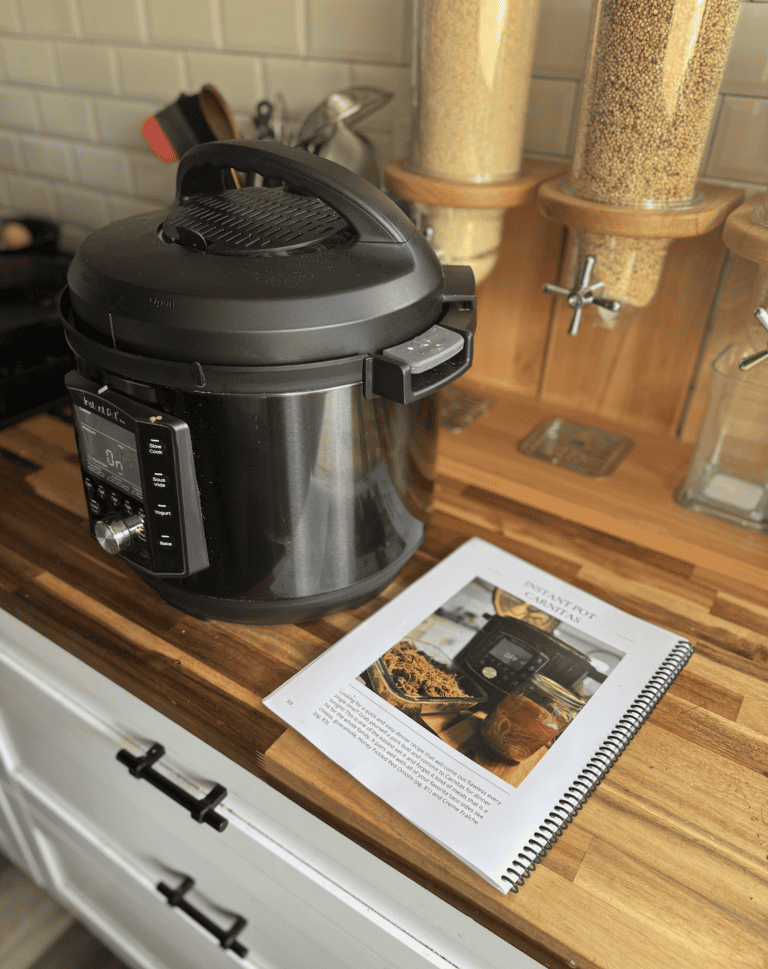
By combining the yeast, warm milk (or water if dairy-free) and honey together and allowing it time to proof in a warm, draft free area, a frothy “bloomed” yeast emerges which reassures you that your yeast is active and will help your dough rise beautifully. I recommend using a countertop proofing oven to ensure a warm and compatible environment for proofing not only the yeast but the dough as well. My favorite is this multipurpose oven.
Here’s a tutorial on how to bloom the yeast:
3. Flours
This recipe calls for a mixture of flours which may seem overwhelming, but once you get over the fact that good gluten free foods require more than one flour, you see just how simple this mix is! Not only is it simple, but it comes with versatility between fresh milling the millet and sorghum flour, or using already milled versions of those flours. There is a mix of millet, sorghum, potato starch, coconut flour, arrowroot powder and brown rice flour. If additional allergens or dietary preferences don’t support those flours, this recipe is very easy to substitute out for flours of your choice. Note: If you make this with 100% one to one flour, the flavor profile will be different.
4. Honey
Many times you’ll see that yeast is proofed with refined sugar within recipes. Well, not here! Honey (or even maple syrup) is a great natural sweetener that feeds the yeast and allows it to proof. I recommend a local sourced honey.
5. Xanthan Gum
Xanthan Gum is another structure forming ingredient that is necessary within gluten-free baking. Like psyllium husk, not all xanthan gum is created equally. Many are inflammatory and derived from corn, but I’ve found a corn free brand that works great and is a healthier solution to the xanthin gum needs within gluten free baking. This one is my favorite.
6. Salt
A small amount of salt balances the sweetness and enhances the chocolate flavor. Don’t skip it—it makes a noticeable difference.
7. Apple Cider Vinegar
Apple Cider Vinegar is critical in sandwich bread because it reacts with the yeast to create a soft texture and air bubbles within the crumb of the bread. Do not leave this ingredient out!
8. Eggs
I’m a big fan of supporting local farmers and using farm fresh eggs. It’s also important if you’re navigating more anti-inflammatory foods to source pasture raised, non GMO, corn and soy free eggs. If you need to be egg free, my favorite egg replacer is Bob’s Red Mill Egg Replacer. I’ve used it within this recipe and it came out amazing!
9. Butter
Butter is option, but is great for coating the outside of the freshly baked bread loaf when it comes out o a high-fat butter like Kerrygold works especially well here. If you need a dairy-free option, you can substitute a dairy-free butter alternative without issue.
Recipe Variations
You can get really creative with leveling the basic sandwich bread recipe up! Some great options are:
Additional Allergens/Suggested Modifications
- Dairy: Use a dairy-free butter to spread on the outside of the baked loaf to soften the crust.
- Egg: Use an egg replacer (I suggest Bob Red Mills)
This recipe is naturally free of: nuts, fish, crustacean shellfish, tree nuts, peanuts, wheat, soybeans, seed oils, and sesame.
“I am literally crying happy tears right now. I just made your bread this evening and it is Sooooooooo good. I have tried so many GF breads, rolls etc and I’ve never made the recipes a second time because they are never good. My 13 year old son has Crohn’s disease so we are eating as clean as possible and he gave the bread a 10/10. Thank you for all your dedication and hard work, we can’t wait to try more recipes in the cookbook.”
How to Finally Make Really Good GF Bread
Please see recipe card at the bottom of this post for the full recipe details.
- PREP THE DOUGH – Mix all of the wet & dry ingredients together and use a stand mixer to beat the dough for 10 minutes.
- SHAPE AND PROOF – No need to knead! Gently shape the dough to retain it’s fluffy nature and proof for 1 hour.
- BAKE – Preheat the oven to 350°F and bake the proofed bread for about 50-55 minutes (until browned).
- LET IT REST – Let the bread rest until cooled (or at least a minimum of 10 minutes).
- DIVE IN – Lather a slice up with your favorite topping and enjoy!
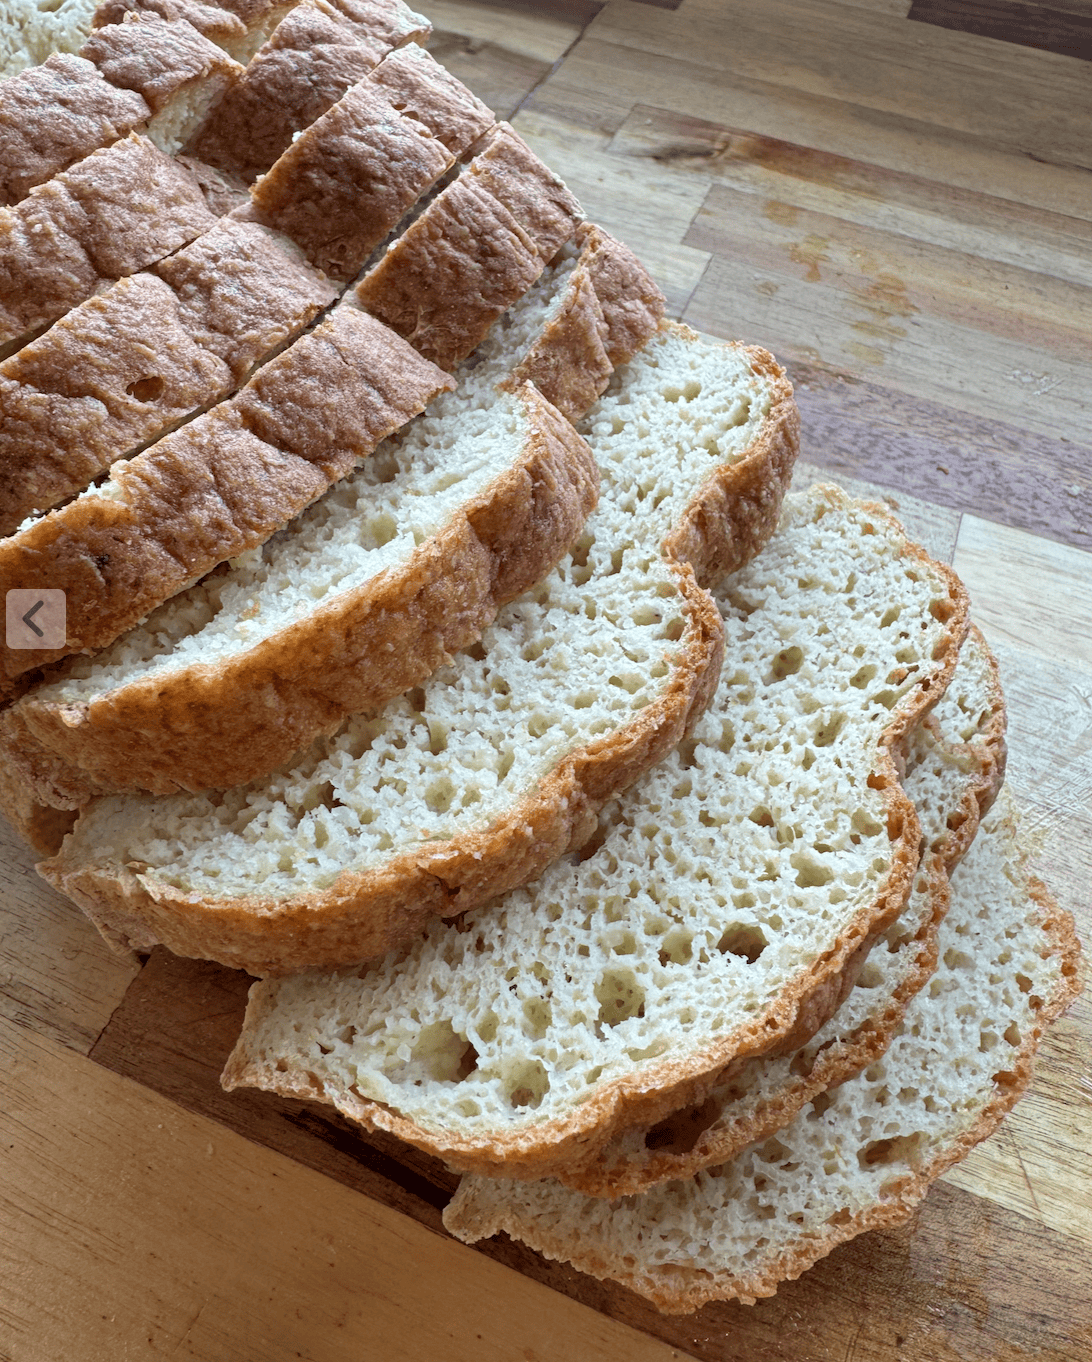
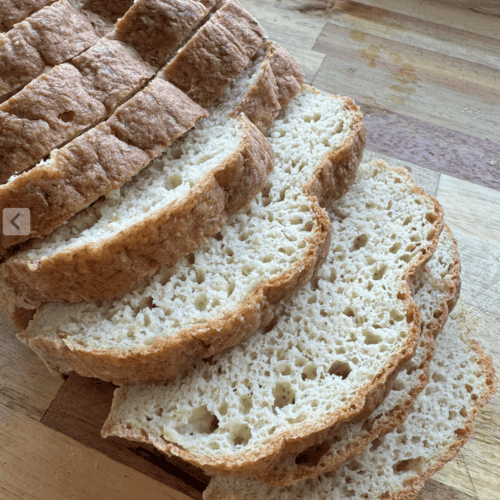
Gluten-Free Sandwich Bread – Soft, Fluffy and Full Size
Ingredients
Psyllium Husk Gel Prep
- ¼ cup Psyllium Husk Whole
- ¾ cup Water Warm
Yeast Prep
- 2 tsp Yeast
- 1 cup Water Warm
- 1 TBSP Honey
Dry Ingredients
- 1 ¼ cups Millet Flour
- ½ cup Brown Rice Flour
- ¼ cup Arrowroot Powder
- ½ cup Potato Starch
- ¼ cup Coconut Flour
- 1 TBSP Xanthan Gum
- ½ tsp Salt
Wet Ingredients
- 1 tsp Apple Cider Vinegar
- 2 Eggs
Instructions
- In a saucepan over medium heat, heat the water for the psyllium husk and yeast prep to 100°F.
- In a stand mixer mixing bowl, whisk all of the dry ingredients together until well combined.
- Create a well in the dry ingredients and add in the wet ingredients (excluding the psyllium husk gel and yeast mixture).
- Prepare the yeast by adding the warm water into a glass jar. Mix in the honey until dissolved and then whisk in the yeast. Make sure the yeast is well incorporated before setting it into a warm, dry pace to rise. I prefer using our countertop oven that has a proofing setting.
- Once the yeast has risen, mix the psyllium husk and water to create a gel. This will take roughly 30-45 seconds for the gel to form.
- Place wet ingredients into the dry ingredients and knead with a dough hook attachment until the ingredients are well combined. Allow the dough two mix for 10 minutes. The dough will be slightly sticky to the touch, that’s okay!
- Sprinkle a dusting of millet flour on your surface and place bread dough on top.
- Roll bread dough into a log shape and place into bread loaf pan.
- Let bread rise for 1 hour before cooking – the dough will become noticeably fluffier and softer.
- While the bread is rising, preheat the oven to 350°F.
- Bake the proofed bread for 50-55 minutes and remove it from the heat source as well as the loaf pan.
- Butter the top of the bread to create a softer crust and allow the bread to chill.
- Should you wait until its fully cooled? Yes. Is warm bread delicious? Also yes! Live your best life and cut into it when you’d like. I prefer waiting 10 minutes if we are enjoying a fresh warm loaf.
- Cut and serve or store using storage options listed below.
Proofing Hacks/Tips
Make sure your yeast is fresh! Do not sip the proofing of the yeast step. Yeast that is not fresh will not get the rise you’re hoping for within your loaf and leave your bread more dense.
Use a proofing oven for the best results. The warmer the environment, the better your bread will proof. The sweet spot is 72-80°F. For this reason, in the winter, I will use my countertop oven (linked) on the proofing setting (100°F). If you do not have a proofing oven, set an oven to its lowest setting and turn it off to create a warmer space. You can also do this with your yeast to activate it before adding it to the other ingredients.
Heat the water between 90-100°F before mixing in sweetener to feed the yeast.
Proof the bread with a towel over it so that it will help trap in the heat and help maintain moisture within the bread.
Prep/Storage Options:
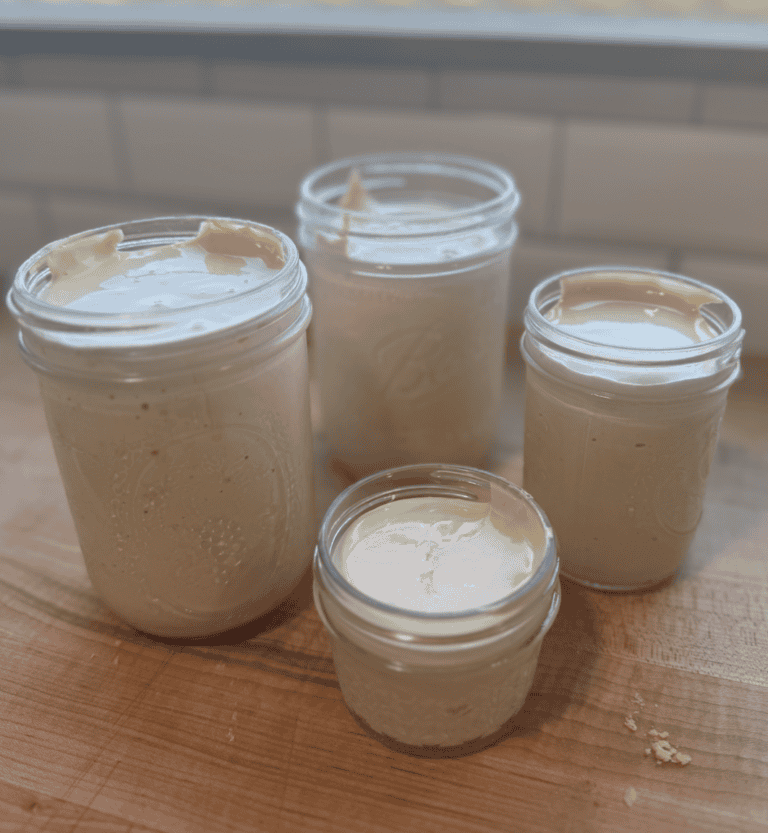
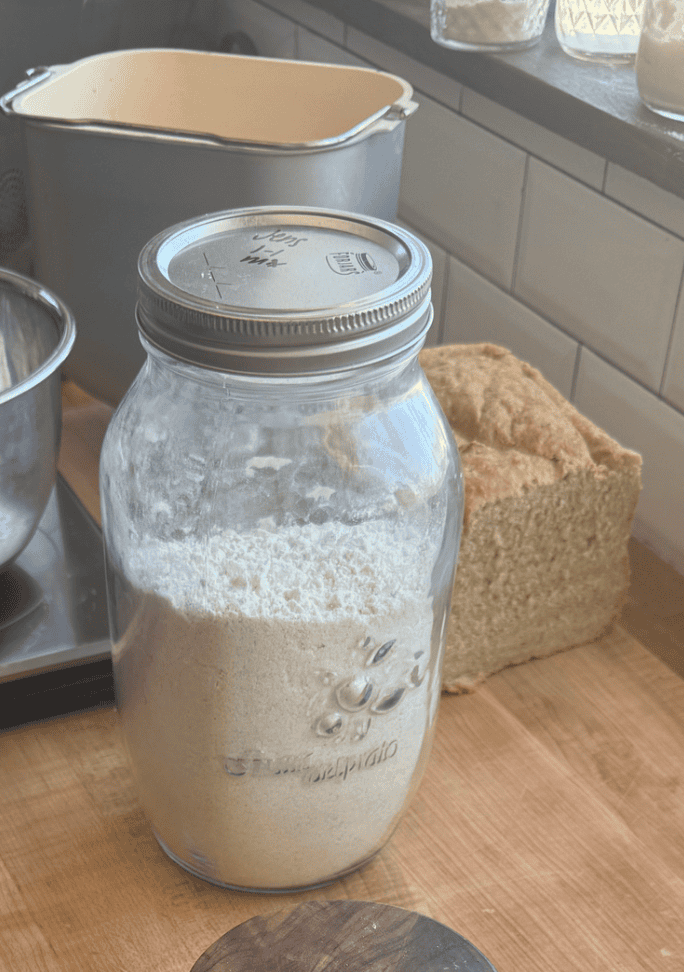
- Pre–prep: The dry ingredients for the sandwich bread can be pre-mixed and stored in a sealed jar or glass container. I often triple or quadruple the recipe and pull it out when I’m ready to bake for the month. If using fresh milled grains, mix the dry ingredients together and store in the freezer in an air tight container to preserve nutriontal value of grains.
- Storage: Pre-slice and store on the countertop for 1-3 days (depending on how humid your air is. Store in the refrigerator in an airtight container or plastic bag for up to a week.
- Freezing: Pre-slice and store in the freezer (in airtight contianer or freezer bag) for up to 6 months.
Recipe FAQs
Get on the List
Subscribe to Receive the Gluten Free Pantry Must Haves Ebook

Did you make this recipe?
We’d love to see! Tag @farmfreshfamily on Instagram!