Going gluten-free often means giving up the convenience of everyday staples — especially soft, dependable sandwich bread. For years, if I wanted a fresh-milled gluten-free loaf, it meant mixing dough from scratch, shaping, proofing, and hovering in the kitchen waiting for the perfect bake. Homemade bread is wonderful… but sometimes you just need something that fits real life.
That’s exactly why I created this gluten-free bread machine sandwich bread recipe.
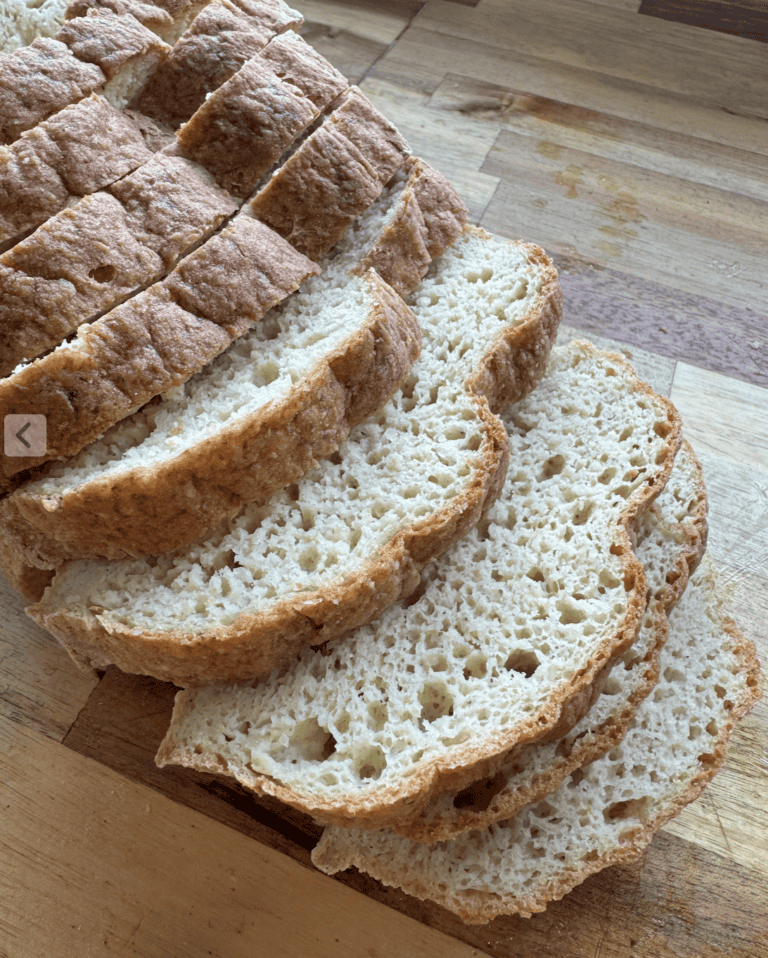
With just about 10 minutes of prep, this recipe lets your bread machine handle the mixing, rising, and baking for you. No shaping, no complicated steps, and no babysitting the dough — just a reliable, hands-off gluten-free loaf ready in a few hours.
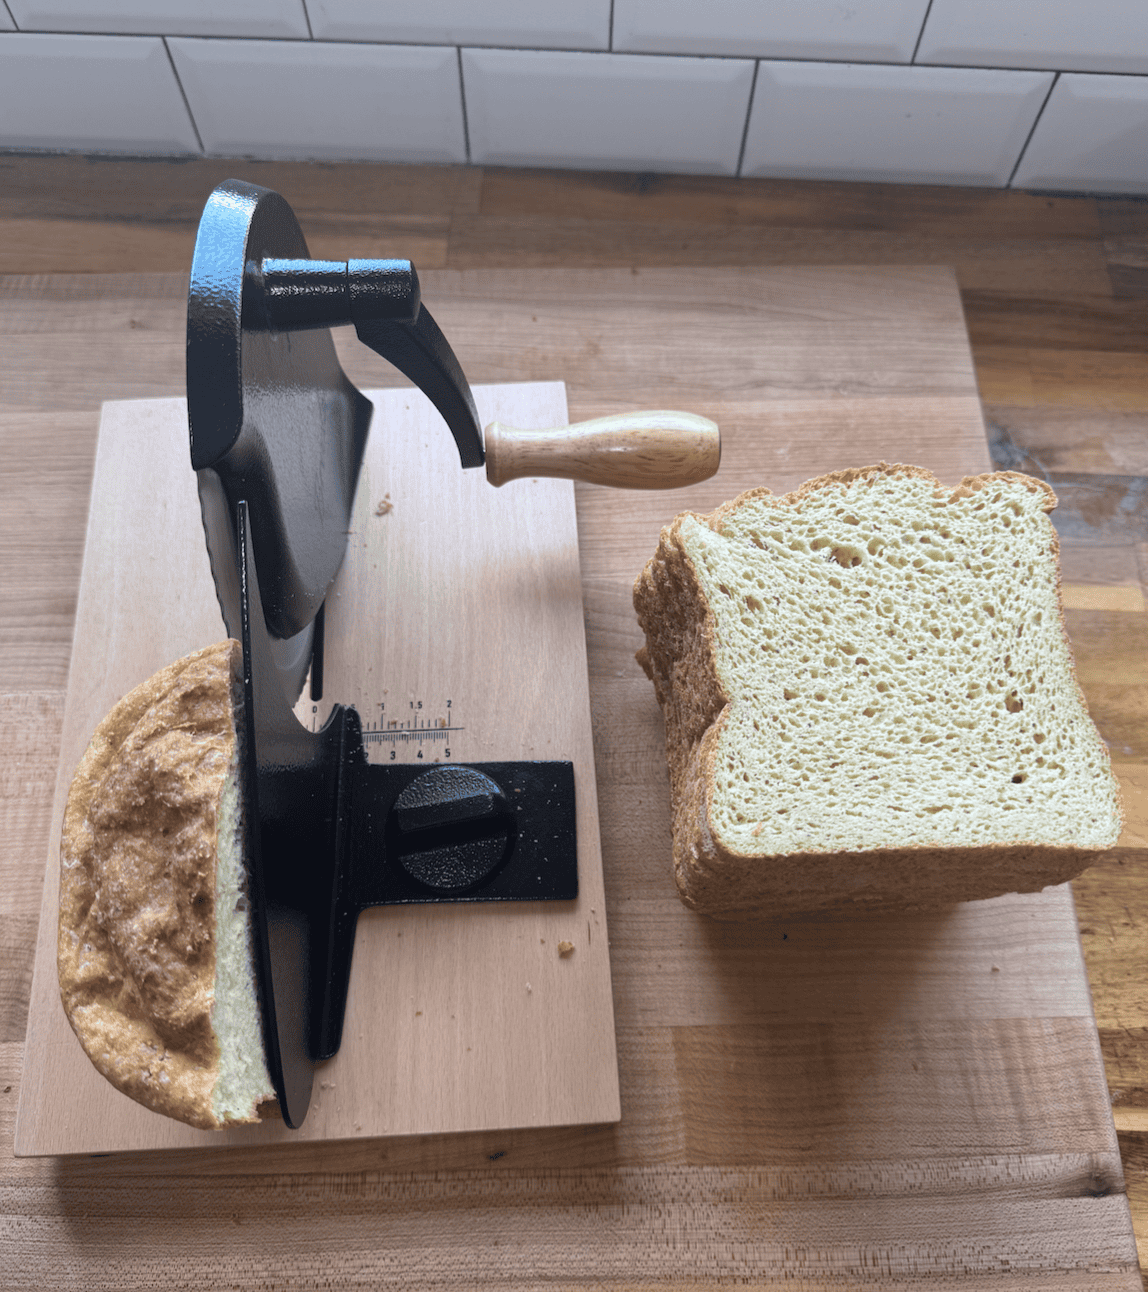
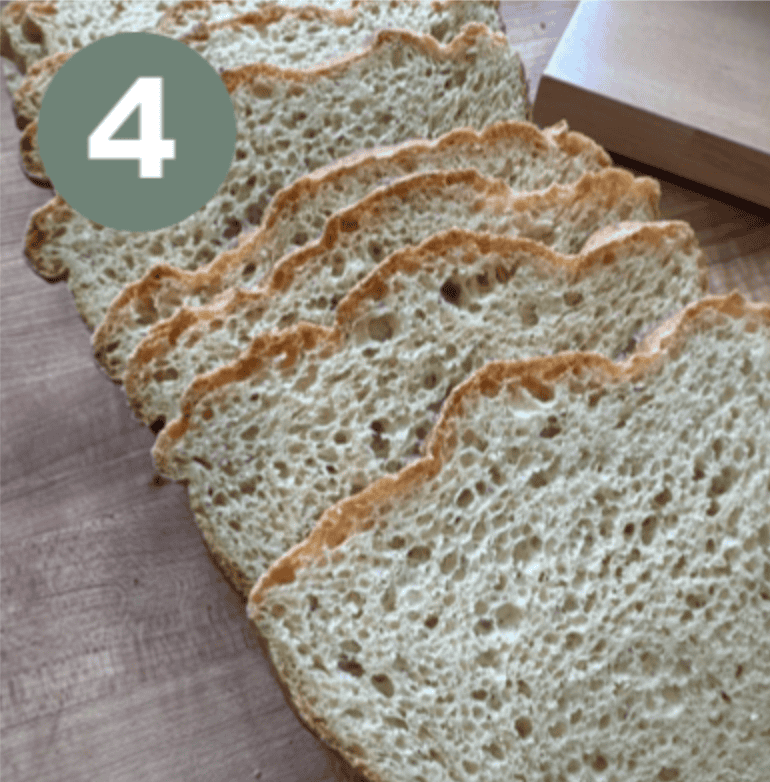
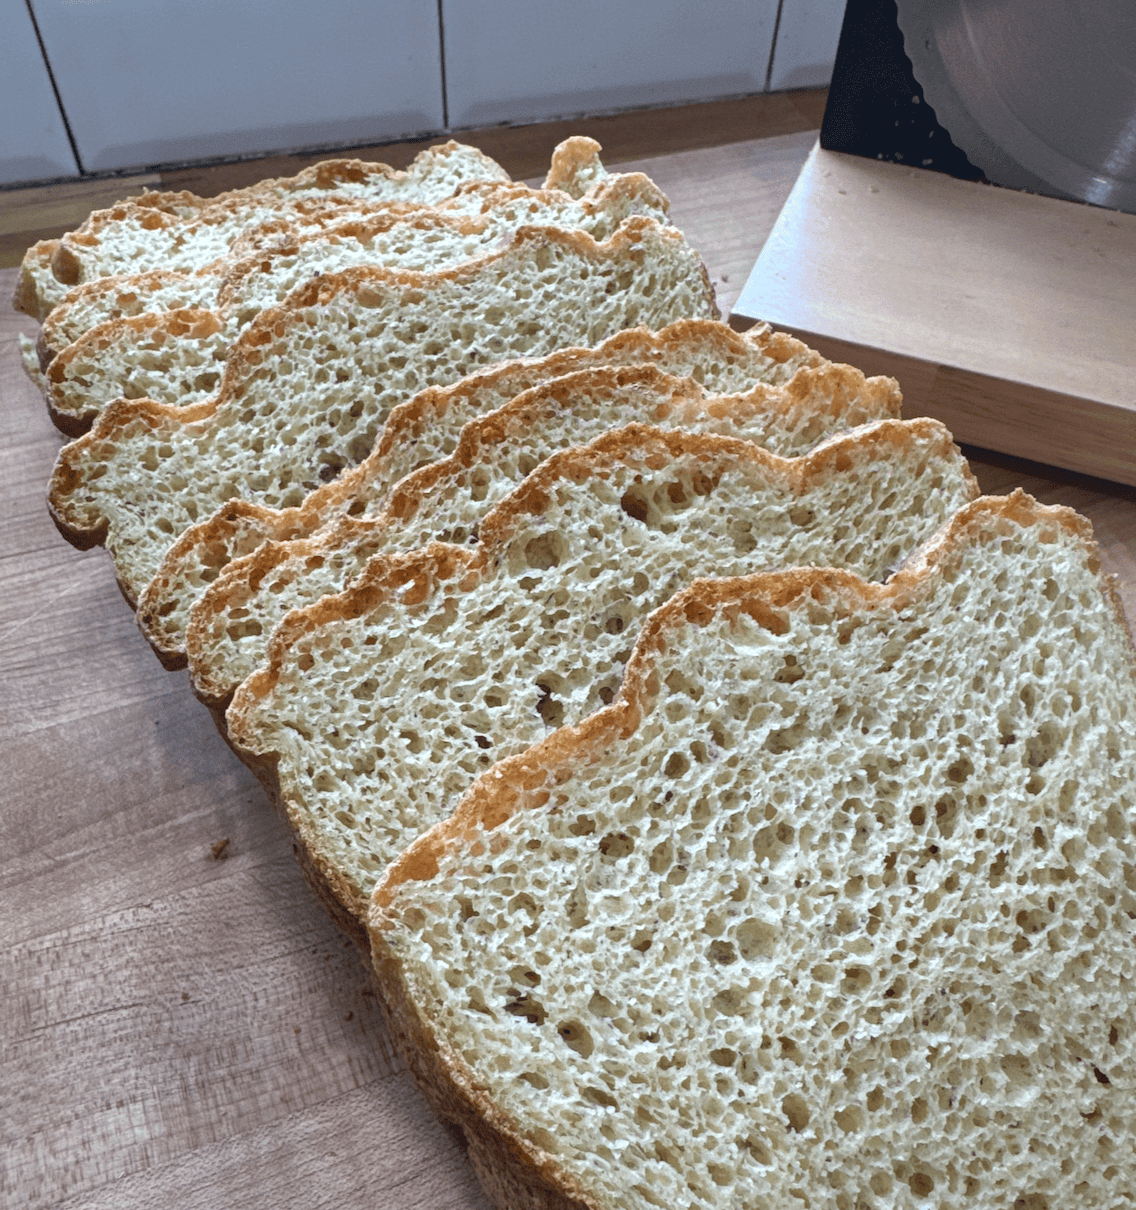
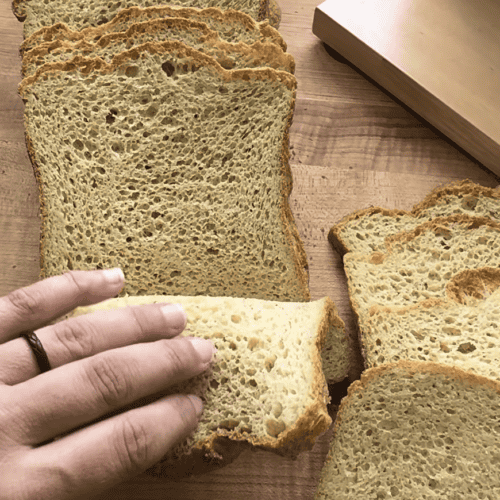
Unlike many gluten-free bread recipes that turn out dense, dry, or crumbly, this loaf is carefully balanced with the right hydration and structure to produce soft, flexible slices that actually work for everyday sandwiches. It holds together for toast, grilled cheese, and packed lunches, making homemade gluten-free bread feel practical instead of like a weekend project.
Once you have a dependable gluten-free bread machine recipe in your routine, baking fresh, wholesome sandwich bread becomes simple enough for busy weekdays — not just special occasions.
This post may contain affiliate links, please read our disclosure policy for details.
Why You’ll Love This Bread Machine Recipe
This is the kind of everyday loaf that makes gluten-free life easier.
What Are Others Saying?


Ingredients
1. Psyllium Husk Mix
This is a mix of psyllium husk (whole husk) and warm water. When combining the two together, a gel mixture is formed that helps create the structure of the dough. It is importance to use a trusted brand of psyllium husk (I recommend this one). It’s also extremely important to get whole husk. Powdered husk is finer and requires more water to compensate for the excess surface area on the powder compared to the whole husk.
2. Yeast
Yeast is a crucial ingredient in this bread recipe as it’s responsible for the dough rising appropriately. It’s important to use an active dry yeast that isn’t old. Older yeasts can lose their ability to rise well, causing you to have an unstable loaf or have a loaf that overproof and deflates when it cools. It’s also important that the other ingredients in the recipe are room temp and the water is around 90 degrees F to keep the yeast happy.
3. Jen’s Bread Flour Mix
I’ve hand crafted a Gluten-Free Bulk Bread Flour Mix that is perfect for making you feel like you’re not gluten-free with all of the flours on bake day. I highly recommend doubling or tripling the bulk mix and storing it in half gallon or gallon glass jars.
4. Honey
Many times you’ll see that yeast is proofed with refined sugar within recipes. Well, not here! Honey (or even maple syrup) is a great natural sweetener that feeds the yeast and allows it to proof. I recommend a local sourced honey.
6. Salt
A small amount of salt balances the sweetness and enhances the chocolate flavor. Don’t skip it—it makes a noticeable difference.
7. Apple Cider Vinegar
Apple Cider Vinegar is critical in sandwich bread because it reacts with the yeast to create a soft texture and air bubbles within the crumb of the bread. Do not leave this ingredient out!
8. Eggs
I’m a big fan of supporting local farmers and using farm fresh eggs. It’s also important if you’re navigating more anti-inflammatory foods to source pasture raised, non GMO, corn and soy free eggs. If you need to be egg free, my favorite egg replacer is Bob’s Red Mill Egg Replacer. I’ve used it within this recipe and it came out amazing!
9. Butter
Butter is option, but is great for coating the outside of the freshly baked bread loaf when it comes out o a high-fat butter like Kerrygold works especially well here. If you need a dairy-free option, you can substitute a dairy-free butter alternative without issue.
See my dairy-free homemade butter recipe here.
Additional Allergens/Suggested Modifications
- Dairy: Sub butter for avocado oil
- Egg: Use Bob’s Red Mill Egg Replacer
This recipe is naturally free of: nuts, fish, crustacean shellfish, tree nuts, peanuts, wheat, soybeans, seed oils and sesame.
“I’m loving the bread machine bread recipe from the bread book!”
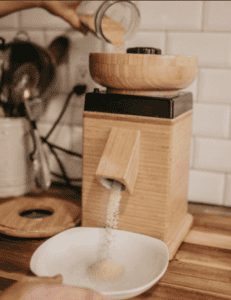
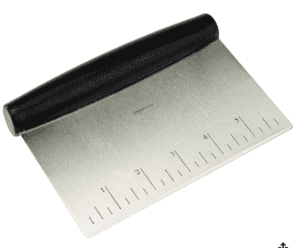
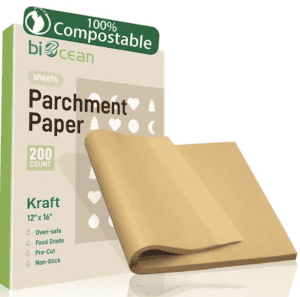
Shop The Tools


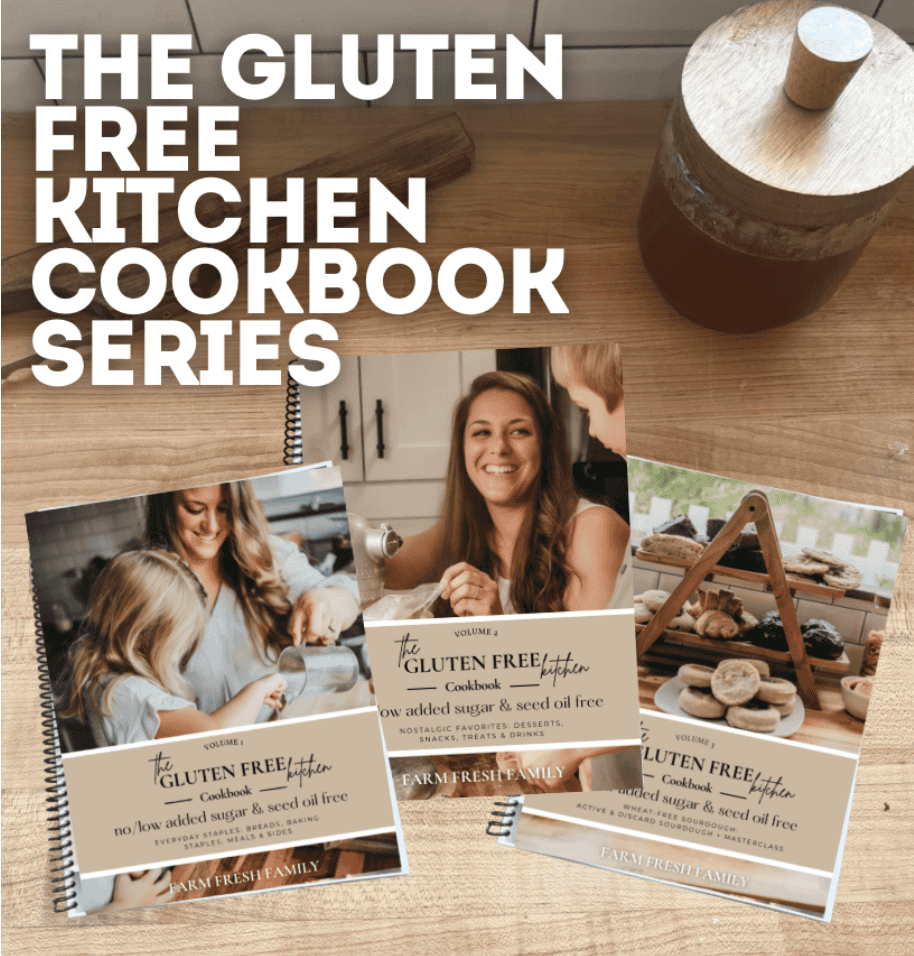
The Gluten Free Kitchen Cookbook Series
Healthy GLUTEN-FREE Recipes for Every Day LIFE
Your go-to cookbooks for all of the delicious & nutritious meals, sides, breads (yeast & sourdough), baking staples, snacks, desserts, drinks and more. With easy-to-follow instructions and beautiful step-by-step photography, every page invites you to explore nostalgic, healthy meals that make being gluten free a “get to” instead of a “have to”.
Whether you’re cooking for yourself or sharing with loved ones, The Gluten Free Kitchen Cookbook Series brings healthy living to your table every day.
How to Finally Make Really Good GF Bread in a Machine!
Please see recipe card at the bottom of this post for the full recipe details.
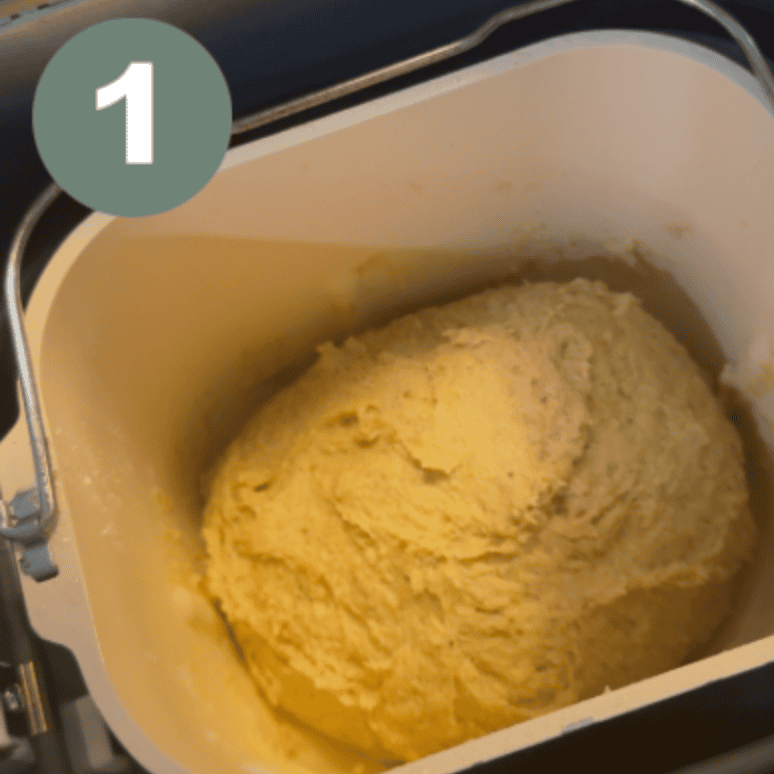
- PREP THE DOUGH – Combine the wet ingredients together in one bowl and the dry ingredients together in another bowl separate bowl.
- OIL THE BREAD BOWL – Spritz the bread machine bowl with avocado oil (or any neutral oil).
- POUR INTO THE BREAD BOWL – Pour the wet ingredients in first to the base of the bread machine bowl and top with the dry ingredients.
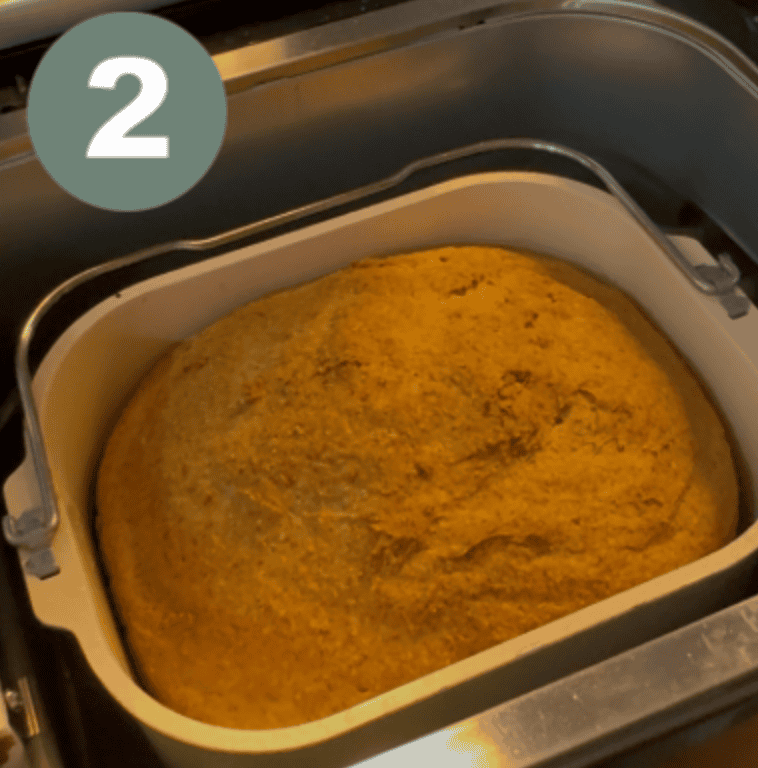
- CHOOSE GF BREAD MACHINE SETTING – If using the bread machine I recommend, go to menu option 16 and click start.
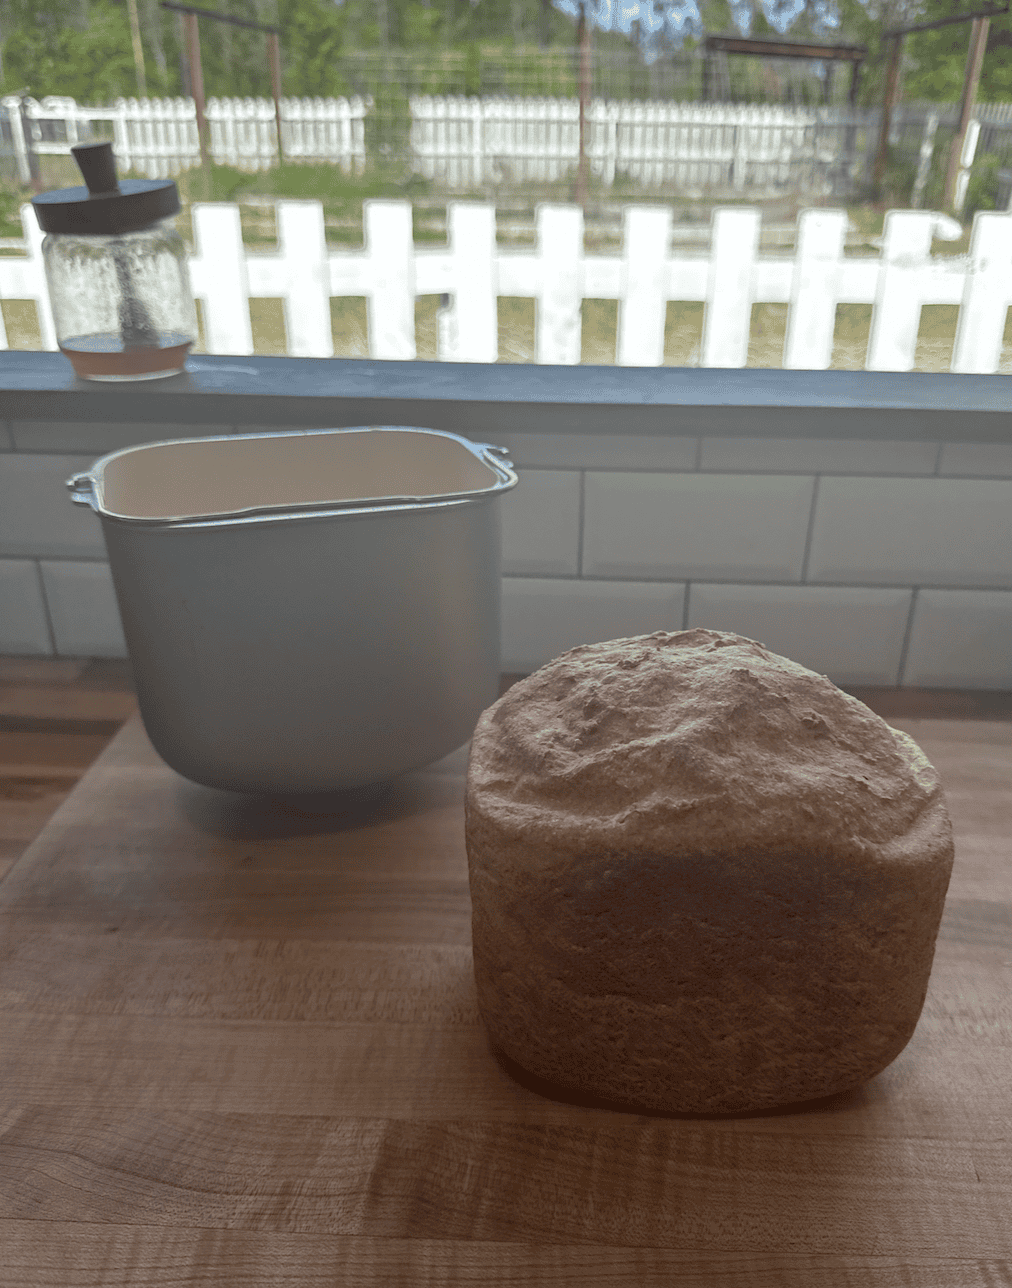
- SET IT & FORGET IT – Let the bread machine do all of the heavy lifting. After 3 ish hours, your loaf is done and ready to be taken out/cooled.
Gluten-Free Sandwich Bread (Bread Machine Recipe)
Equipment
Ingredients
- 365 g Jen’s Bread Flour Mix
- 1 tsp Salt
- 1 1/2 tsp Yeast *add last
- 3 Eggs
- 2 tbsp Butter Melted
- 1 tsp Apple Cider Vinegar
- 1 tbsp Honey
- 1 1/2 cups Water Warm
- 1/3 cup Psyllium Husk Whole
Instructions
- If you have not already premixed the bread flour, go back one page and do that first. It will make this process so much easier and bless your future self!
- Mix dry ingredients together in a bowl (except for the yeast) and set aside.
- In a separate bowl, mix the wet ingredients together except the psyllium husk for last.
- Once wet ingredients are well incorporated, whisk in the psyllium husk until well combined and let sit for 30-45 seconds.
- Whisk yeast into dry mixture. Incorporate well.
- Pour the wet ingredients that are now more gel like into the bread machine basket followed by the dry. No need to mix anything. The machine will do this for you.
- Place the basket into the machine and choose the “Gluten Free” setting. Choose medium browning for the loaf and the 1.5lb option for loaf size and hit start.
- After the second stir has completed, use a spatula to move dough to the side and remove the mixing attachment piece. Gently shape the loaf with the spatula and close lid until the bake is finished.
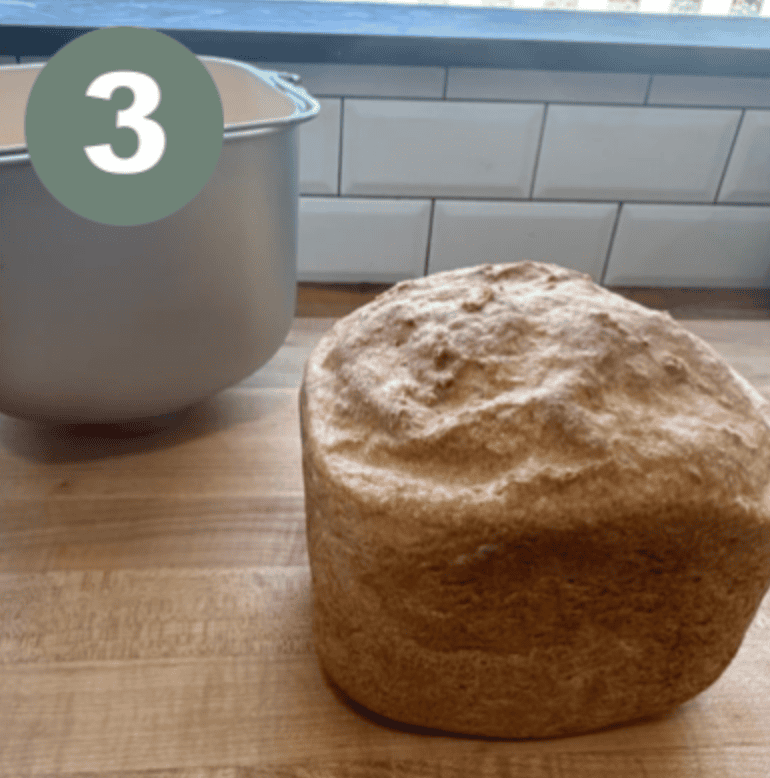
- When done, remove bread basket from machine and gently roll loaf out making sure to quickly place on base to block the hole in the bottom of the bread and let rest until cool.
Video
Nutrition
Did you make this recipe?
We’d love to see! Tag @farmfreshfamily on Instagram!
Bread Machine Loaf Hacks/Tips
Make sure your yeast is fresh! Do not sip the proofing of the yeast step. Yeast that is not fresh will not get the rise you’re hoping for within your loaf and leave your bread more dense.
Premix the Bulk Bread Flour Mix ahead of time to make for an easy grab-and-pour option.
Heat the water between 90-100°F before mixing into the wet ingredients for the best results.
Once the bread is finished and removed from the bread machine bowl, use a pair of tongs to easily remove the mixing piece and then quickly place the bread right-side up to stop the steam from leaving that hole.
Prep/Storage Options:
- Prep: The best prep to do for this recipe is to pre-prep the Bulk Bread Flour Mix so that on bake day, all you have to do is scoop your flour out and add the other ingredients.
- Storage: Store sliced on the countertop in a breadbox or towel for 1-2 days (depending on climate).
- Store in the refrigerator in a gallon sized bag or airtight container for up to 6 months
- Store in the freezer in a gallon sized bag or airtight container for up to 6 months.