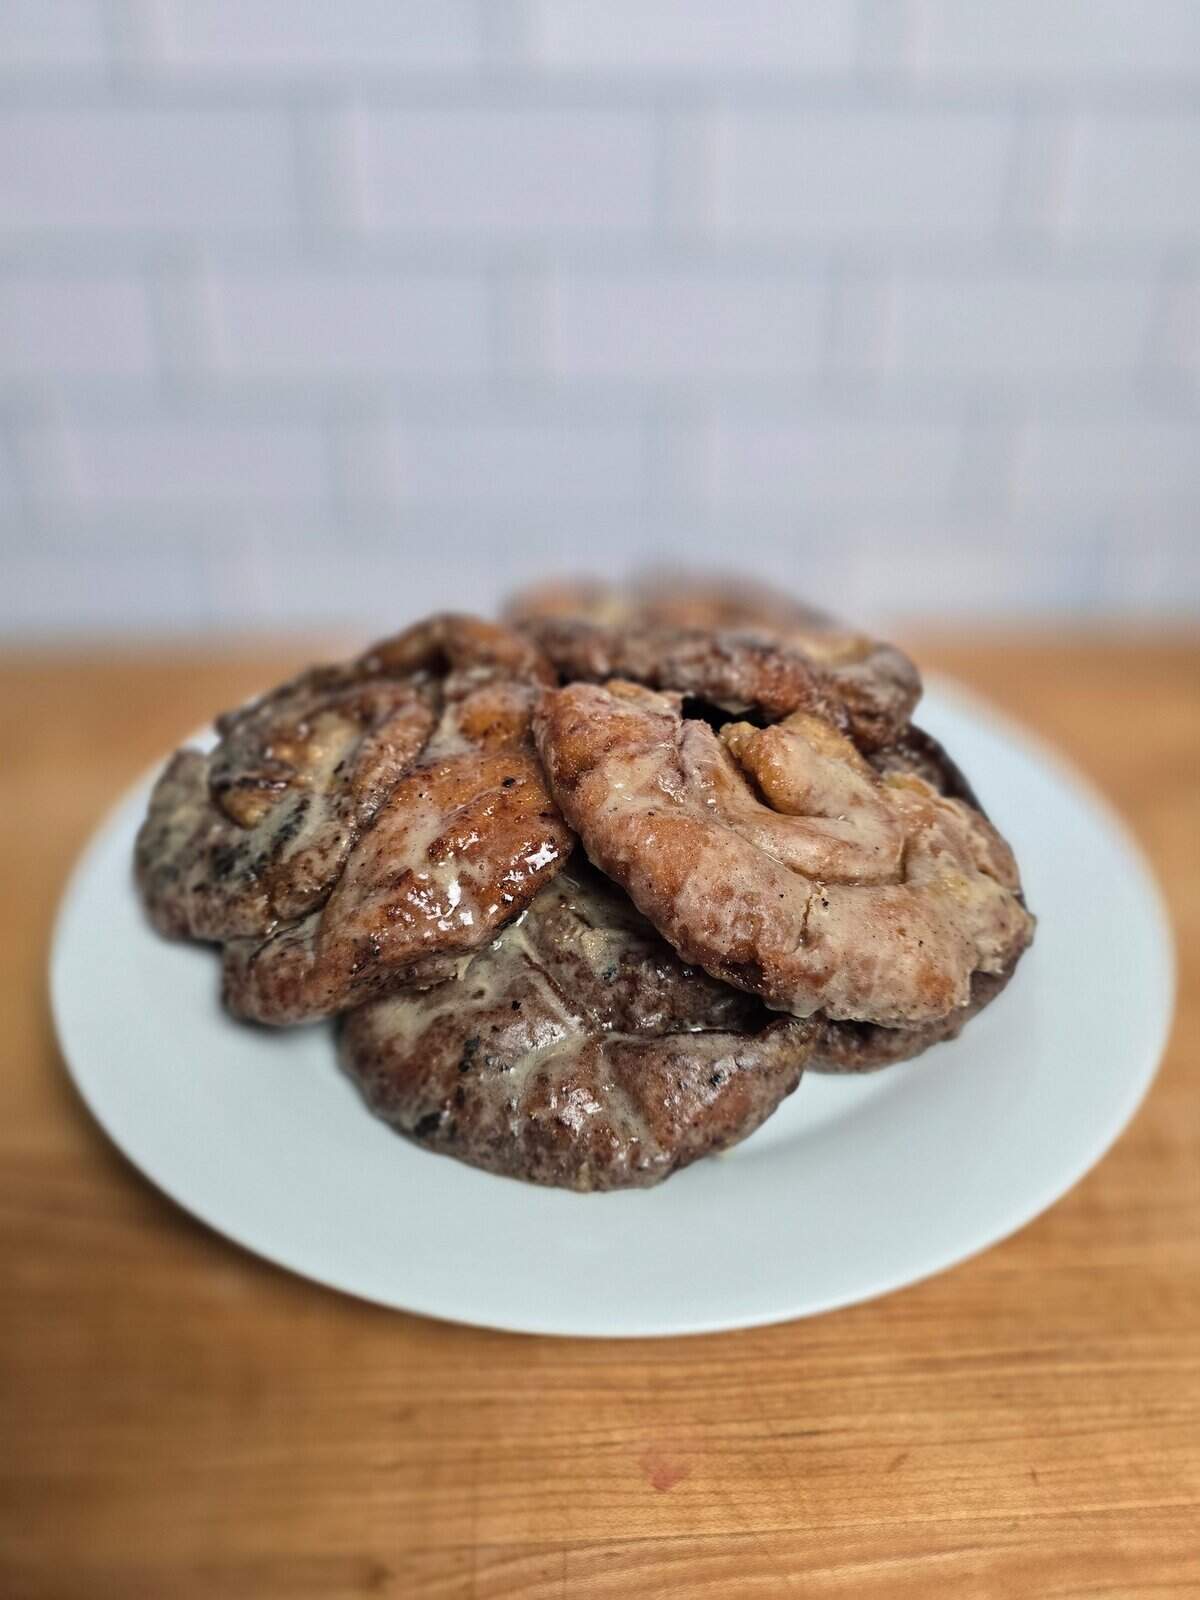
If you grew up loving soft, sticky Honey Bun snacks, you know the craving: fluffy dough, a warm cinnamon swirl, and that shiny vanilla glaze dripping over the top. Unfortunately, most classic honey buns rely on wheat flour, which makes them off-limits for gluten-free kitchens.
These gluten-free honey buns recreate everything that makes the original so addictive—pillowy dough, buttery cinnamon filling, and a simple glaze that melts right into the warm rolls. They bake up soft, slightly sweet, and perfectly swirled, making them ideal for breakfast, brunch, or nostalgic dessert cravings.
Best of all, this recipe uses simple pantry ingredients and a reliable gluten-free dough that stays tender instead of dry or crumbly.
If you’ve been searching for a homemade version that actually tastes like the bakery classic, this recipe delivers.
This post may contain affiliate links, please read our disclosure policy for details.
“I put these in the fridge and they actually stayed soft. What is this gluten free magic?”
Why you’ll love these gluten-free honey buns:
- Soft, fluffy texture (not dense or gummy)
- Classic cinnamon swirl
- Sweet honey glaze
- Easy to make ahead
- Perfect for breakfast or brunch
- Freezer-friendly
- Nostalgic flavor with real ingredients
Ingredients
Please see recipe card at the bottom of this post for the full recipe details.
1. Psyllium Husk Mix
This is a mix of psyllium husk (whole husk) and warm water. When combining the two together, a gel mixture is formed that helps create the structure of the dough. It is importance to use a trusted brand of psyllium husk (I recommend this one). It’s also extremely important to get whole husk. Powdered husk is finer and requires more water to compensate for the excess surface area on the powder compared to the whole husk.
Watch how to make psyllium husk gel for yeast breads with whole husk here:
2. Bloomed Yeast
By combining the yeast, warm milk (or water if dairy-free) and honey together and allowing it time to proof in a warm, draft free area, a frothy “bloomed” yeast emerges which reassures you that your yeast is active and will help your dough rise beautifully. I recommend using a countertop proofing oven to ensure a warm and compatible environment for proofing not only the yeast but the dough as well. My favorite is this multipurpose oven.
Here’s a tutorial on how to bloom the yeast:
3. Honey
Many times you’ll see that yeast is proofed with refined sugar within recipes. Well, not here! Honey (or even maple syrup) is a great natural sweetener that feeds the yeast and allows it to proof. I recommend a local sourced honey.
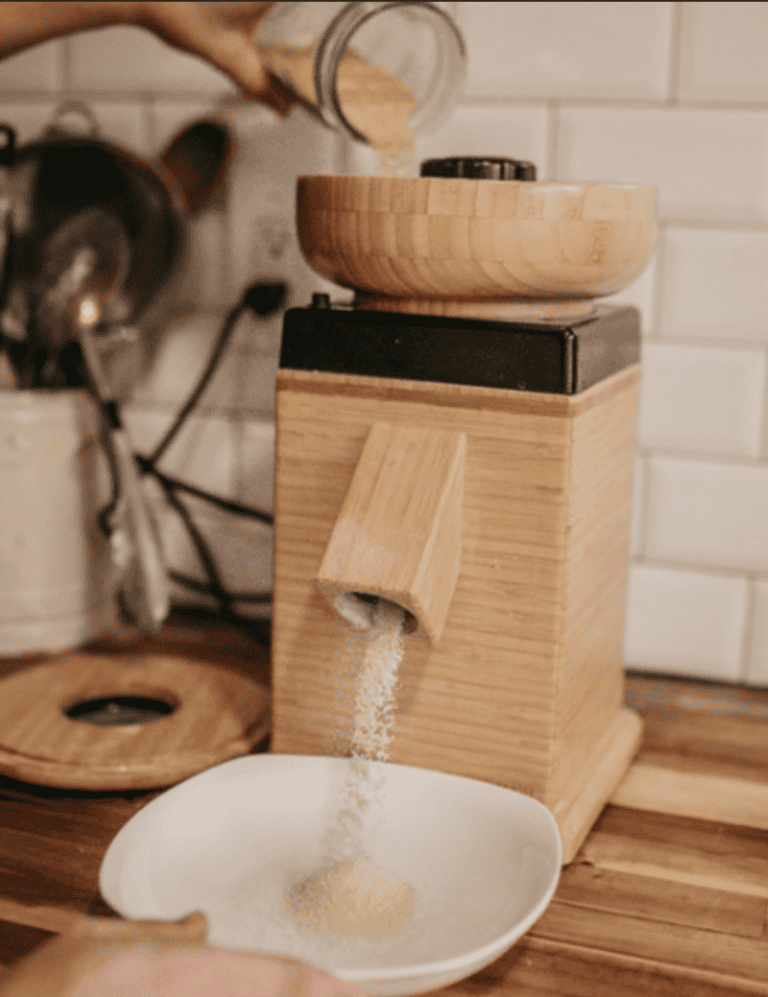
4. Millet Flour
If using fresh milled gains, I get these from Azure Standard (US based option), Amazon, or Bread Becker. If using already milled grains (similar to just picking up flour at the store) I useBob’s Red Mill or Anthonys. Millet is one of the oldest cultivated grains and is naturally alkaline, making it easy to digest. It’s excellent for tender cakes, flatbreads, and sandwich breads. Its mild flavor complements sweet and savory dishes.
5. Sorghum Flour
Sorghum flour is one of my favorite fresh milled gluten-free whole-grain flours for baking soft, chewy gluten-free pretzels because it adds structure without heaviness. It has a mild, slightly sweet flavor that mimics traditional wheat flour more closely than many gluten-free options, helping create that classic pretzel texture and golden crust. Paired with proper hydration and binders, sorghum flour gives these pretzels their tender bite and keeps them from tasting gritty or crumbly. If you’re needing to sub it out for another flour use millet, brown rice flour, oat flour (make sure its GF oats).
6. Arrowroot Powder
Arrowroot powder is a light, grain-free starch that works as a natural thickener for sauces, gravies, puddings, and baked goods. It creates a silky, glossy finish without the heaviness of cornstarch and is easier on sensitive stomachs, making it a great clean-ingredient swap for gluten-free and allergen-friendly cooking.
7. Gluten-Free One-to-One Flour
A high-quality gluten-free one to-one flour blend provides structure while keeping the cookies crisp, not crumbly. I prefer Bob’s Red Mill Gluten-Free 1-to-1 Baking Flour for this recipe because it produces consistent results and bakes evenly. Be sure to use a one-to-one blend that already contains xanthan gum. If you’d like to substitute this ingredient out completely, increase the Xanthan Gum within the recipe by 1/2 tsp.
8. Baking powder gives the buns just enough lift. I recommend using a corn-free and aluminum-free baking powder, which is easier on digestion and keeps the flavor clean. This is my go-to option for all gluten-free baking.
9. Xanthan Gum
Xanthan Gum is another structure forming ingredient that is necessary within gluten-free bread baking. Like psyllium husk, not all xanthan gum is created equally. Many are inflammatory and derived from corn, but I’ve found a corn free brand that works great and is a healthier solution to the xanthin gum needs within gluten free baking. This one is my favorite.
10. Salt
A small amount of salt balances the sweetness and enhances the flavor. Don’t skip it—it makes a noticeable difference.
11. Eggs
I’m a big fan of supporting local farmers and using farm fresh eggs. It’s also important if you’re navigating more anti-inflammatory foods to source pasture raised, non GMO, corn and soy free eggs. If you need to be egg free, my favorite egg replacer is Bob’s Red Mill Egg Replacer. I’ve used it within this recipe and it came out amazing!
12. Maple Syrup
Maple syrup provides natural sweetness while adding moisture and depth to the cookie dough. It also helps create a smooth, cohesive texture without refined syrups.
13. Butter
Butter adds richness and helps create a crisp yet tender texture in the cookie wafers. Using a high-fat butter like Kerrygold works especially well here. If you need a dairy-free option, you can substitute a dairy-free butter alternative without issue.
14. Raw Cream
Raw cream is simply the naturally separated cream that comes from raw milk. If you do not choose to or have access to drinking/using raw cream, it can easily be substituted out for heavy whipping cream or coconut cream (for a dairy free alternative). The cream is used to drizzle over the proofed rolls and help them to maintain moisture while they bake.
15. Vanilla Bean Paste
Vanilla bean paste brings deep, rich vanilla flavor with those beautiful little flecks of real vanilla bean in every bite. It’s more concentrated than extract, giving baked goods, frostings, and custards a warm, bakery-style taste that feels homemade and nostalgic — a small upgrade that makes everything taste extra special.
16. Cinnamon
This recipe calls for cinnamon and is important for shaping the flavor profile and balancing out the flavor.
17. Maple Sugar
Maple sugar adds sweetness with a subtle caramel note that pairs beautifully with cinnamon. Using maple sugar instead of refined white sugar keeps the flavor warm and well-balanced.
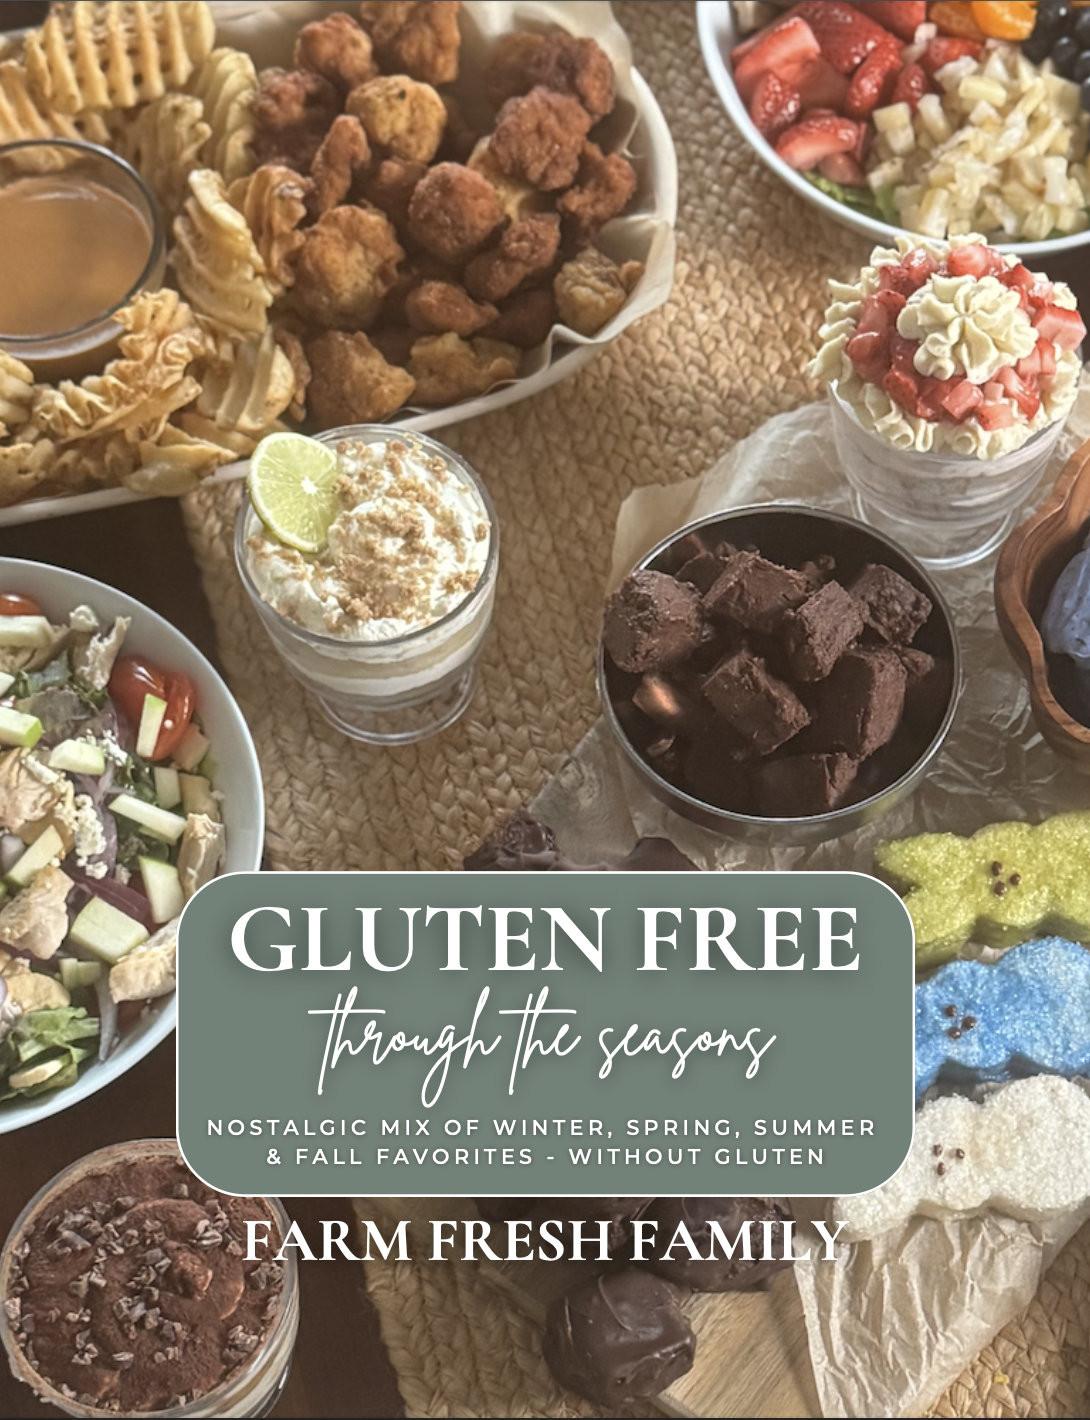
Gluten Free Through the Seasons
Nostalgic mix of winter, spring, summer & fall favorites – WITHOUT gluten.
Hands down the most versatile seasonal gluten-free cookbook that is loaded with 150+ tried and true nostalgic recipes that are made with clean ingredients! This book comes in both digital and printed formatting.
Look no further for the perfect book to bake through with your family all year long (or gift to a friend who’s gluten-free)!
Shaping the Honey Buns
Step by step tutorial for rolling the dough.
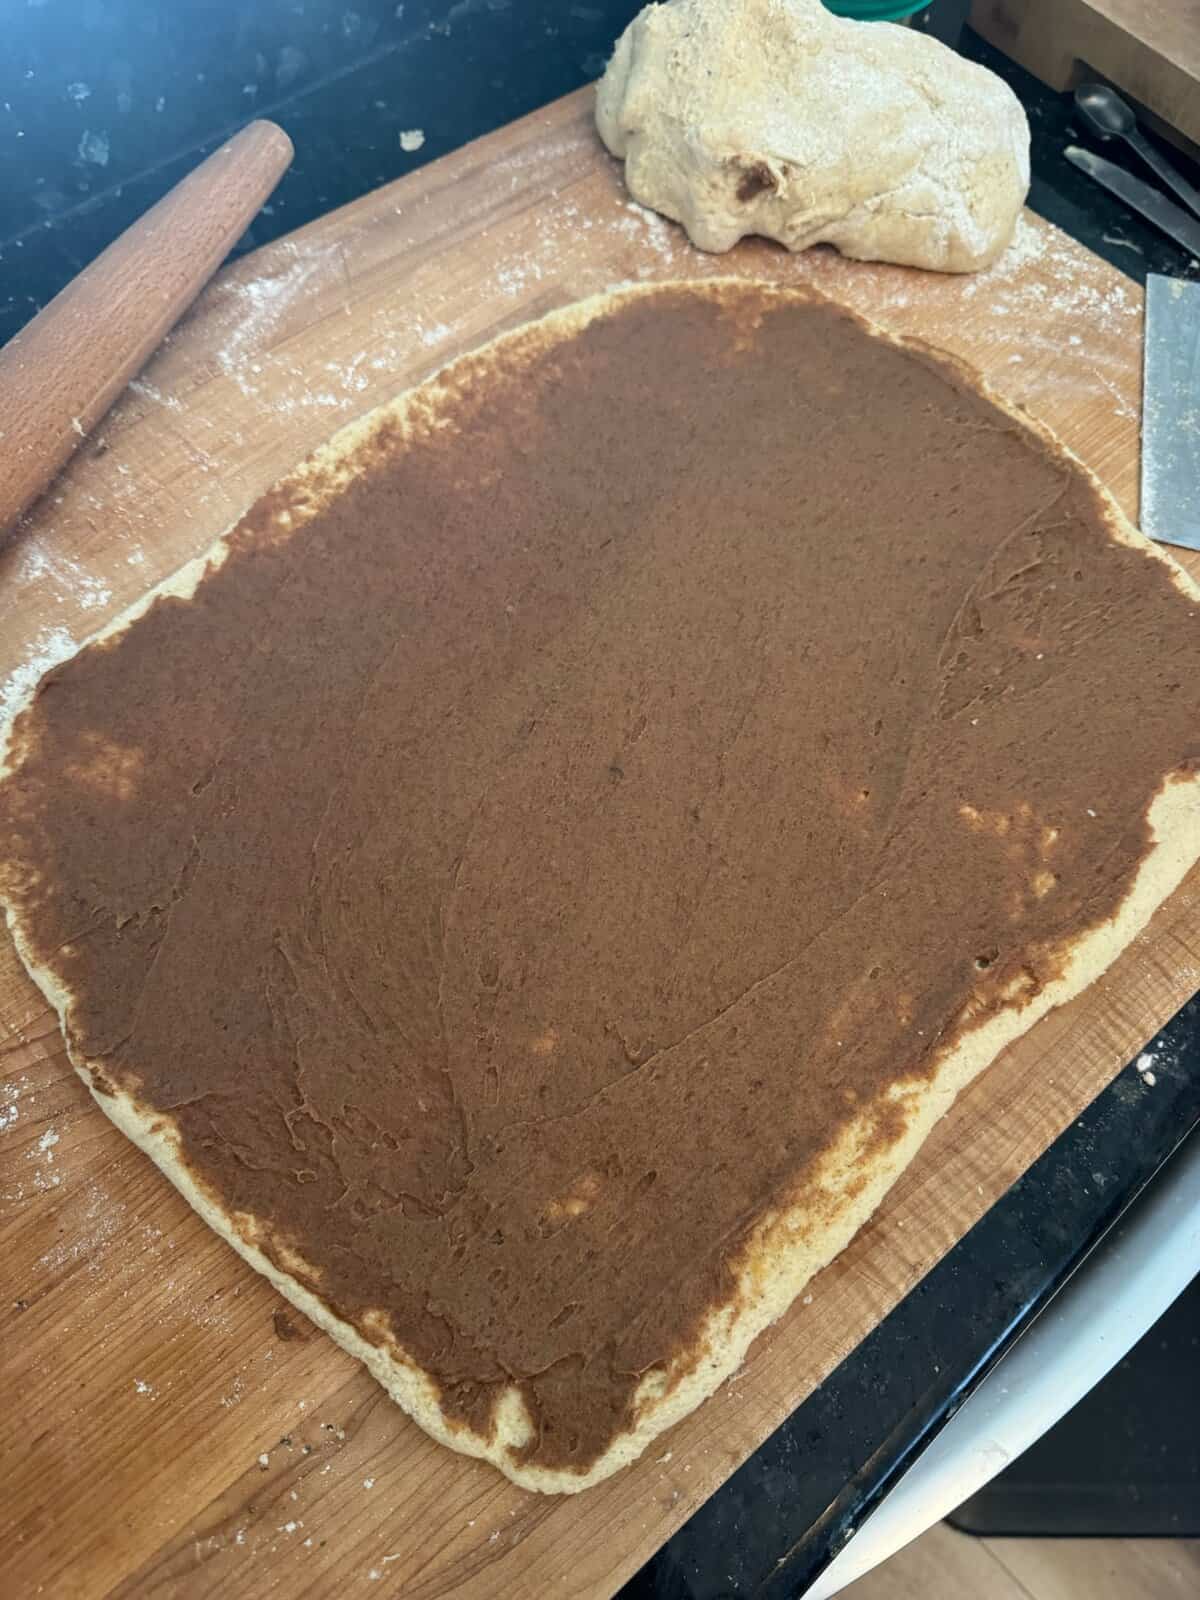
1. Roll out dough evenly (roughly 1/2 inch thick) and spread filling all over the dough.
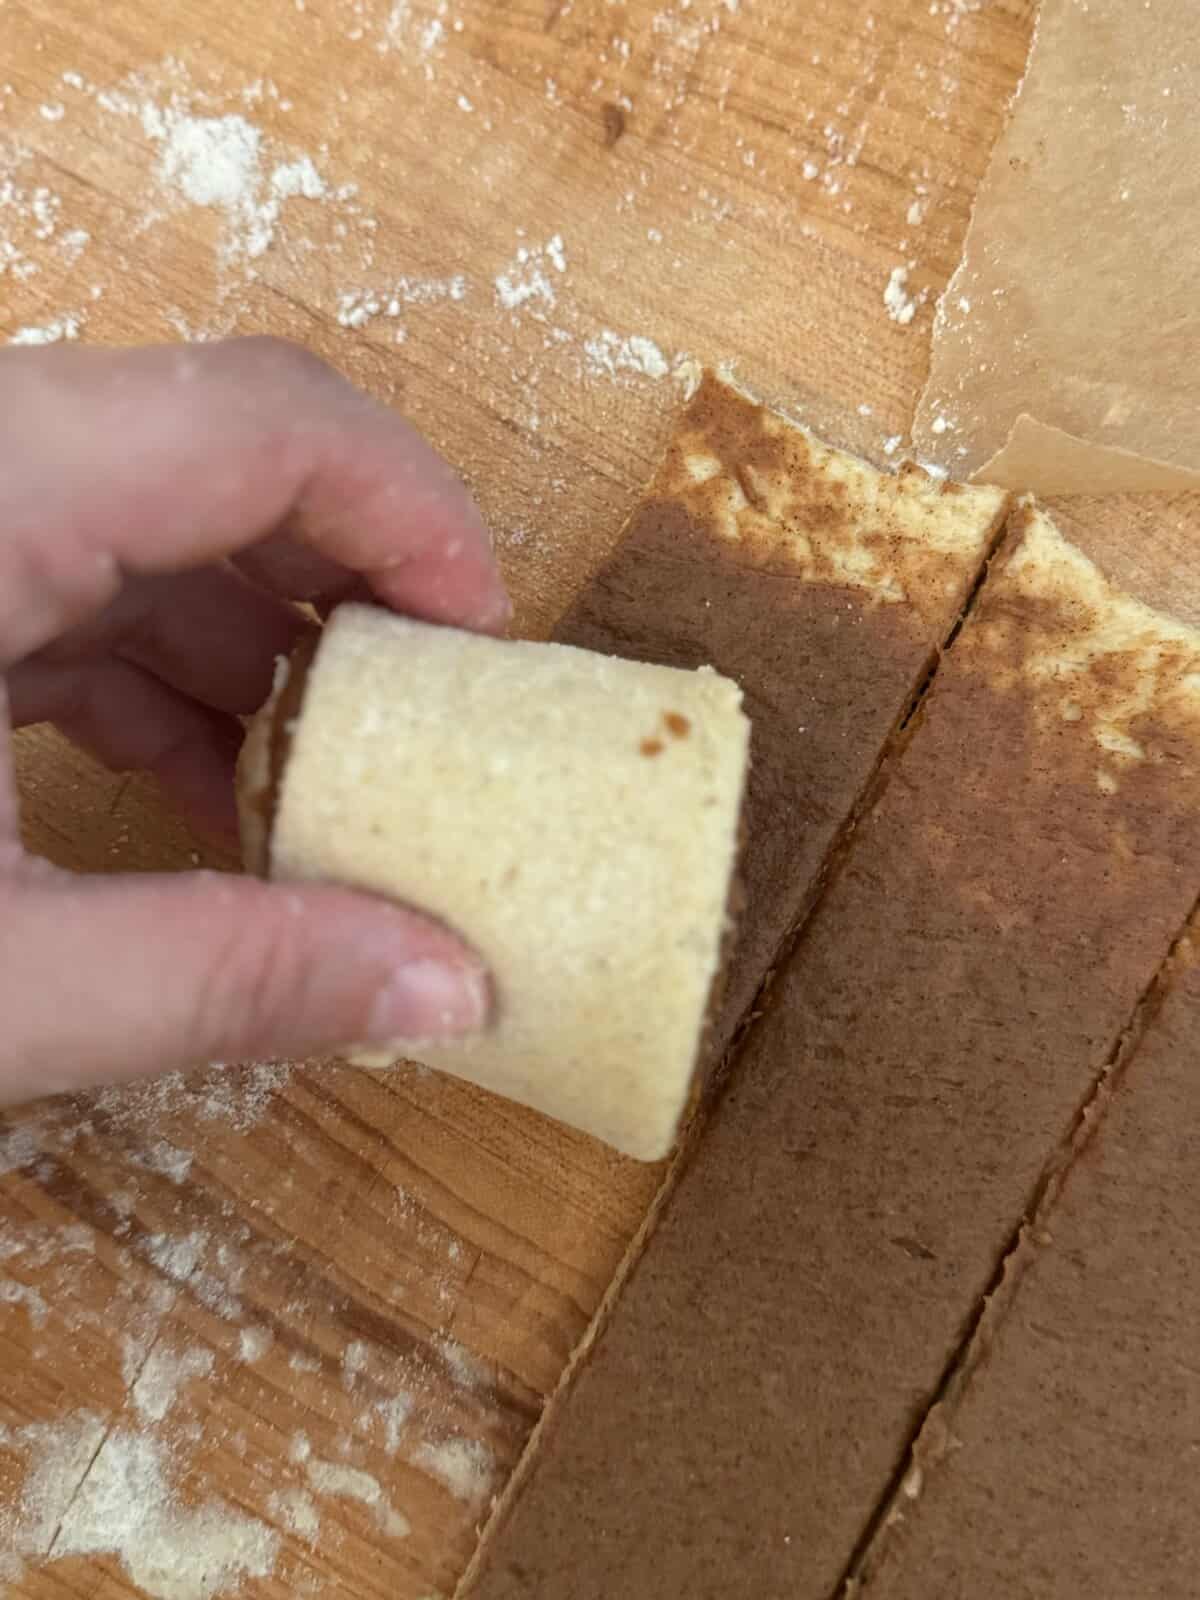
2. Cut into strip and roll just until you get to the end of the strip. turn your dough on an angle.
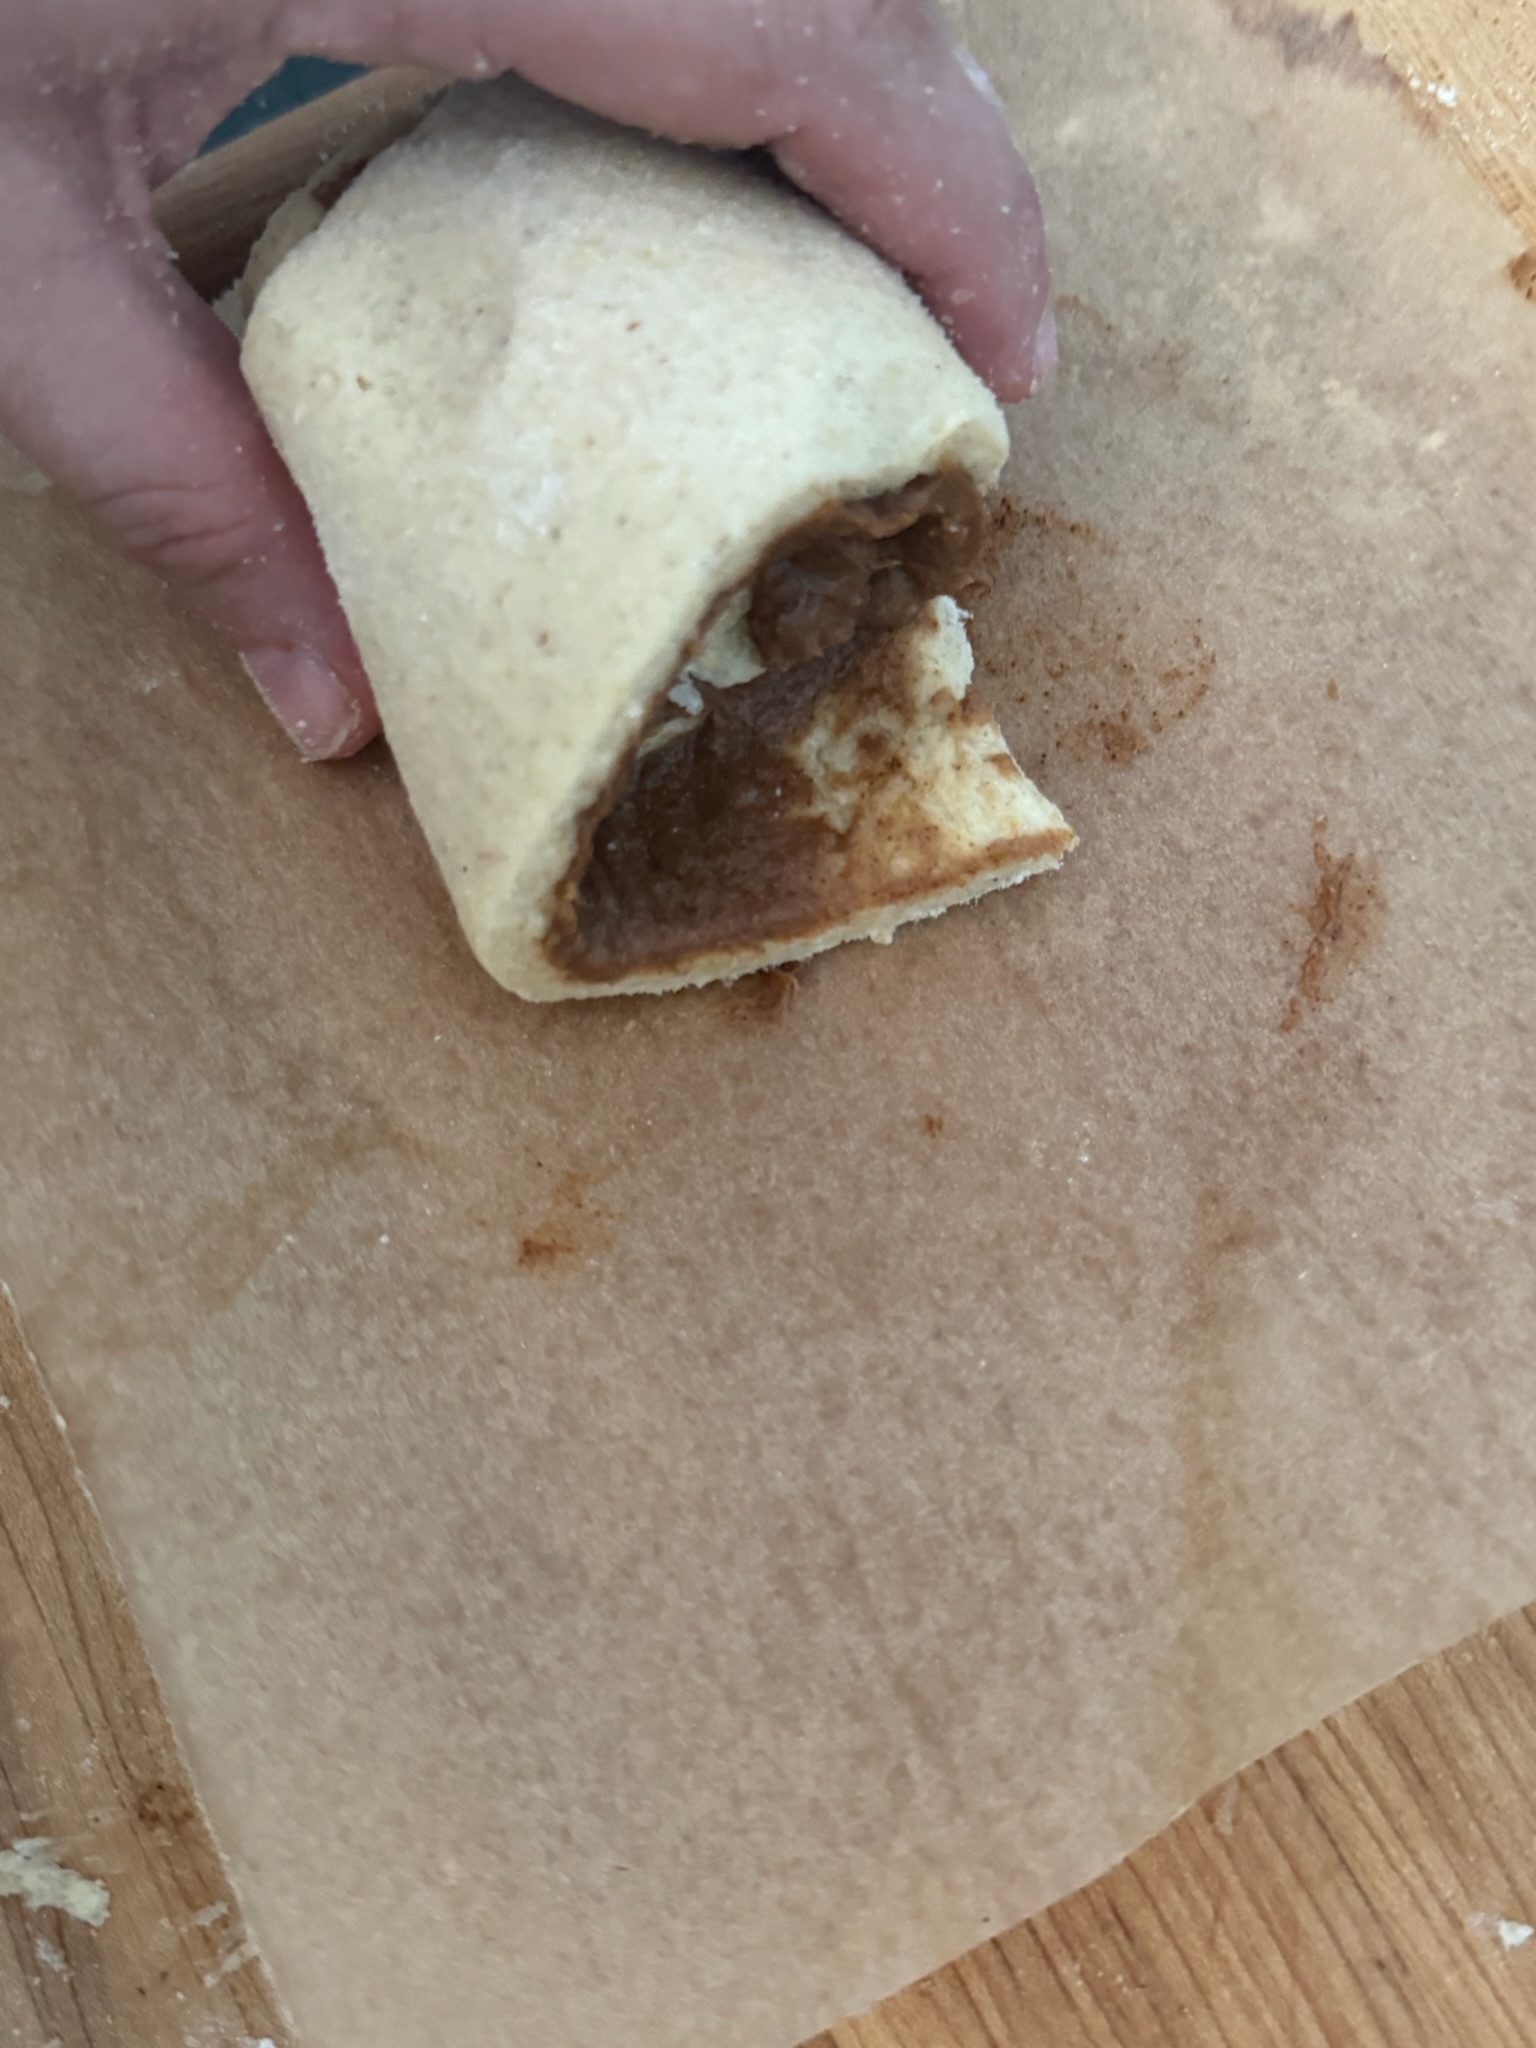
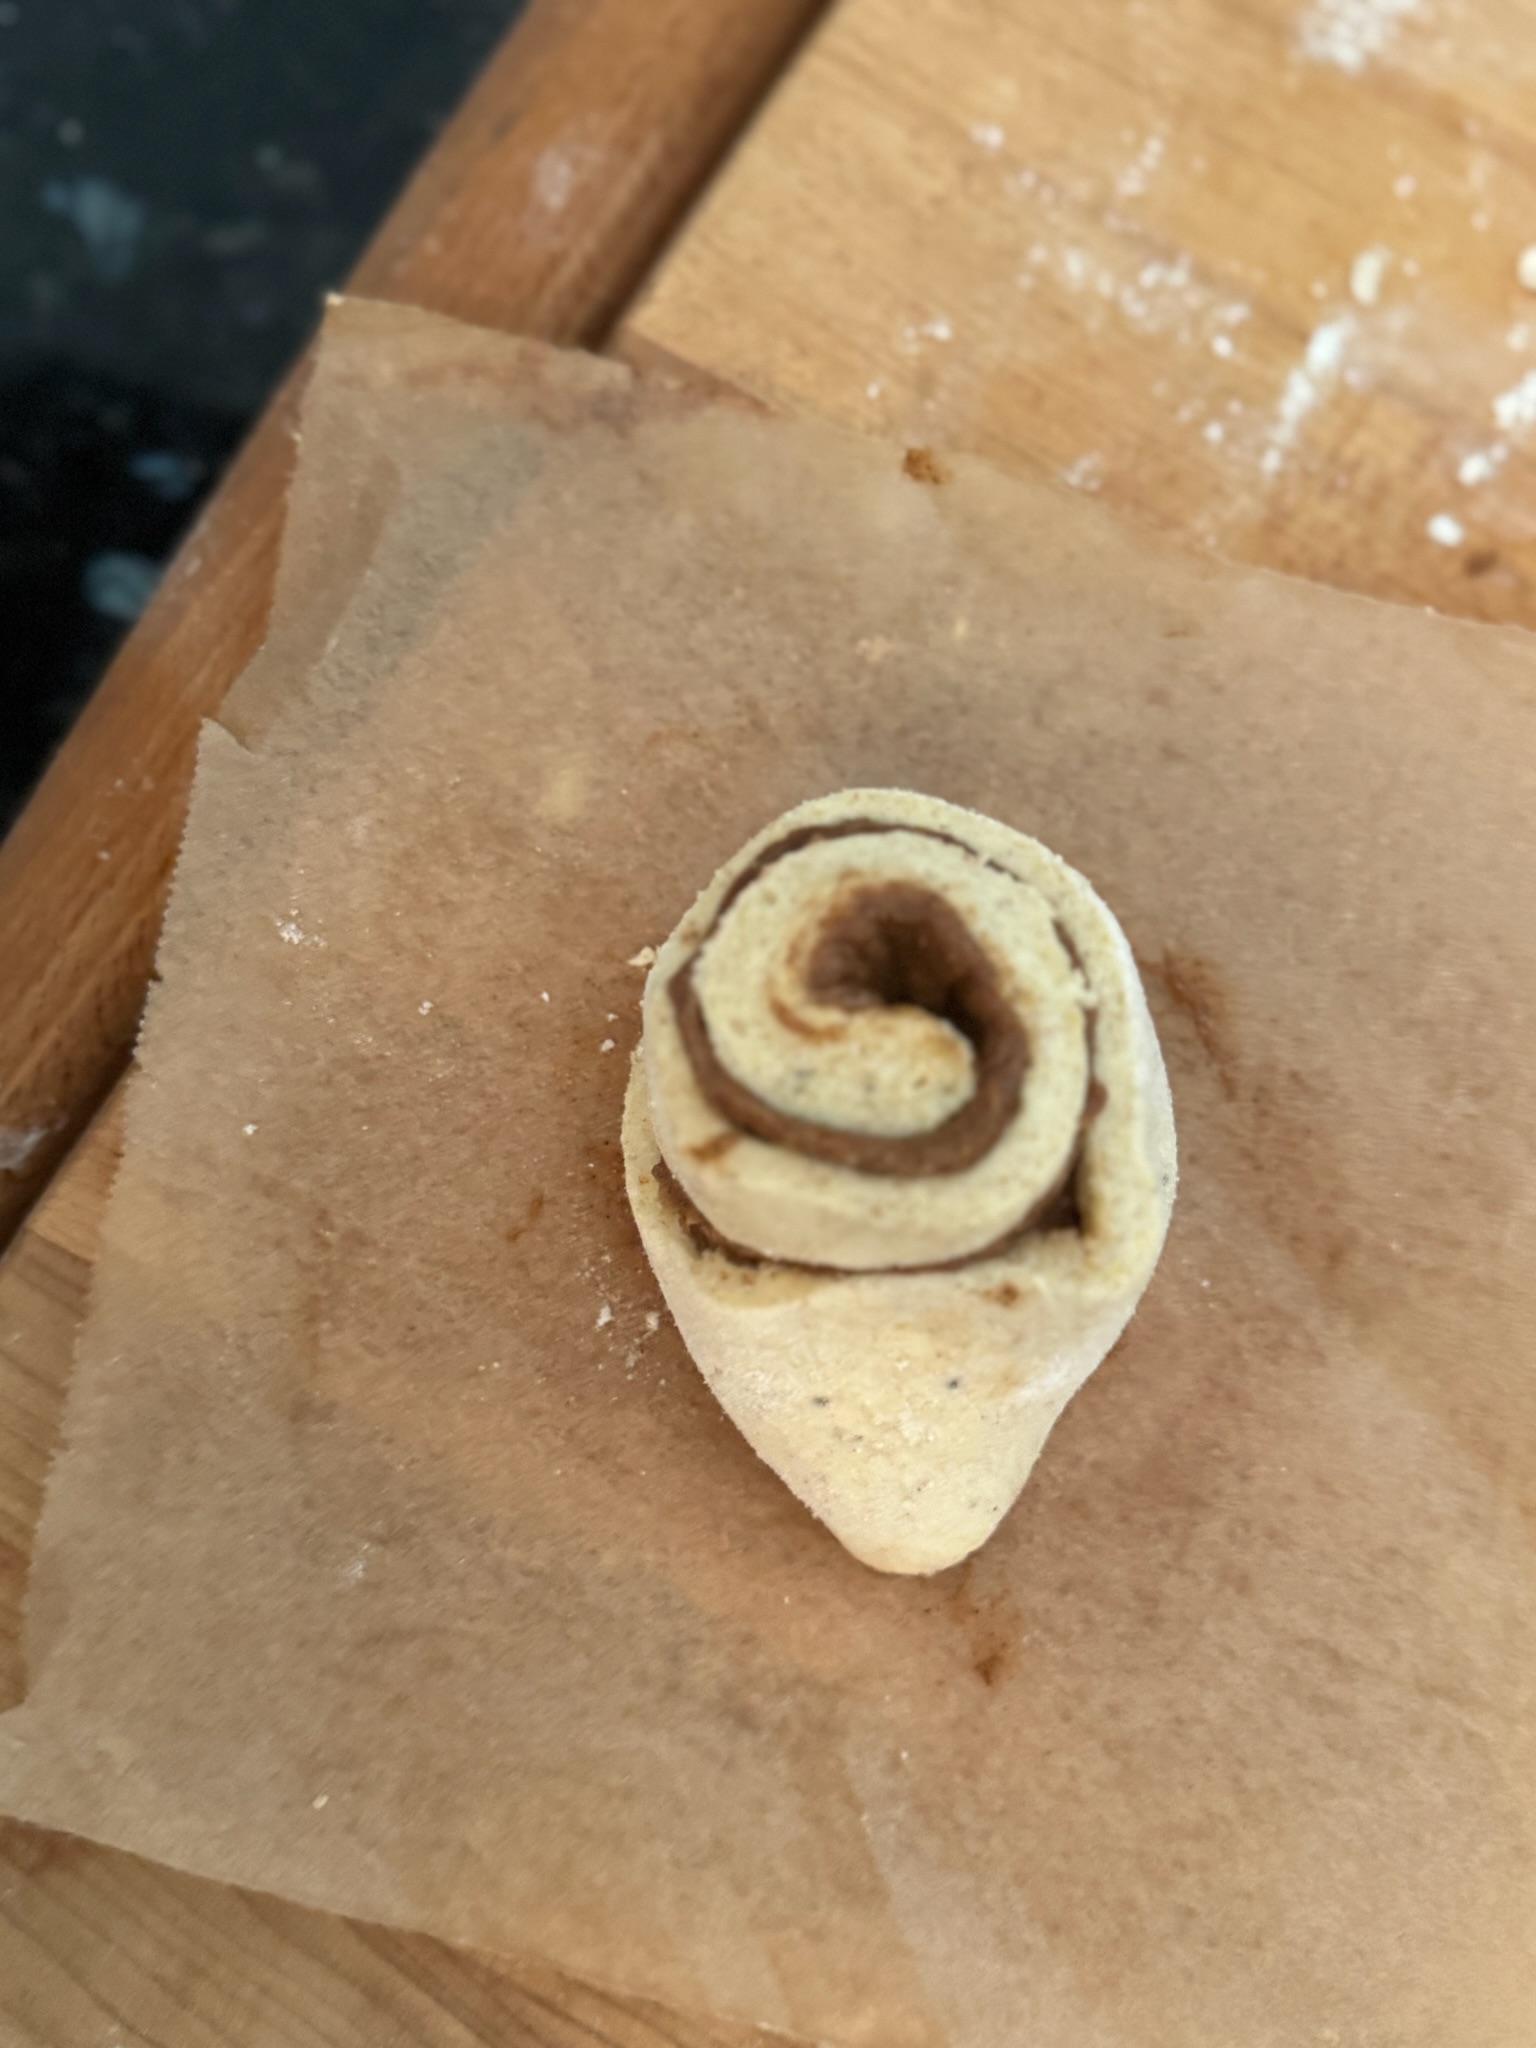
3. Turn the rolled dough at an angle and fold the extra flap underneath the roll.
4. How it Should Look after Rolling + Folding
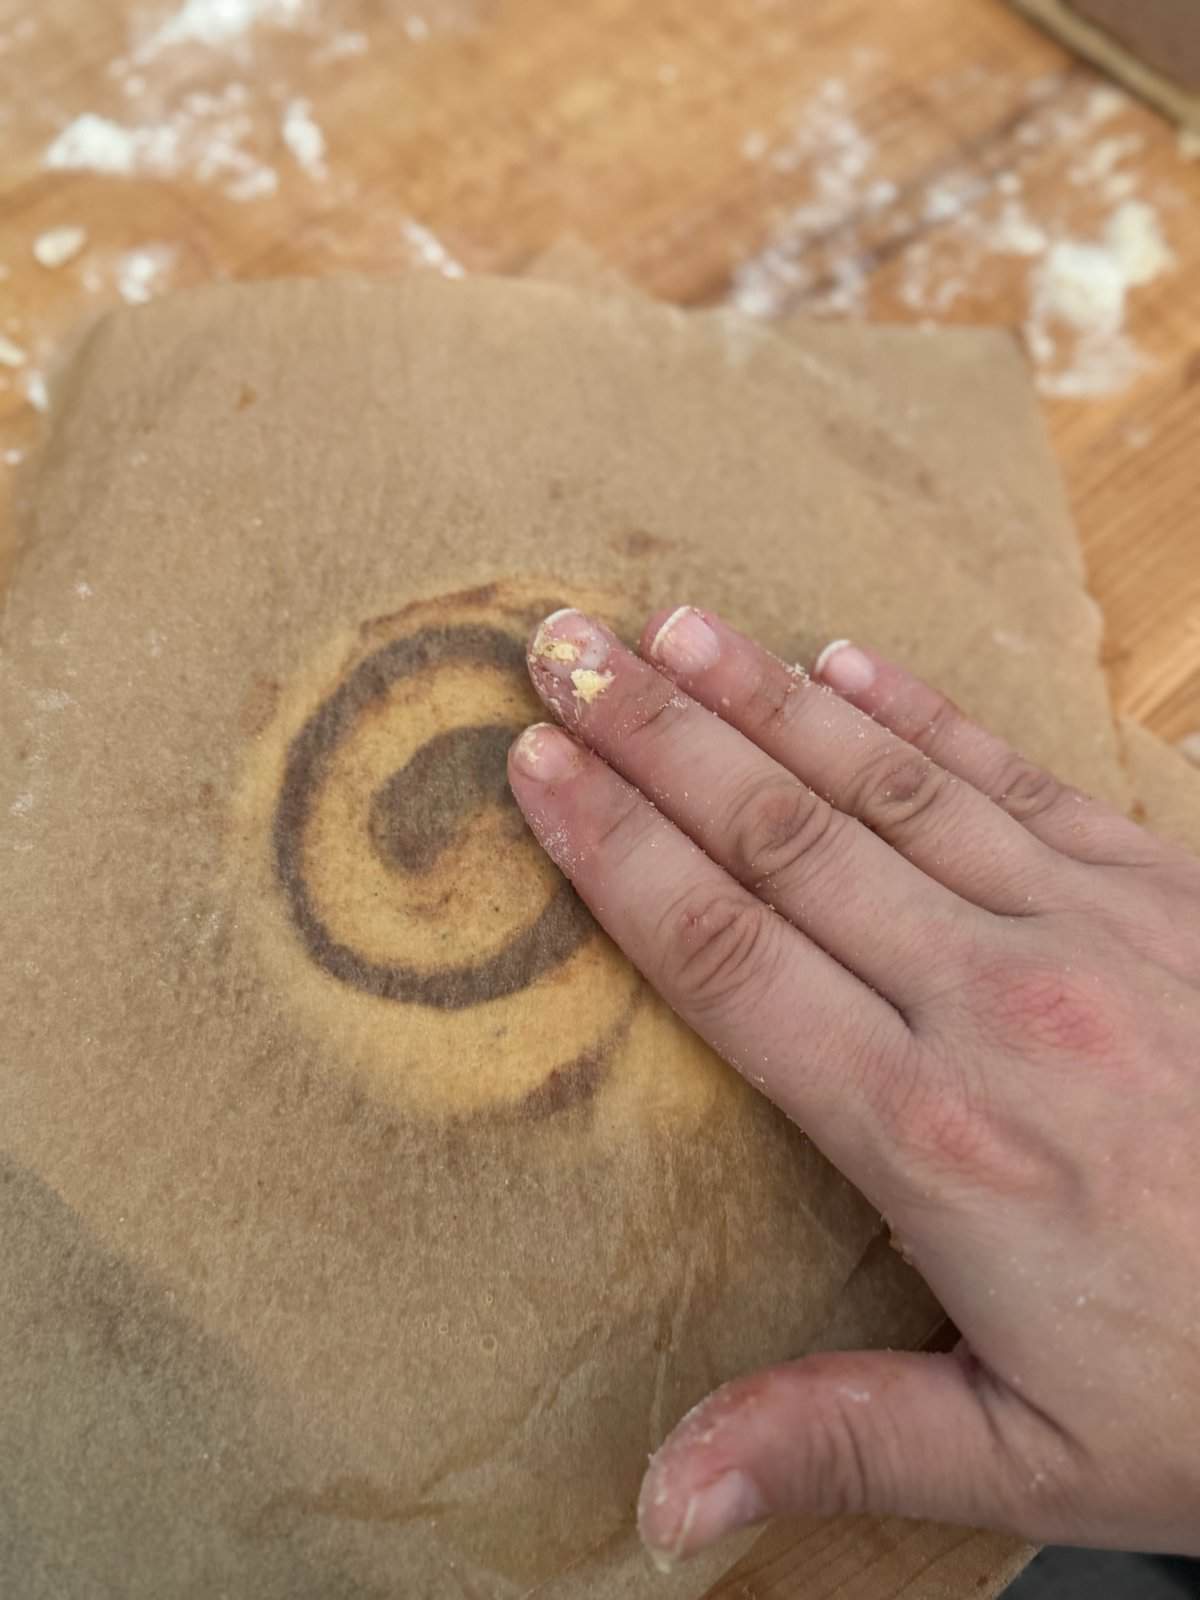
5. Place the roll in between two sheets of parchment paper and evenly press down.
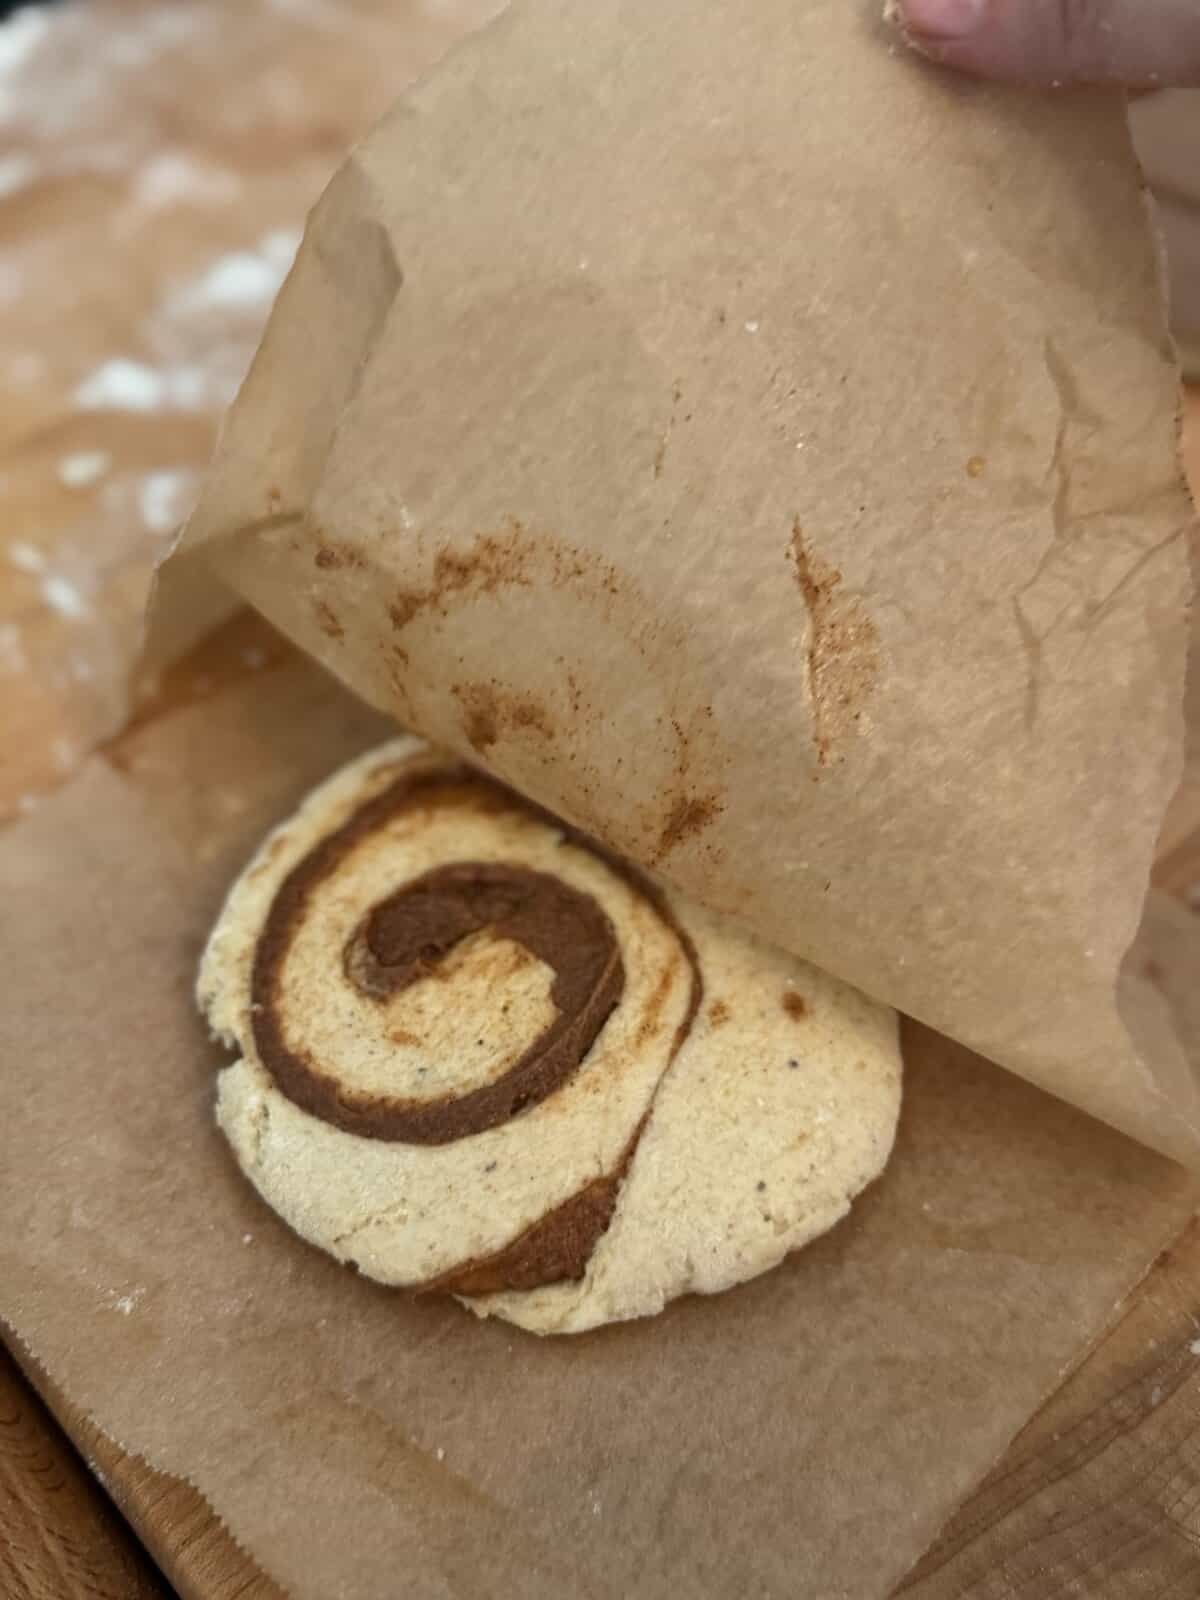
6. Pressed roll prior to proofing.
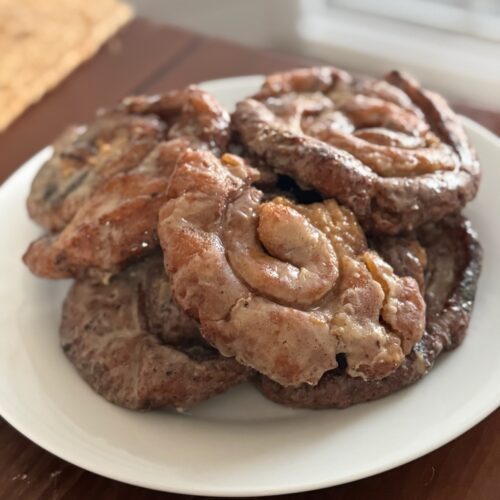
Gluten-Free Honey Buns (Soft, Swirled & Glazed)
Ingredients
Pre-Prepped Dough Ingredients
- ¼ cup Psyllium Husk
- ¾ cup Water Warm
- 2 tsp Yeast
- 1 TBSP Honey
- ⅓ cup Water Warm
Dry Dough Ingredients
- 1 cups Millet Flour
- ¼ cup Sorghum Flour
- 1 ⅛ cups Arrowroot Powder
- ¼ cup Gluten Free Flour
- 1 ½ tsp Baking Powder
- 1 1/2 tsp Xanthan Gum
- 1½ tsp Xanthan Gum
- 1 tsp Salt
Wet Dough Ingredients
- 1 Egg
- ¼ cup Maple Syrup
- ⅓ cup Butter Melted
- 2 TBSP Raw Cream
Glaze
- 2 cups Powdered Sugar
- ¼ cup Butter
- 2-3 TBSP Raw Milk
- 1 TBSP Vanilla Bean Paste
Filling
- 1 cup Butter softened
- 1/2 cup Honey
- 1 TBSP Vanilla Bean Paste
- ¼ tsp Salt
- 3 TBSP Cinnamon
- ½ cup Maple Sugar
Instructions
Prepare the Filling
- Whip the filling ingredients together until well combined and smooth. Set aside.
Prepare the Dough
- Prep the yeast, warm water and honey mixture and allow time for it to froth.
- Measure out psyllium husk + warm water separately and set aside.
Make the Dough
- Combine all of the dry dough ingredients together in mixing bowl.
- Once yeast has risen, whisk together the psyllium husk (whole husk) until well combined and let it sit for 30-45 seconds until a gel is formed.
- Add in wet ingredients (eggs, butter, maple syrup, risen yeast, psyllium husk gel) & mix well. I suggest 5 minutes with a paddle or dough hook attachment. This helps the psyllium husk become well incorporated and the dough to be properly hydrated.
Form the Honeybuns
- Once mixed, lightly flour countertop with gluten free one to one flour.
- Roll the dough out evenly into a rectangle. You can roll it anywhere from ¼ inch to ½ an inch depending on thickness preference.
- Take the filling and spread it evenly over the dough. If you prefer less filling, use less.
- Using a pizza cutter, cut the dough in even rows about 1.5 inches wide. I eyeball this part, it doesn't have to be perfect.
- Once cut, roll each piece up but before it's finished getting wrapped, take the end piece of the dough and fold it under the roll. Then, take two pieces of parchment paper and gently press down on the rolled dough to make it flat.
- Repeat for the remaining rolls and store on pieces of individual parchment paper resting on a cookie sheet. Cover with a towel and let proof.
Proofing Options at This Step
- There are two proofing options here. You can place in a warm, draft free area for one hour and let it double in size or you can place covered in to the refrigerator to bake at a later time. If choosing the 21 option, make sure to allow them to come to room temperature and proof before baking
Prep the Glaze
- Mix all of the ingredients for the glaze together until smooth. It will be sticky and if it needs a little more water to thin out, adjust accordingly.
Fry the Honeybuns
- Once the rolls have doubled in size, preheat oil to 350°F and fry each honey bun for roughly 2-3 minutes or until borrowed. If your buns are cooking too fast, lower the heat.
- Remove from the oil and repeat for each bun.
Glaze the Honeybuns
- Once the bun has cooled off enough, dip it into the glaze (top and bottom). This part is sticky and messy, embrace it.
- Place honeybuns on a cooling rack and eat hot and fresh or allow the glaze to harden in the refrigerator. These taste amazing the next day.
Additional Allergens/Suggested Modifications
- Dairy: Sub raw cream and butter for dairy free alternative
- Egg: Sub egg for egg replacement (I recommend Bob’s Red Mill)
This recipe is naturally free of: nuts, fish, crustacean shellfish, tree nuts, peanuts, wheat, soybeans, seed oils and sesame.
Recipe Tips
The glaze is the key to keeping these honey buns soft and ready to eat without reheating!
Use a pizza cutter to cut the dough for crisp, clean edges on the cinnamon rolls.
Use small squares of parchment paper for frying the honeybuns to transfer the shaped dough into the oil while keeping the dough light and fluffy.
Storage Options:
- Room Temperature: Store in an airtight container for up to 2 days.
- Refrigerator: Keeps for 4–5 days.
- Freezer: Freeze baked honey buns for up to 6 months.
- To Reheat: Warm in the oven at 350°F for 10 minutes to restore softness if they firm up.
Recipe FAQs
Get on the List
Subscribe to Receive the Gluten Free Pantry Must Haves Ebook
Did you make this recipe?
We’d love to see! Tag @farmfreshfamily on Instagram!