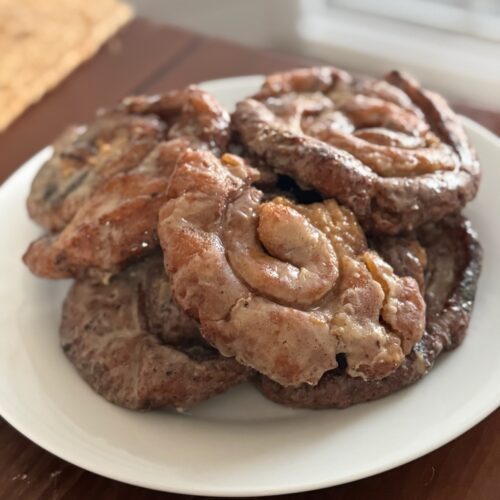
Gluten-Free Honey Buns (Soft, Swirled & Glazed)
Soft gluten free honey buns made without seed oils, soy, or artificial ingredients. A nostalgic maple-sweetened copycat perfect for breakfast or snacks.
Ingredients
Pre-Prepped Dough Ingredients
- ¼ cup Psyllium Husk
- ¾ cup Water Warm
- 2 tsp Yeast
- 1 TBSP Honey
- ⅓ cup Water Warm
Dry Dough Ingredients
- 1 cups Millet Flour
- ¼ cup Sorghum Flour
- 1 ⅛ cups Arrowroot Powder
- ¼ cup Gluten Free Flour
- 1 ½ tsp Baking Powder
- 1 1/2 tsp Xanthan Gum
- 1½ tsp Xanthan Gum
- 1 tsp Salt
Wet Dough Ingredients
- 1 Egg
- ¼ cup Maple Syrup
- ⅓ cup Butter Melted
- 2 TBSP Raw Cream
Glaze
- 2 cups Powdered Sugar
- ¼ cup Butter
- 2-3 TBSP Raw Milk
- 1 TBSP Vanilla Bean Paste
Filling
- 1 cup Butter softened
- 1/2 cup Honey
- 1 TBSP Vanilla Bean Paste
- ¼ tsp Salt
- 3 TBSP Cinnamon
- ½ cup Maple Sugar
Instructions
Prepare the Filling
- Whip the filling ingredients together until well combined and smooth. Set aside.
Prepare the Dough
- Prep the yeast, warm water and honey mixture and allow time for it to froth.
- Measure out psyllium husk + warm water separately and set aside.
Make the Dough
- Combine all of the dry dough ingredients together in mixing bowl.
- Once yeast has risen, whisk together the psyllium husk (whole husk) until well combined and let it sit for 30-45 seconds until a gel is formed.
- Add in wet ingredients (eggs, butter, maple syrup, risen yeast, psyllium husk gel) & mix well. I suggest 5 minutes with a paddle or dough hook attachment. This helps the psyllium husk become well incorporated and the dough to be properly hydrated.
Form the Honeybuns
- Once mixed, lightly flour countertop with gluten free one to one flour.
- Roll the dough out evenly into a rectangle. You can roll it anywhere from ¼ inch to ½ an inch depending on thickness preference.
- Take the filling and spread it evenly over the dough. If you prefer less filling, use less.
- Using a pizza cutter, cut the dough in even rows about 1.5 inches wide. I eyeball this part, it doesn't have to be perfect.
- Once cut, roll each piece up but before it's finished getting wrapped, take the end piece of the dough and fold it under the roll. Then, take two pieces of parchment paper and gently press down on the rolled dough to make it flat.
- Repeat for the remaining rolls and store on pieces of individual parchment paper resting on a cookie sheet. Cover with a towel and let proof.
Proofing Options at This Step
- There are two proofing options here. You can place in a warm, draft free area for one hour and let it double in size or you can place covered in to the refrigerator to bake at a later time. If choosing the 21 option, make sure to allow them to come to room temperature and proof before baking
Prep the Glaze
- Mix all of the ingredients for the glaze together until smooth. It will be sticky and if it needs a little more water to thin out, adjust accordingly.
Fry the Honeybuns
- Once the rolls have doubled in size, preheat oil to 350°F and fry each honey bun for roughly 2-3 minutes or until borrowed. If your buns are cooking too fast, lower the heat.
- Remove from the oil and repeat for each bun.
Glaze the Honeybuns
- Once the bun has cooled off enough, dip it into the glaze (top and bottom). This part is sticky and messy, embrace it.
- Place honeybuns on a cooling rack and eat hot and fresh or allow the glaze to harden in the refrigerator. These taste amazing the next day.